Ugh. I love them. This has been my go-to recipe and method for years!
Swedish Pancakes
Lindsay’s Notes
I grew up eating them, and I’ve always liked them, but wow. 2023 has been my Year of the Swedish Pancakes. We are just making them all the time right now.
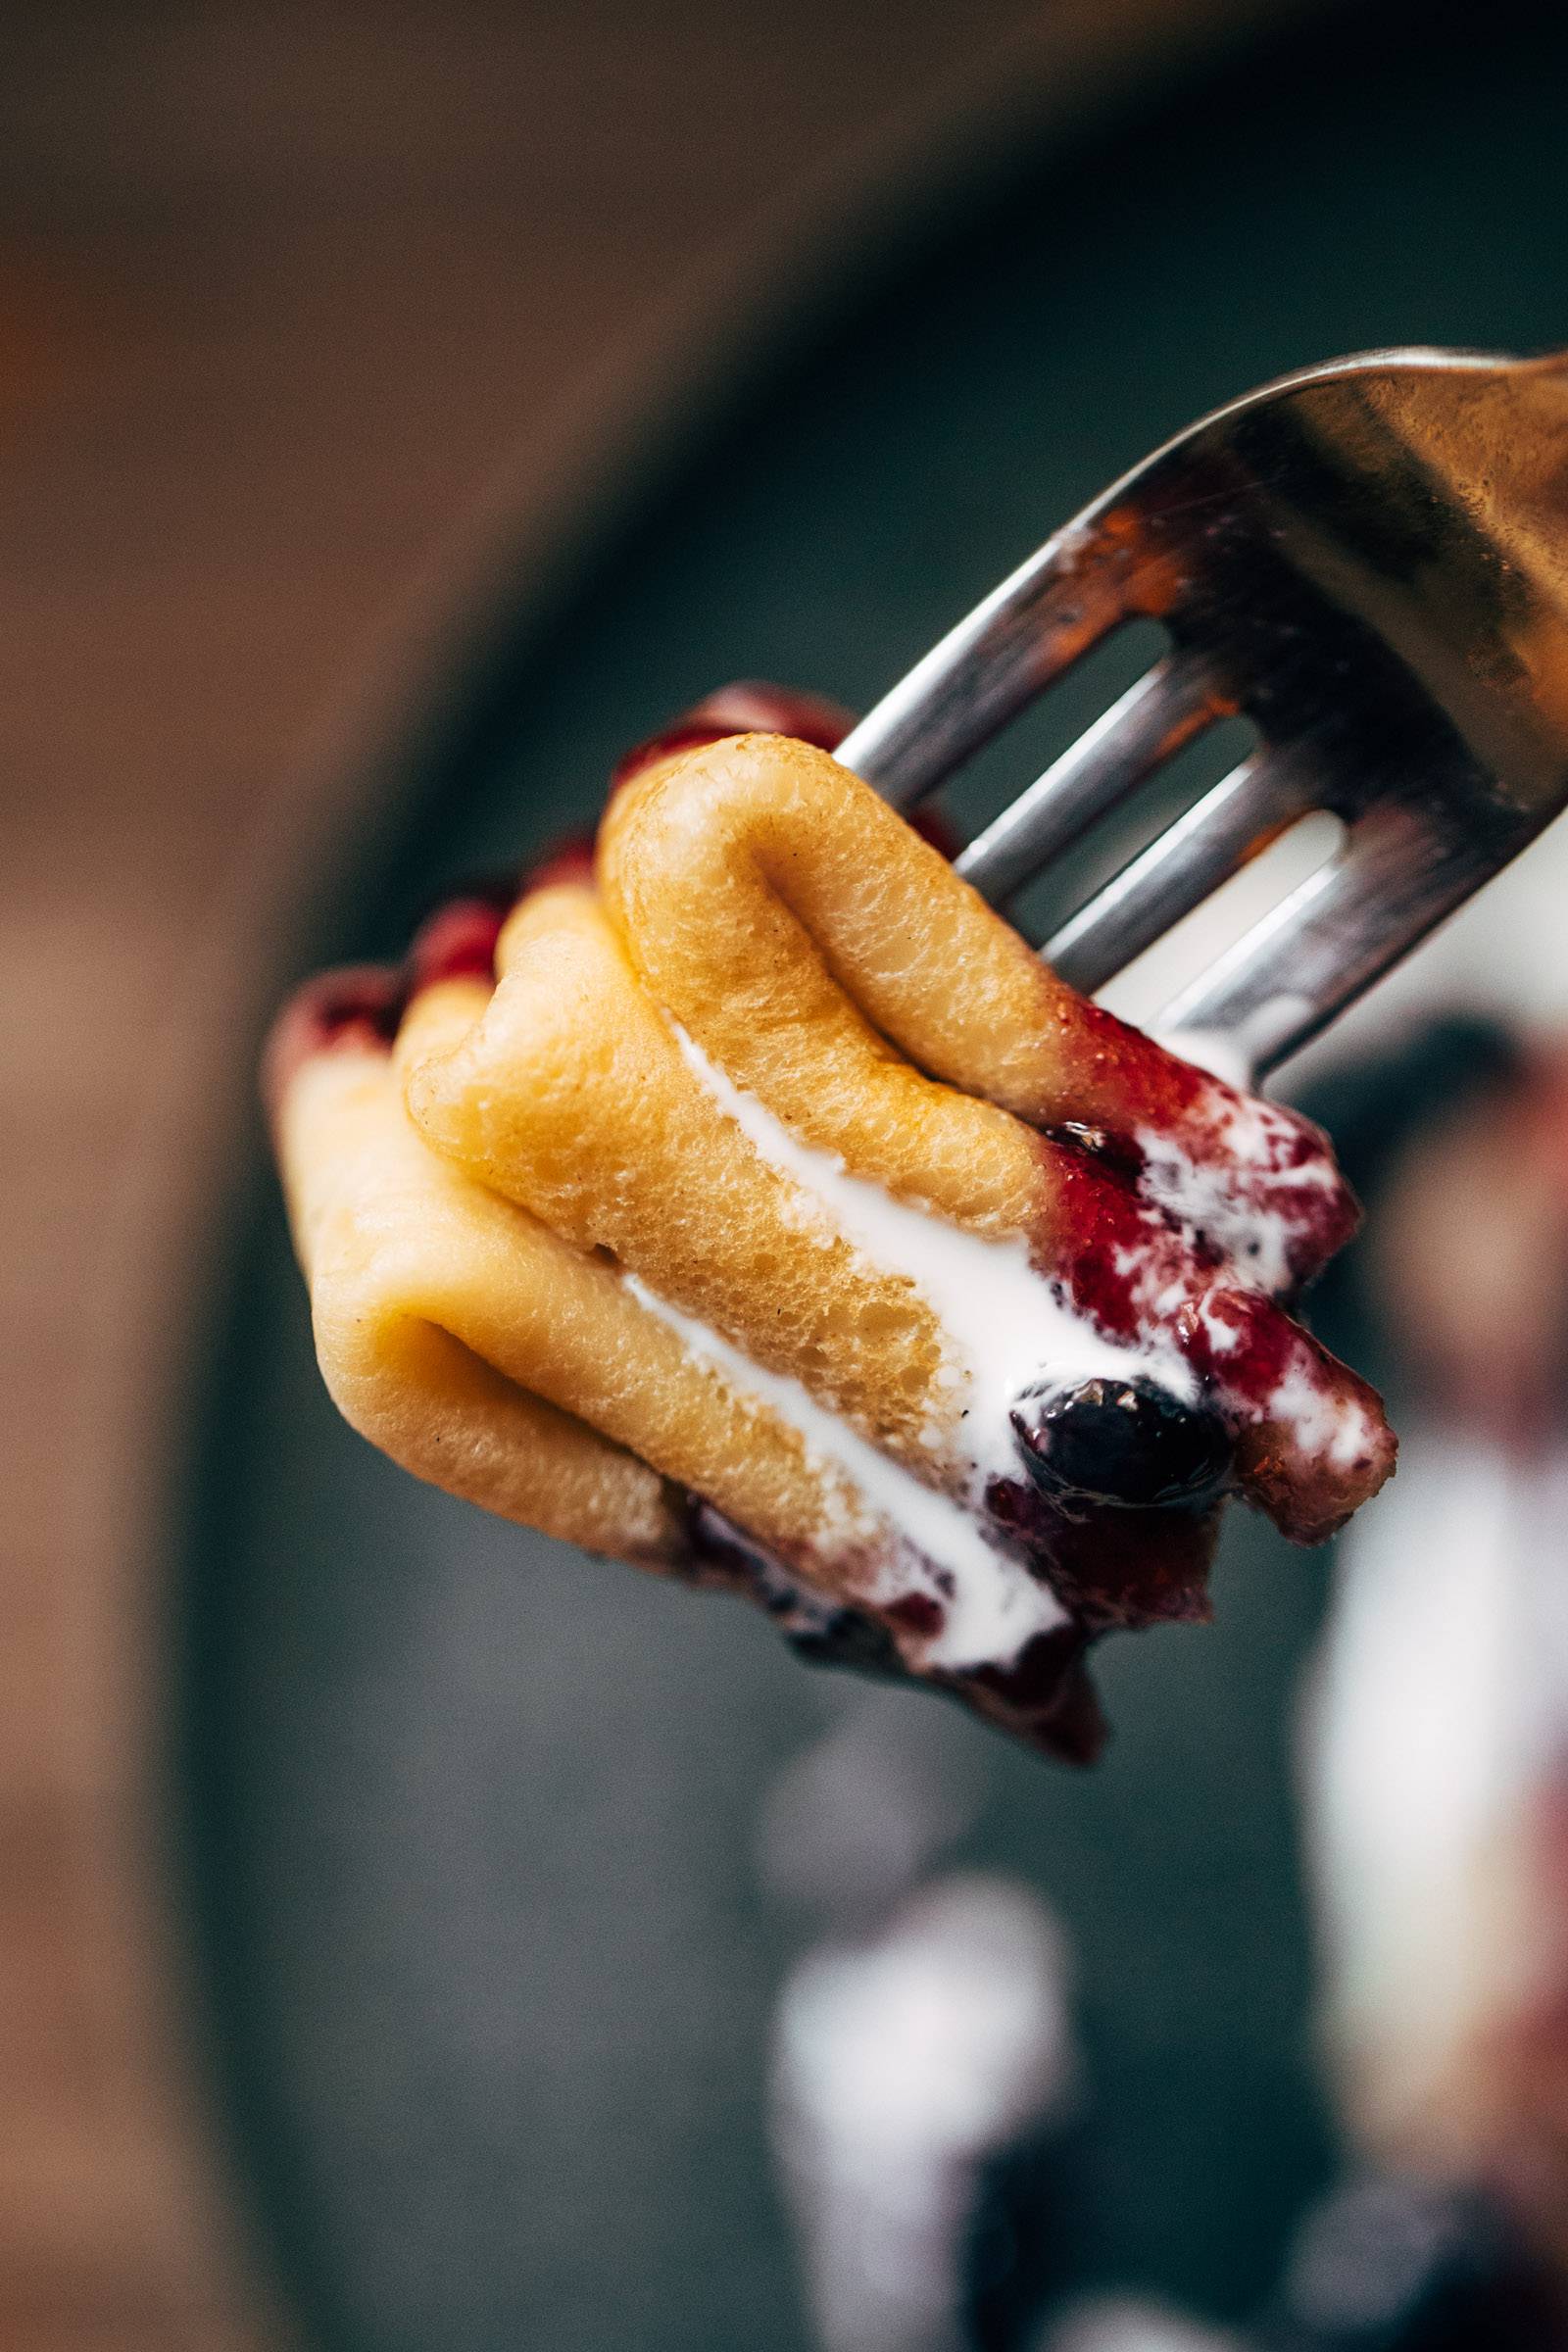
They are chewy, light, tender and fluffy and bendy. There’s enough body to sink your teeth into (the way I make them) but they still get that signature lacy edge. They are buttery, golden, rollable, stackable, and fillable. They’re delicious hot and steaming out of the pan; they’re also delicious as a cold snack straight out of the fridge.
I LOVE THEM.
They are also incredibly easy to make. As a breakfast OR as a dinner. Exhibit A: Bjork does not make dinner in our family – we have chosen those roles for ourselves and I am so happy to be the 99% of the time dinner-maker. But last month, on more than one occasion, I drove home from a weeknight event with the girls and called him on the way home and said:
“Hi, we’ll be home in 10 minutes and I didn’t make dinner. Can you blitz up some Swedish pancakes for us?”
And we arrived at home to 3 plates of Swedish pancakes ready to go. If he can do it, really, ANYONE can do it. Bless him.
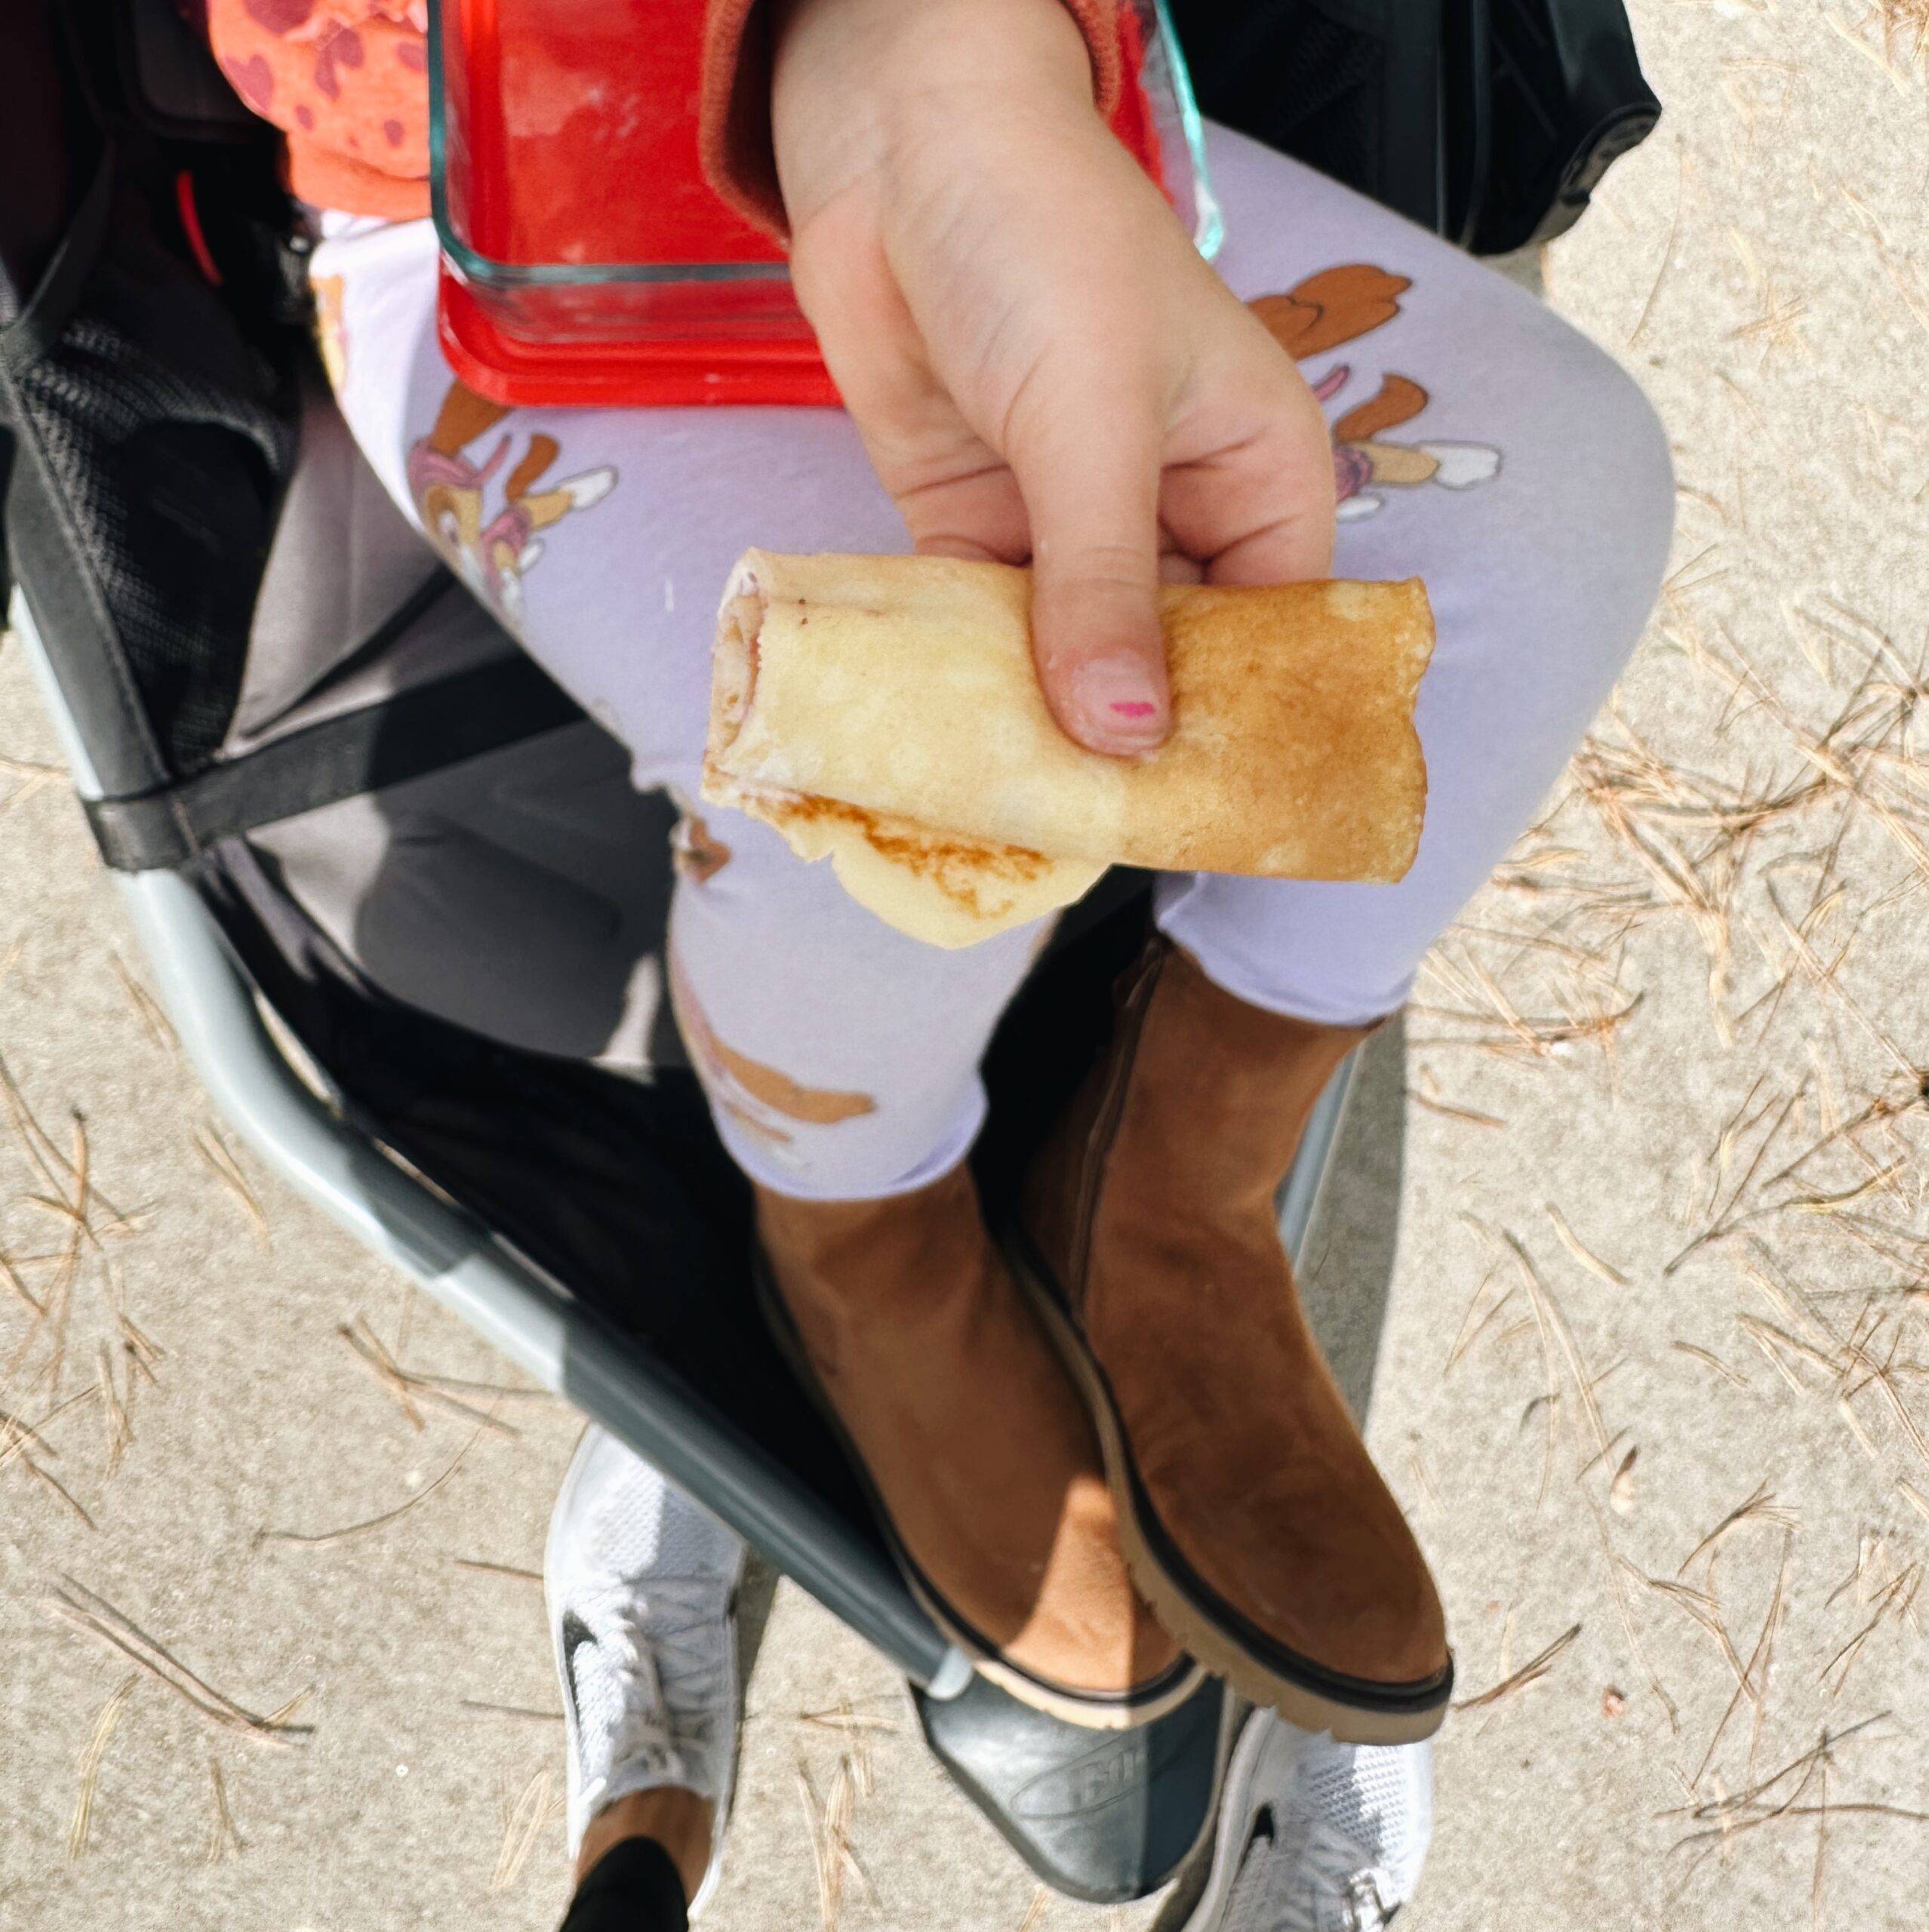
These Swedish pancakes are breakfast; these are dinner. They are as much a holiday-breakfast-level treat as they are a roll-up snack that you take to the park with your kids (see picture). THESE DO IT ALL.
The TLDR is that we make these all the time.
It’s a Forever Files recipe for me!
How To Make Swedish Pancakes
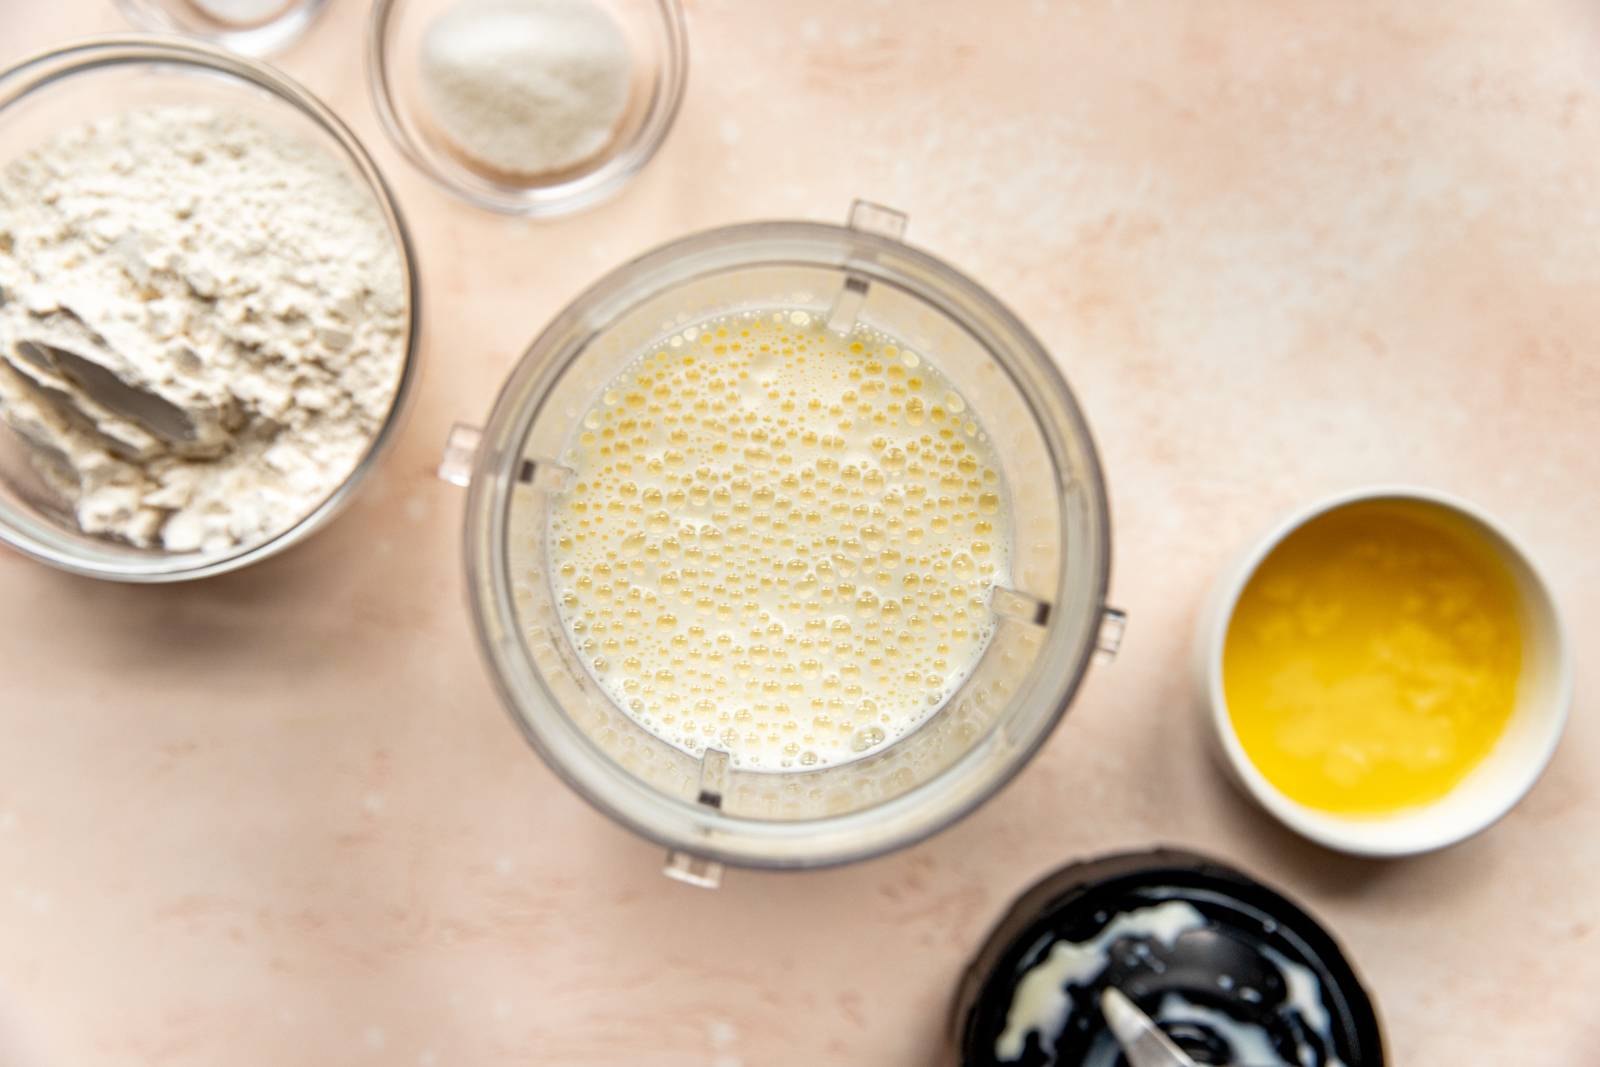
Step 1: Make your batter.
I do this in a blender to get the eggs extra fluffed up.
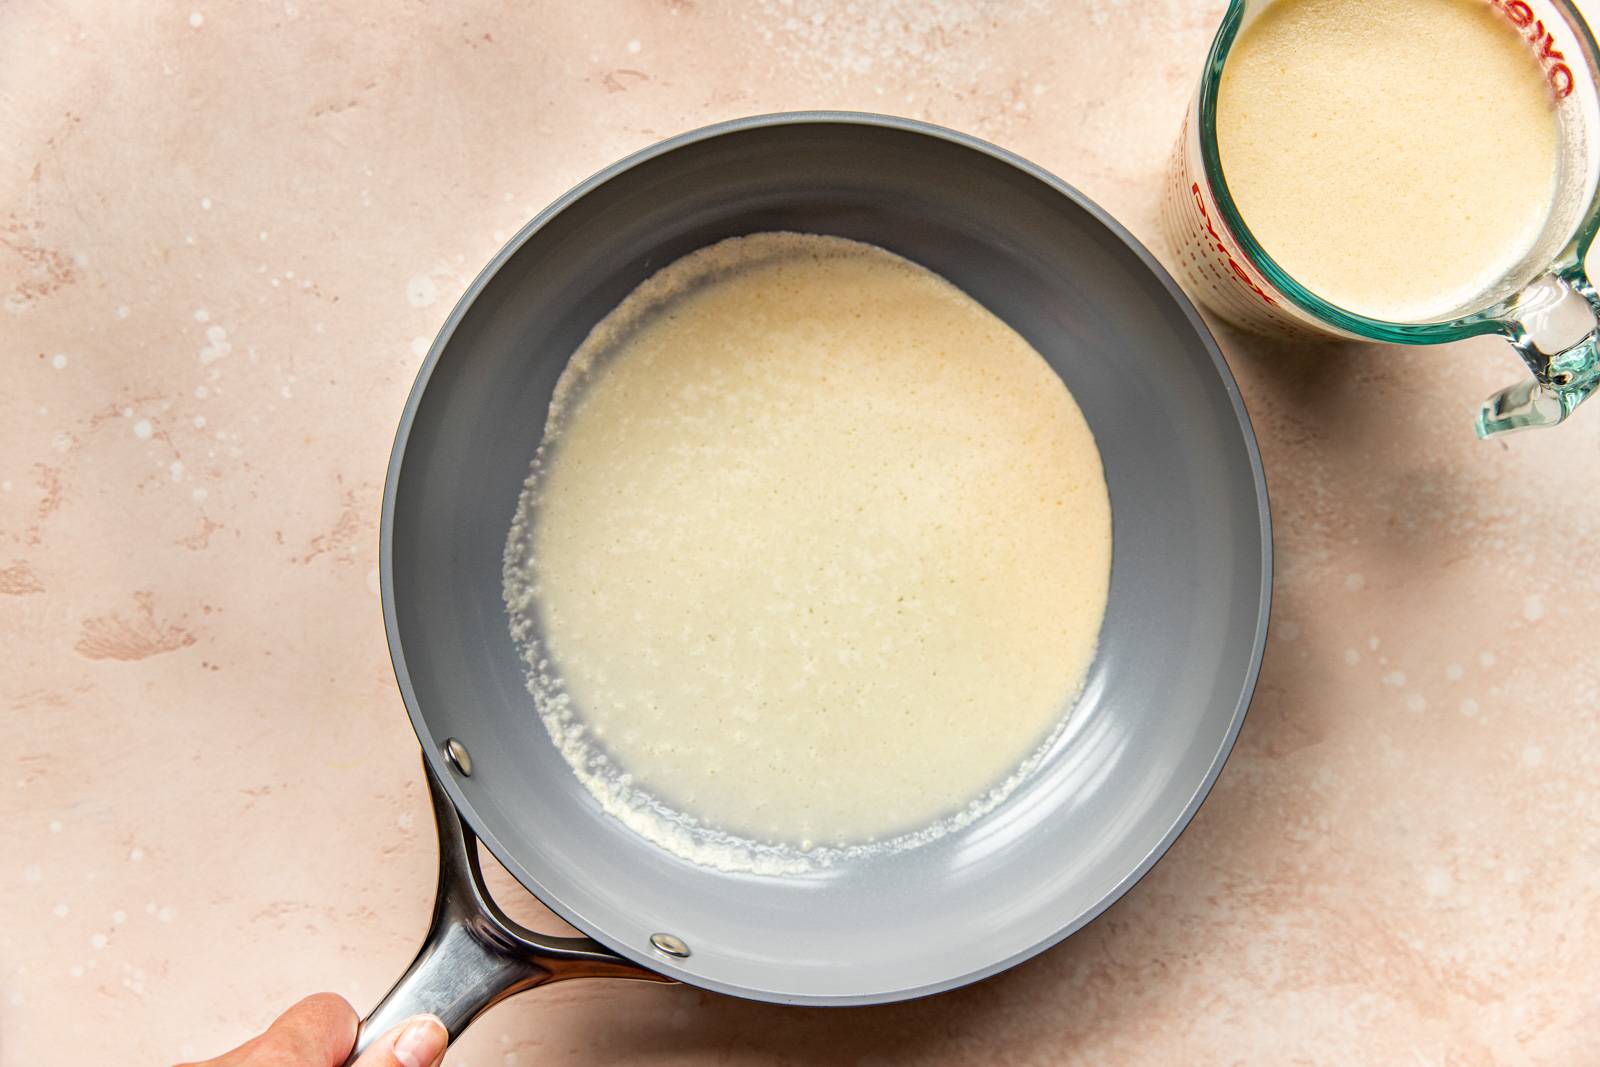
Step 2: Pour it in and give the pan a little tilt.
Pour the batter into the pan, and immediately give it a slight tilt so the batter spreads wider to create a thinner edge. I recommend holding both the blender to pour, AND the handle of the pan at the same time so you can almost do this simultaneously. If this stresses you out, you don’t have to do this at all – you could just fry up the Swedish pancakes as-is and they’d be a bit thicker around the edges and still delicious. The only reason for the slight pan tilt is that it creates that signature Swedish pancake thin and lacy edge that is delightful to eat! This example photo is off-heat, but you can see the effect of a pan tilt here. This is generally what you’re looking for:
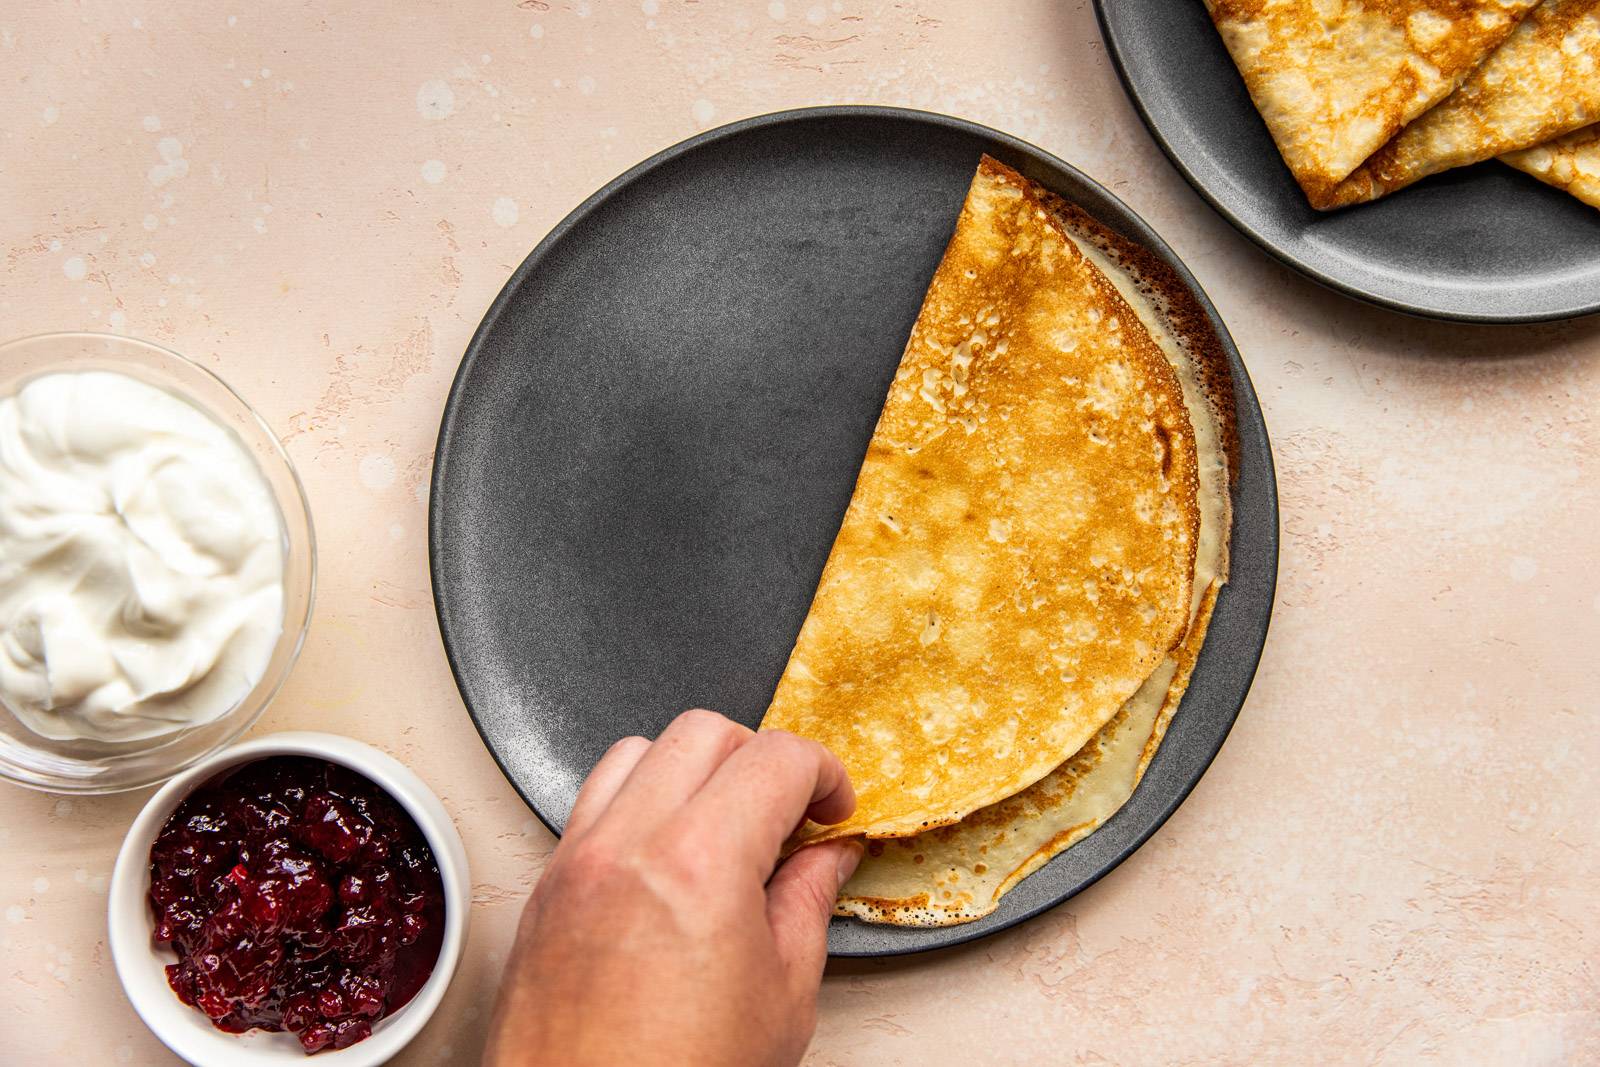
Step 3: Cook and fold.
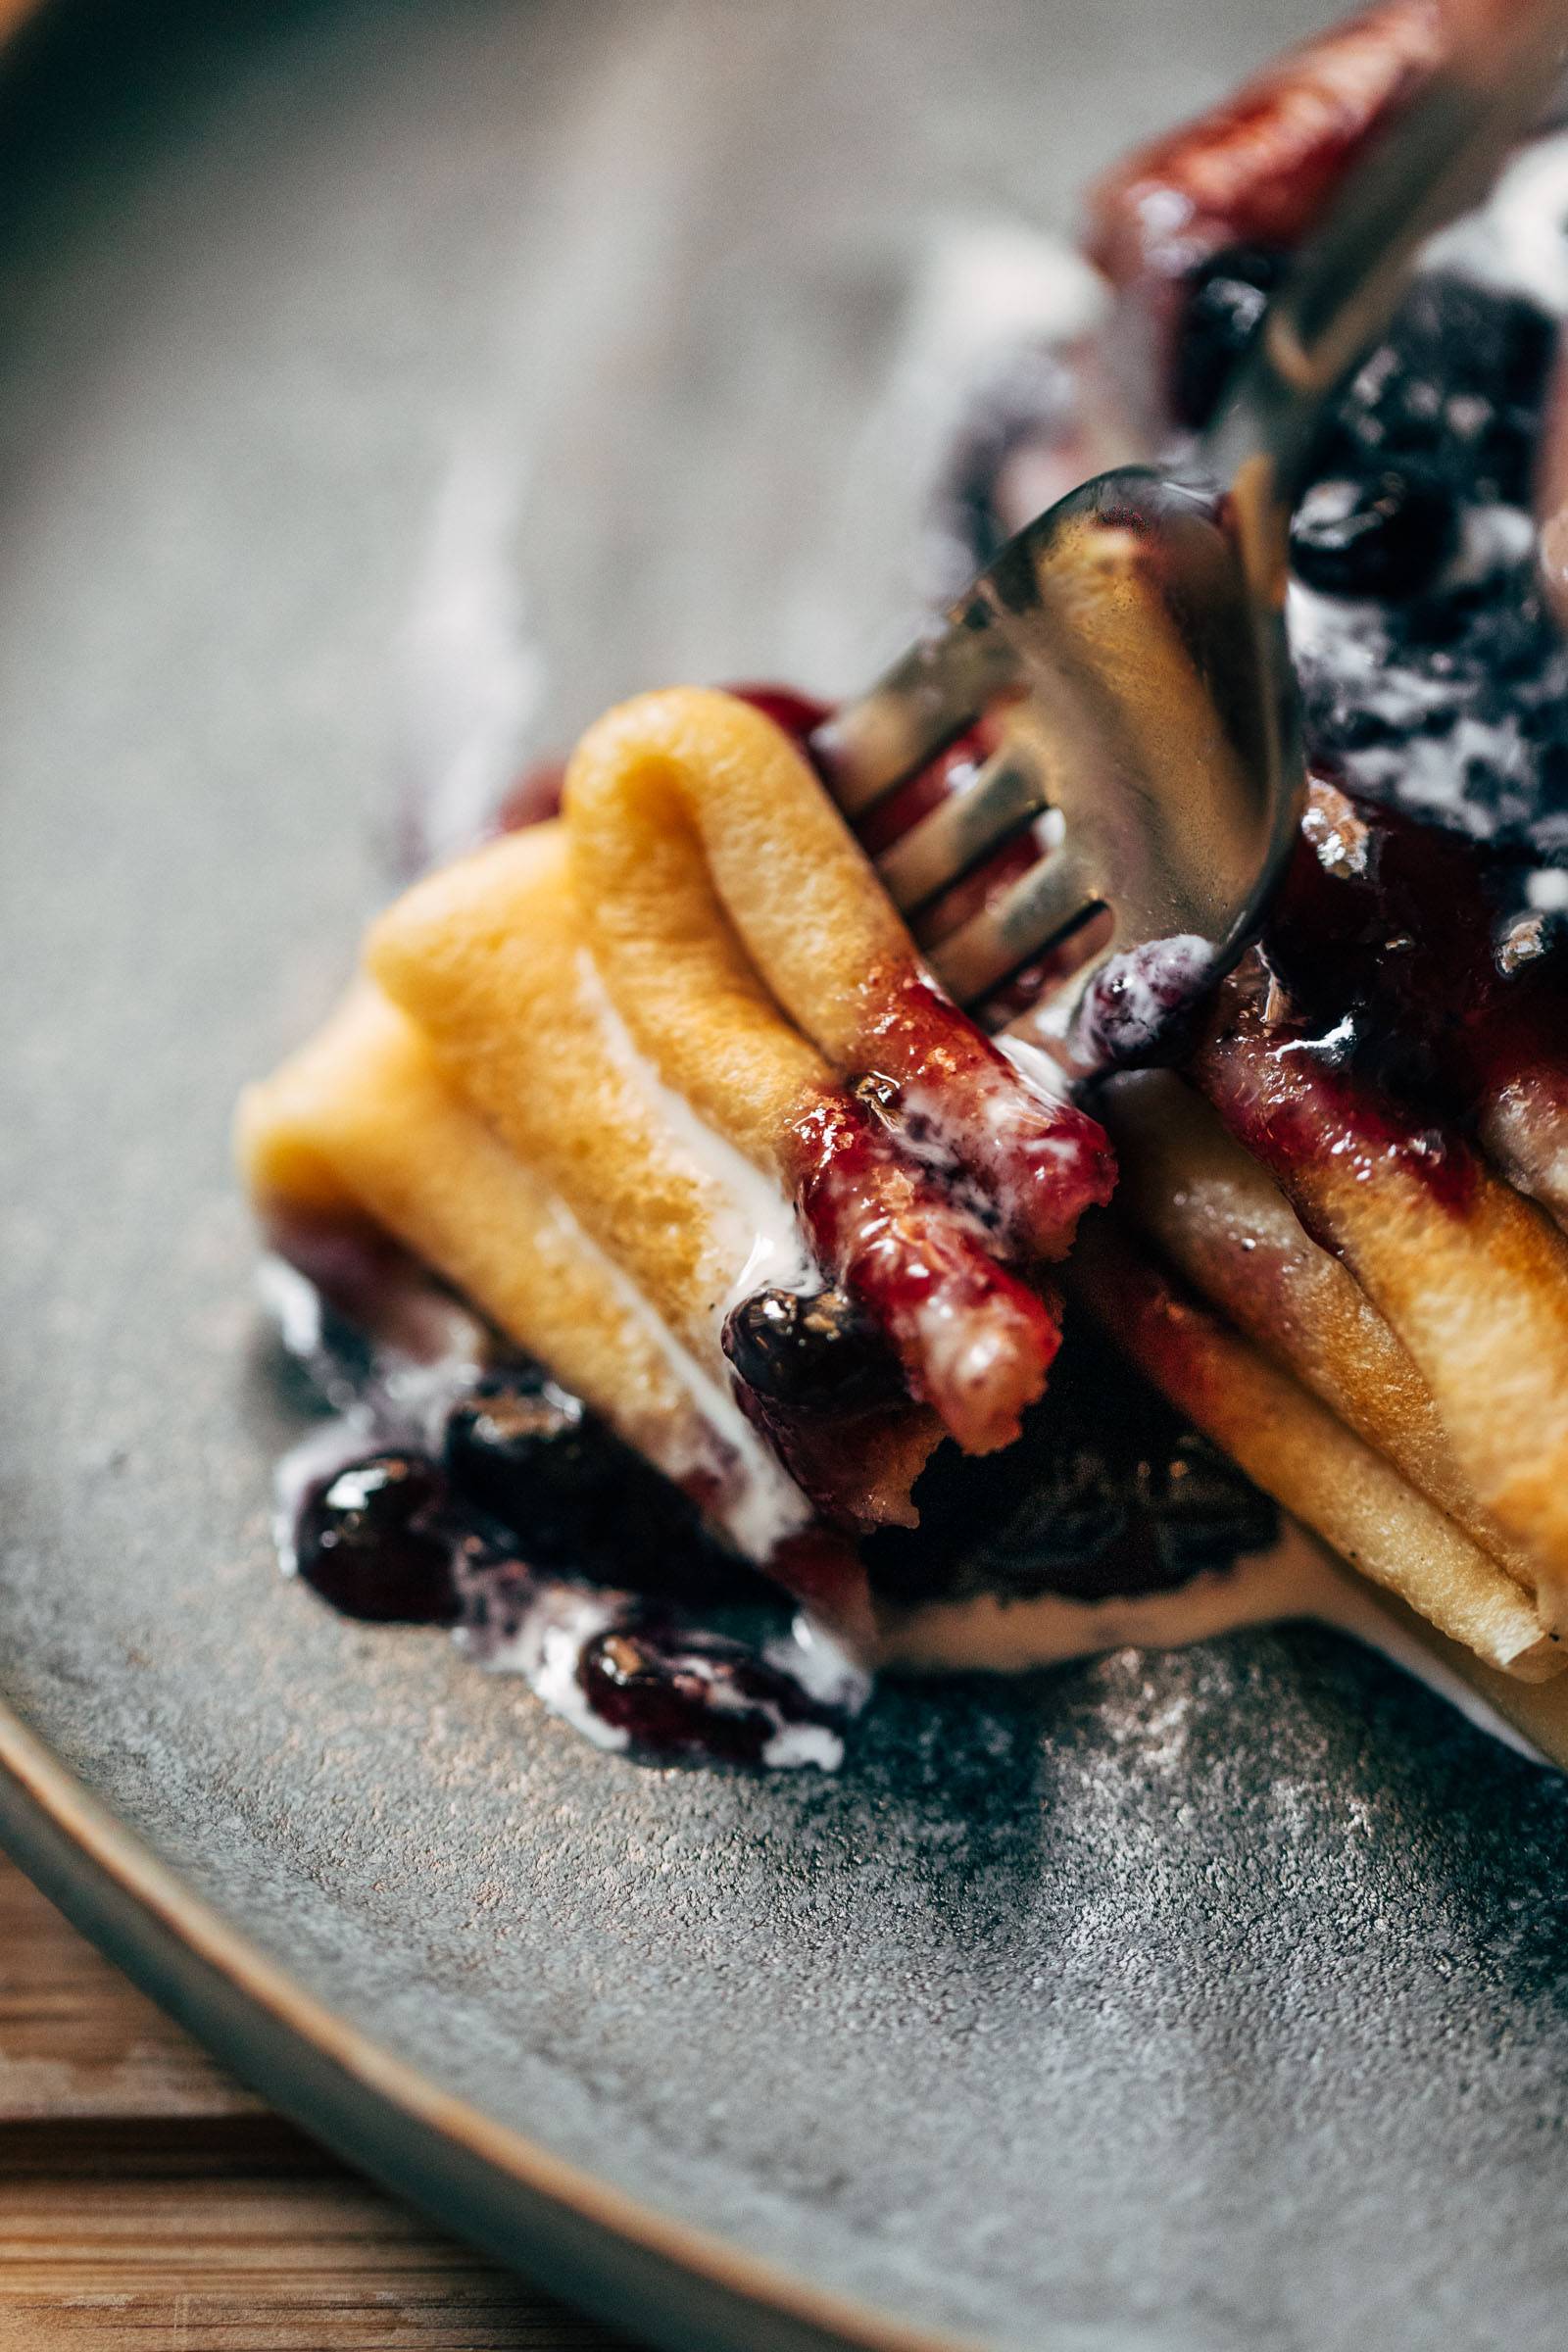
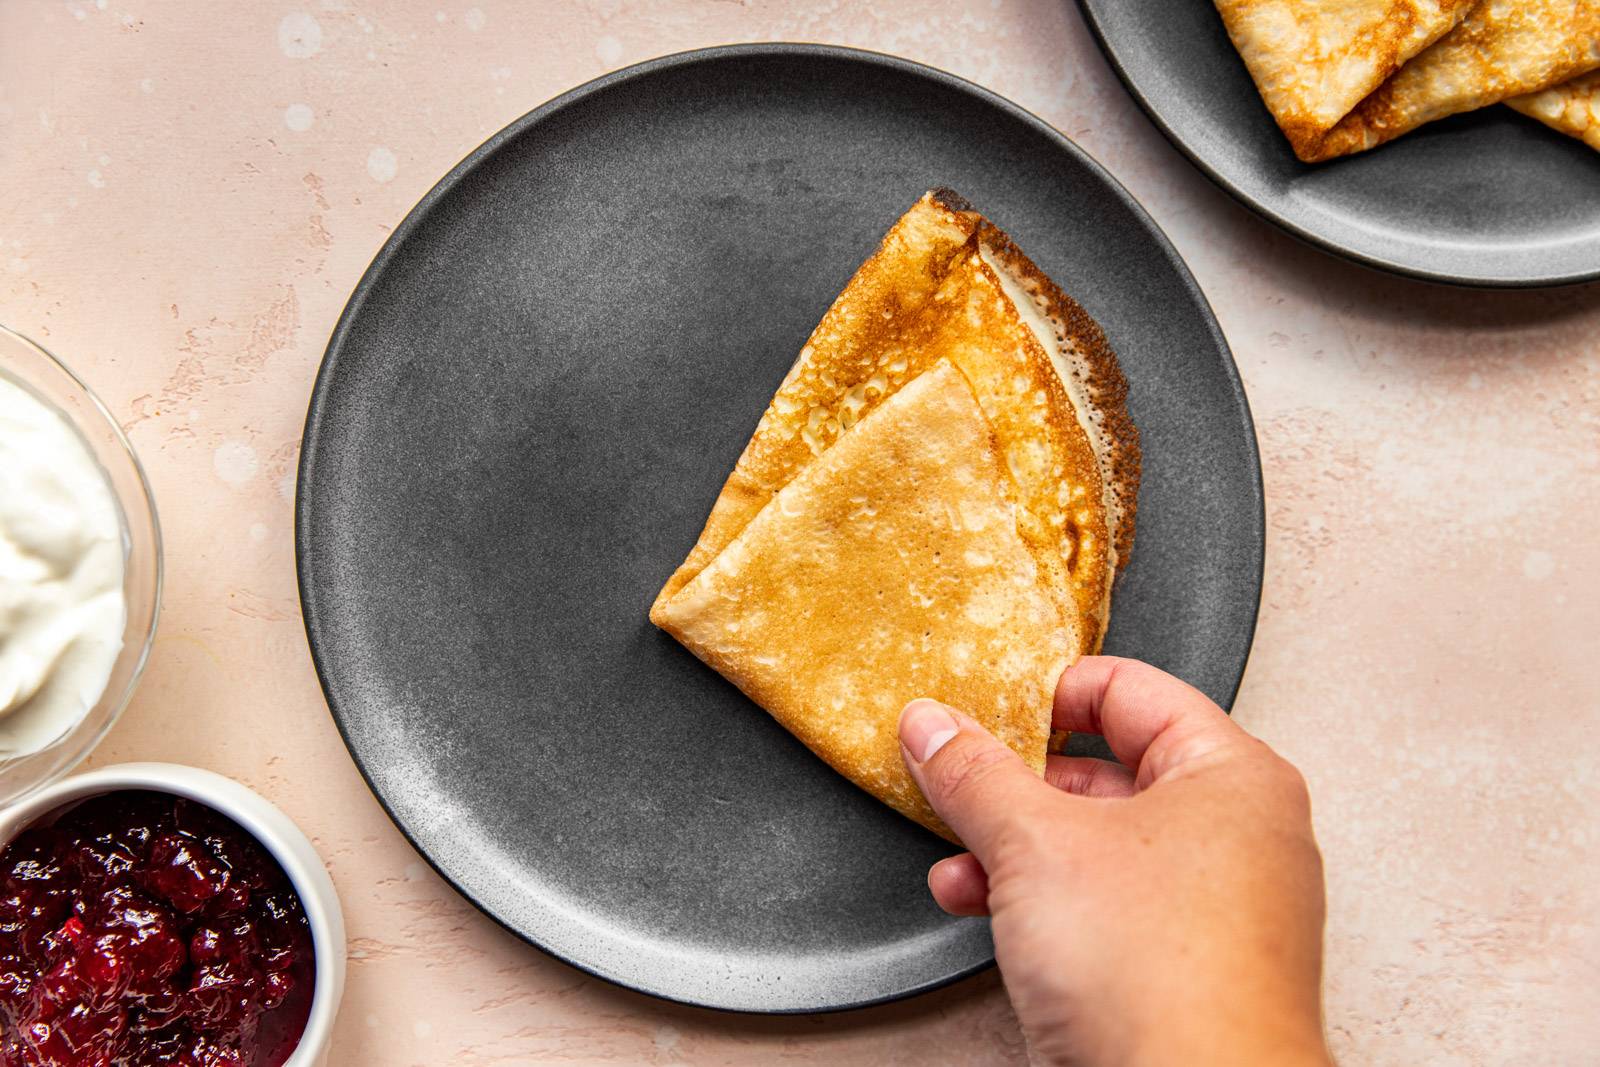
I like to go for a golden brown on the first side of my pancakes (1-2 minutes). They are so thin that once the first side is cooked, you really only need 10-20 seconds on the back side. Once they’re done, even sometimes while they’re still in the pan, I like to fold them into fourths because it gives you so many layers to cut through with your fork. PS. I spy a lacy edge! All from a little pan tilt!
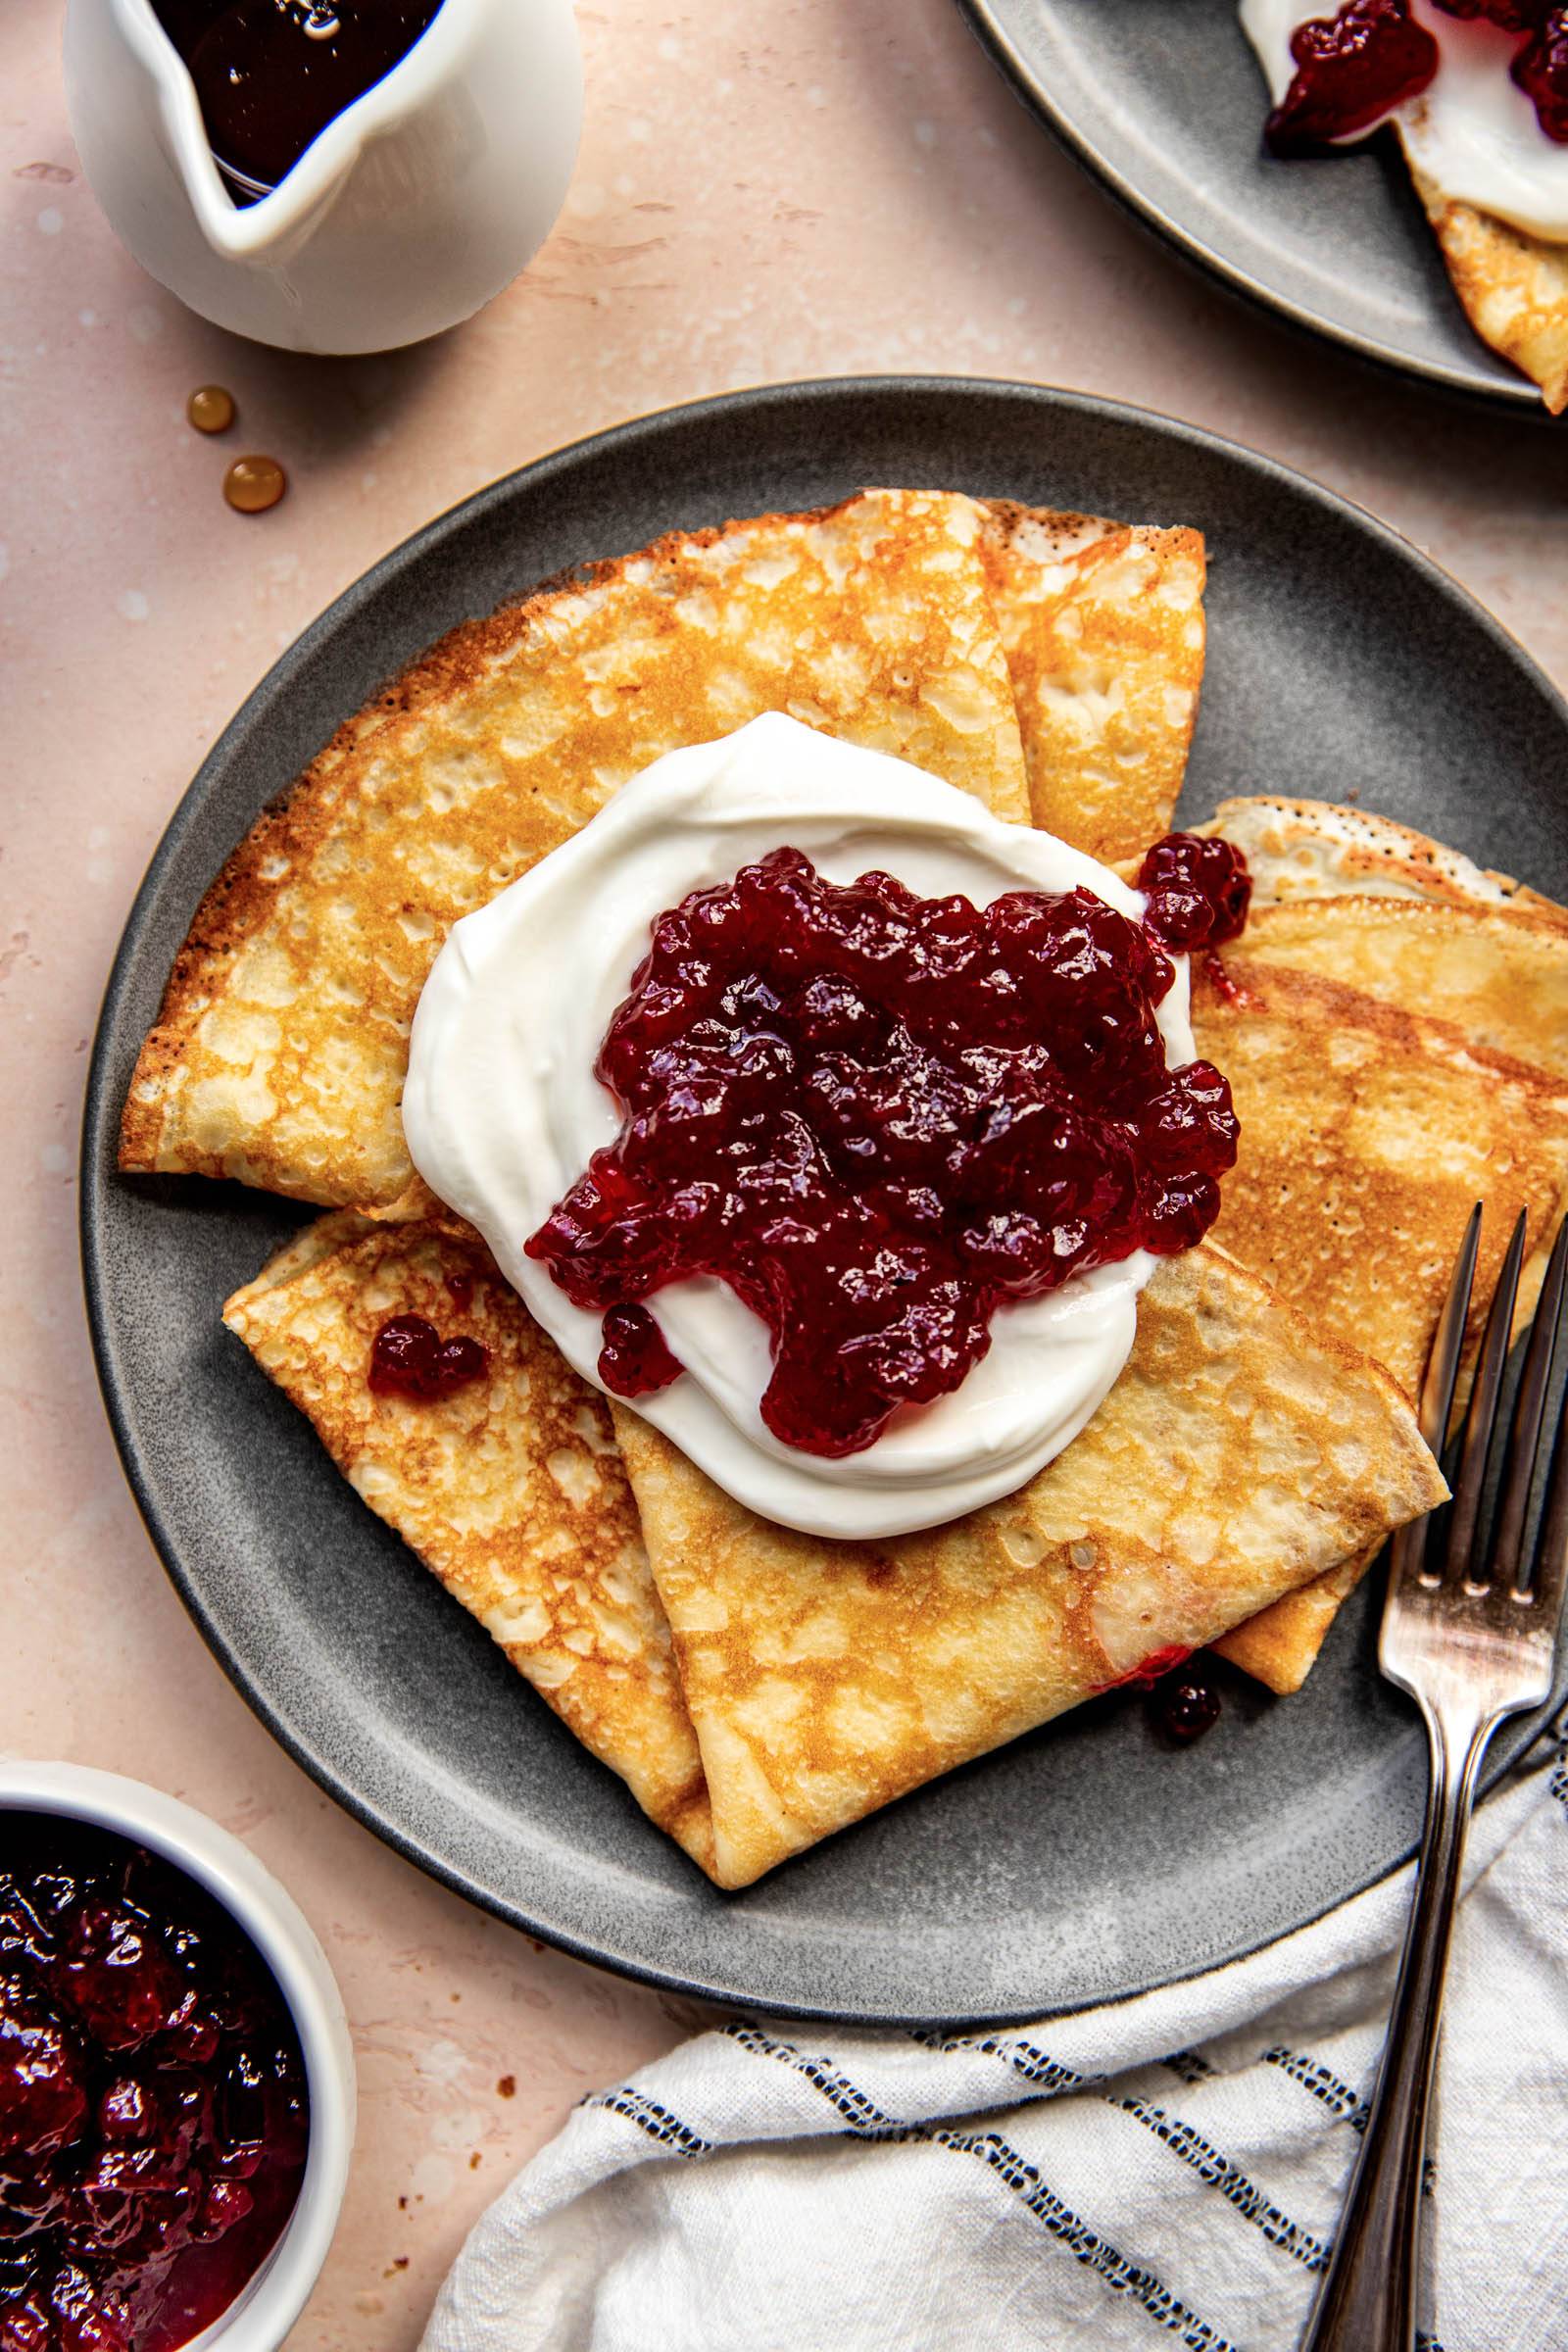
Step 4: Top with lingonberry jam! (Or, whatever it is that you like.)
I’m a firm believer in a jam + creamy element.
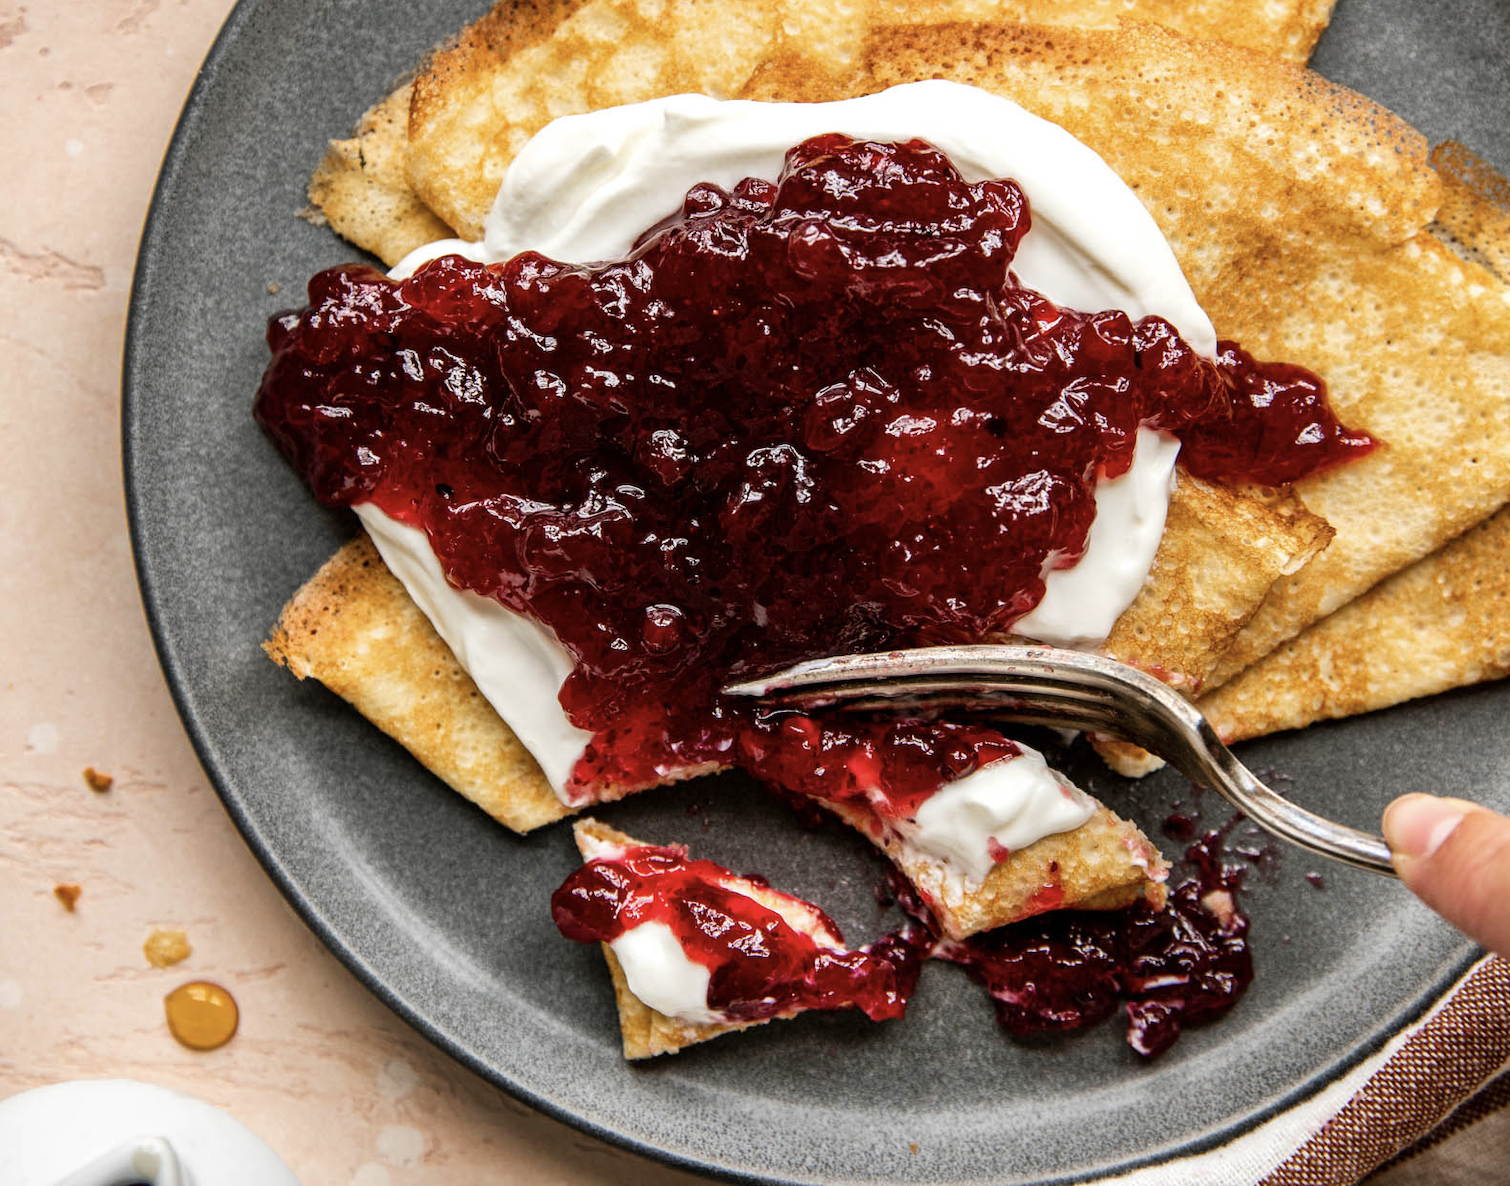
And I’m very strongly going to advocate for lingonberry jam! What are Swedish pancakes without lingonberry jam?! I’ve always eaten this combination together and it’s SO good – sweet, but tart, with a really nice little bit of bitterness that just tastes right against the buttery golden goodness of the pancakes.
Lingonberry jam all the way – I can’t recommend it enough.
If you’re not a lingonberry jam person, my runner-up would be blueberry jam (the Bonne Maman brand is outrageously good) with strawberry jam coming in third. I normally love strawberry jam, but it’s giving more Toast or PB&J and less Swedish Pancakes to me. But I’m just saying this because this is my website. You do you.
I can also recommend the following combinations:
jam + Greek yogurt jam + whipped cream jam + cream (yes, just a straight drizzle of heavy whipping cream) fresh fruit + whipped cream Nutella (not traditional but I wouldn’t say no to it) standard maple syrup and whipped cream
Watch How To Make These Swedish Pancakes
4.9 from 137 reviews
3 eggs 1 1/2 cups whole milk (+ 1/4 cup – see notes) 1 cup flour 3 tablespoons melted butter 1 tablespoon granulated sugar 1/2 teaspoon salt
For Topping:
lingonberry or blueberry jam plain yogurt whipped cream (or just straight heavy whipping cream – trust, it’s delicious)
Pan Tilting Technique: Tilting the pan with the batter in it will also help you adjust how thick or thin the pancakes are, and it creates that light, lacy edge around the outside of the pancakes. I find the best technique is to hold the blender handle with my left hand, and the skillet handle with my right hand. I pour the batter in with my left while almost at the same time tipping the pan with my right hand. This allows you to do the pan tilt in one fluid motion as you’re pouring the batter in, rather than needing to switch hands. No Need to Grease the Pan: I do not add any butter to the pan. I always use my cast iron which is well-seasoned, and the pancake batter has plenty of butter in it, so you should not need to add butter so long as your pan has an appropriately nonstick surface!
Three More Of My Favorites Right Now
