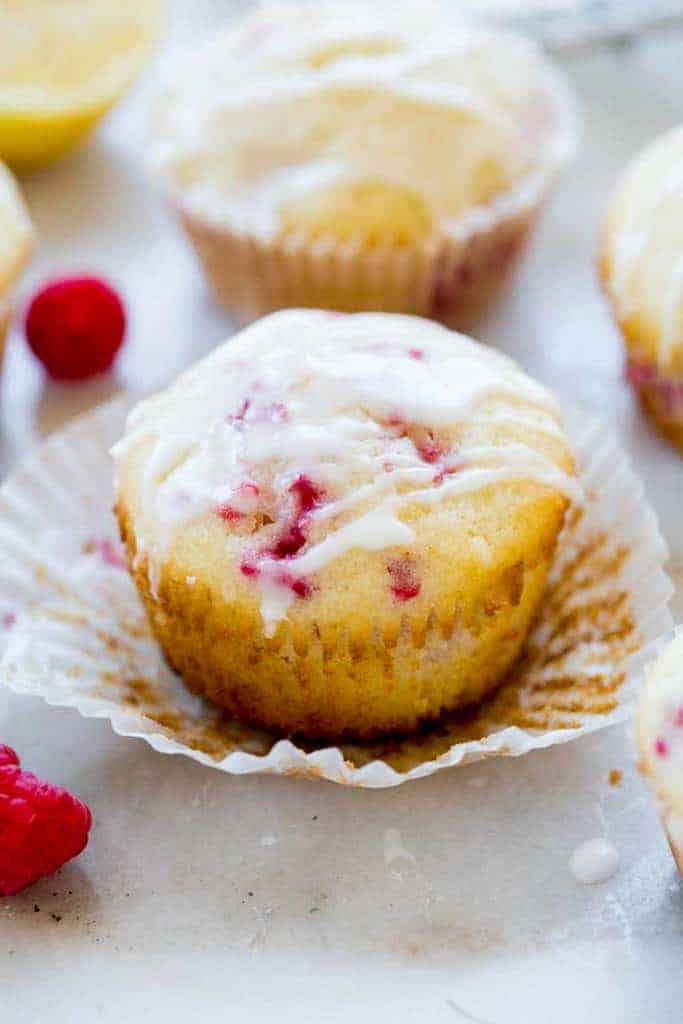
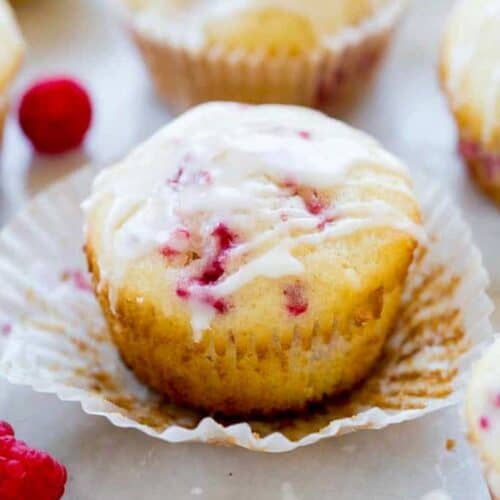
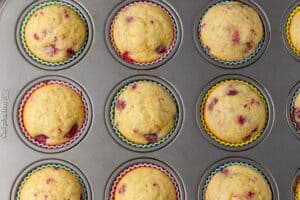
These Raspberry Muffins join the ranks of dozens of other favorite muffin recipes! You can make them any time of year, but I love to make them with leftover raspberries from a big batch of Raspberry Jam.
How to Make Raspberry Muffins:
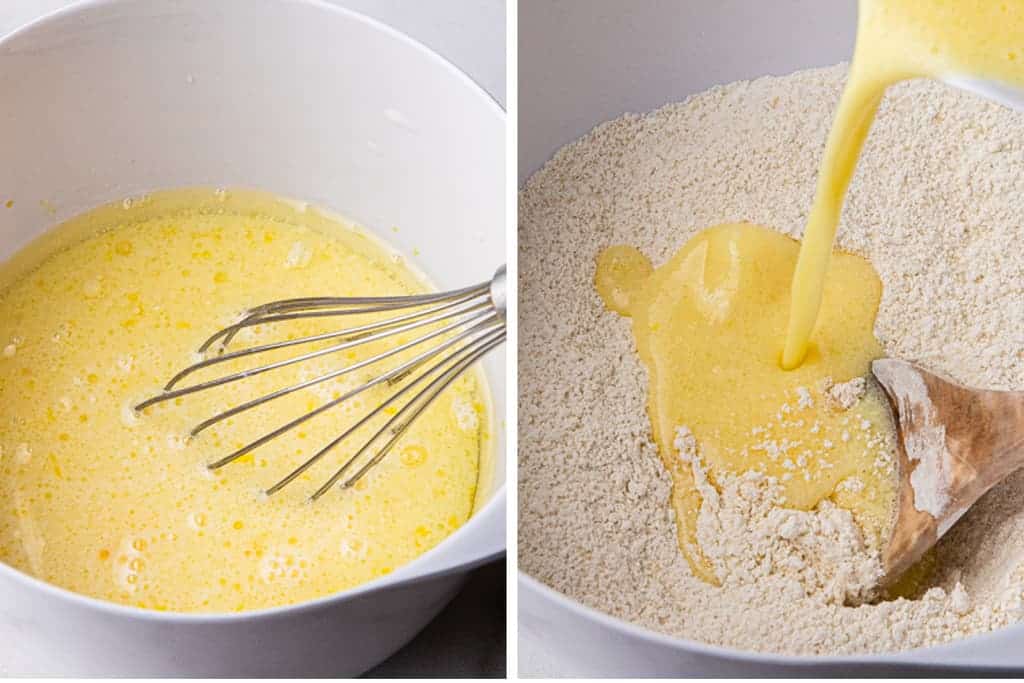
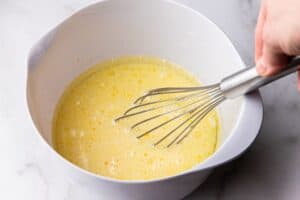
Mix Wet ingredients: Mix together lemon juice and milk (this will make “buttermilk”. In another bowl, mix eggs, oil, lemon zest, and the milk/lemon mixture.Mix Dry Ingredients: flour, sugar, baking powder, and salt.
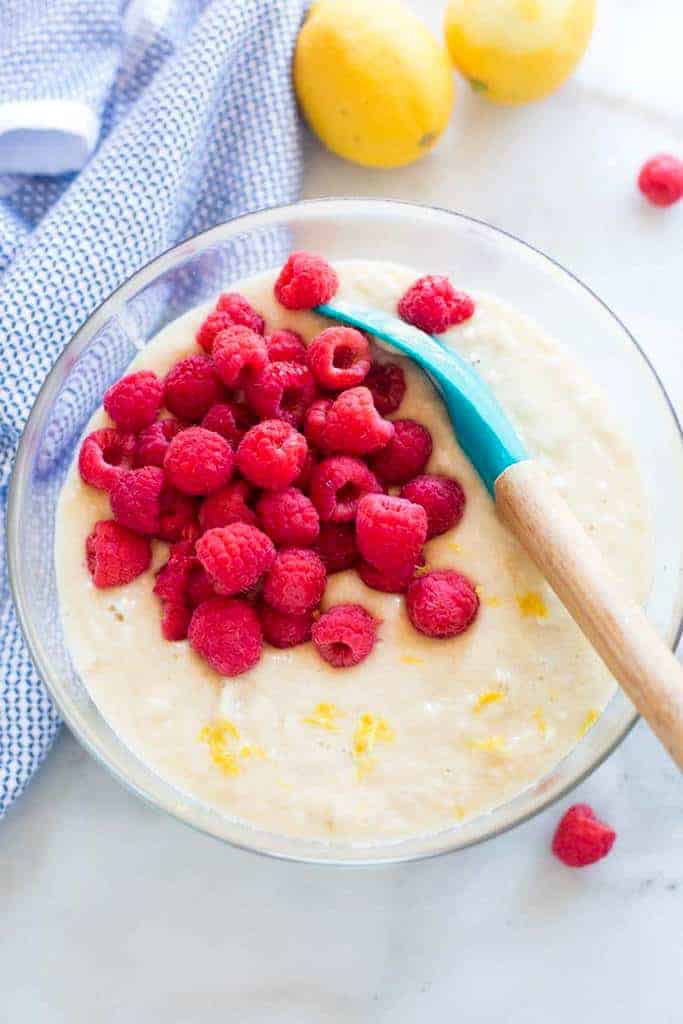
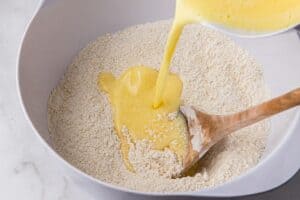
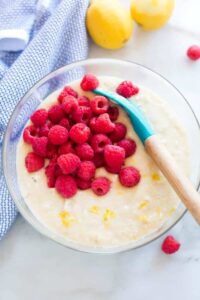
Combine: Stir the wet ingredients into the flour mixture, stirring just until moistened. Fold in the raspberries.
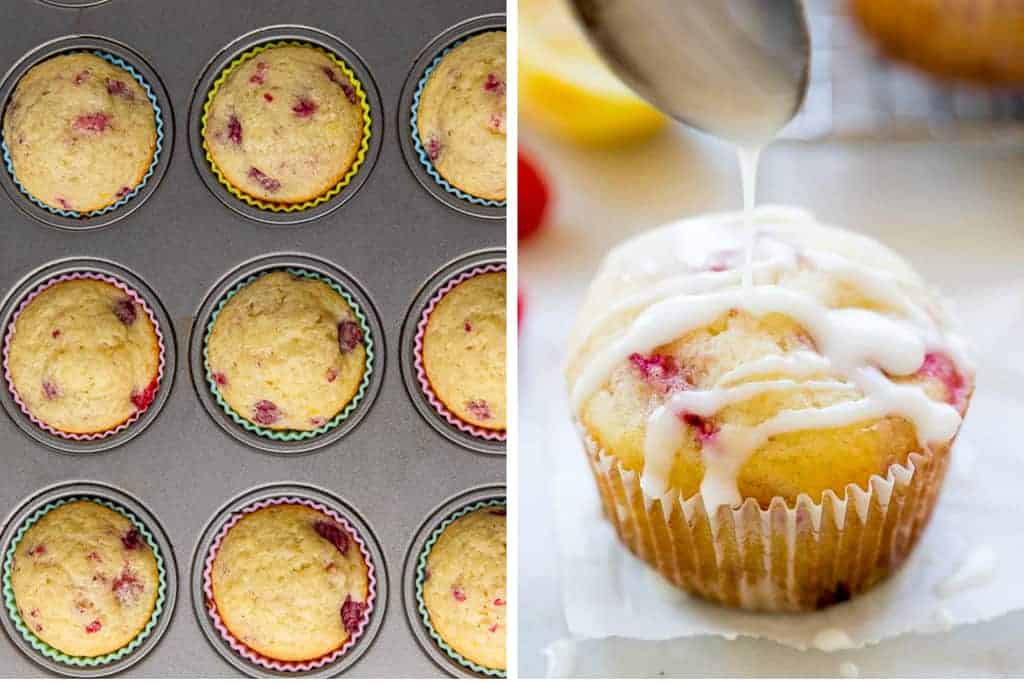
Fill Muffin Tin: Line a muffin tin with paper liners, or grease it well with cooking spray. Fill muffin cups ¾ full. Bake at 400 degrees F for 18-20 minutes or until a toothpick inserted in the center comes out with few crumbs.Glaze: In a small bowl, whisk together the powdered sugar and 2 tablespoons lemon juice. (if you want the glaze even thinner, add an extra tablespoon of lemon juice). Allow the muffins to cool for a few minutes before drizzling with glaze.
Pro Tips:
Use Room Temperature Eggs: they’ll be fluffier and will emulsify in the batter more evenly, making a difference in the final product. To quickly bring eggs to room temperature, place them in a bowl and run hot water over them 30 seconds. Don’t Over-Mix the batter: When adding the wet ingredients to the dry ingredients just stir them with a spoon until everything is incorporated. It’s ok if the batter is not perfectly smooth. Then, fold in the raspberries. Fresh or Frozen Berries: I prefer fresh raspberries, but when they’re not in season frozen will work well or you can substitute a different kind of berry, like blueberries, blackberries or diced strawberries. Taste the Glaze, First: Thin it with lemon juice or make it a little thicker with more powdered sugar.
Freezing Instructions:
Allow Muffins to cool completely, then freeze in a freezer-safe bag or container for up to 3 months. Thaw at room temperature, or warm in the microwave for a few seconds. FOLLOW ME on FACEBOOK, TWITTER, INSTAGRAM and PINTEREST for more great recipes! RATE and COMMENT below! I would love to hear your experience. I originally shared this recipe February 2014. Updated May 2017, and April 2021. Some process photos by Nikole from The Travel Palate. This post contains affiliate links.
