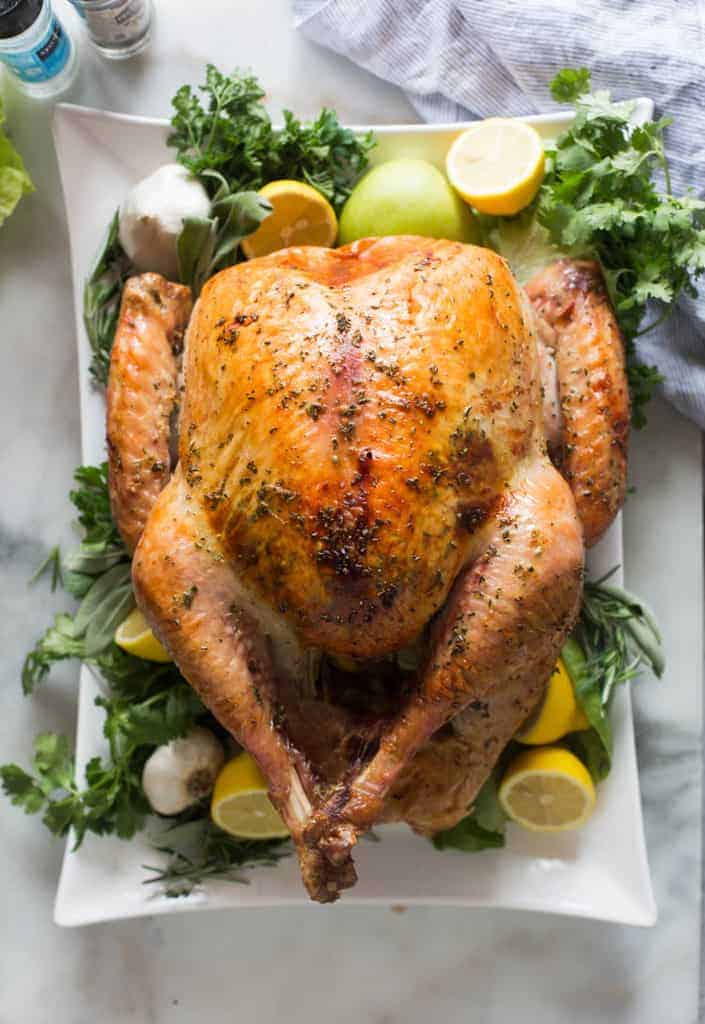
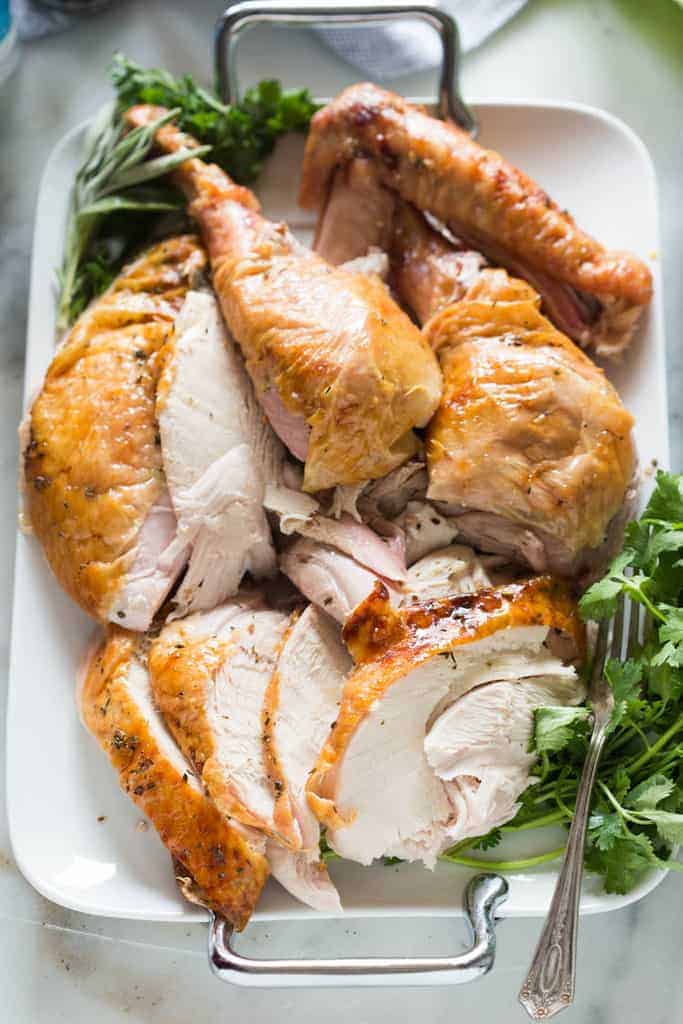
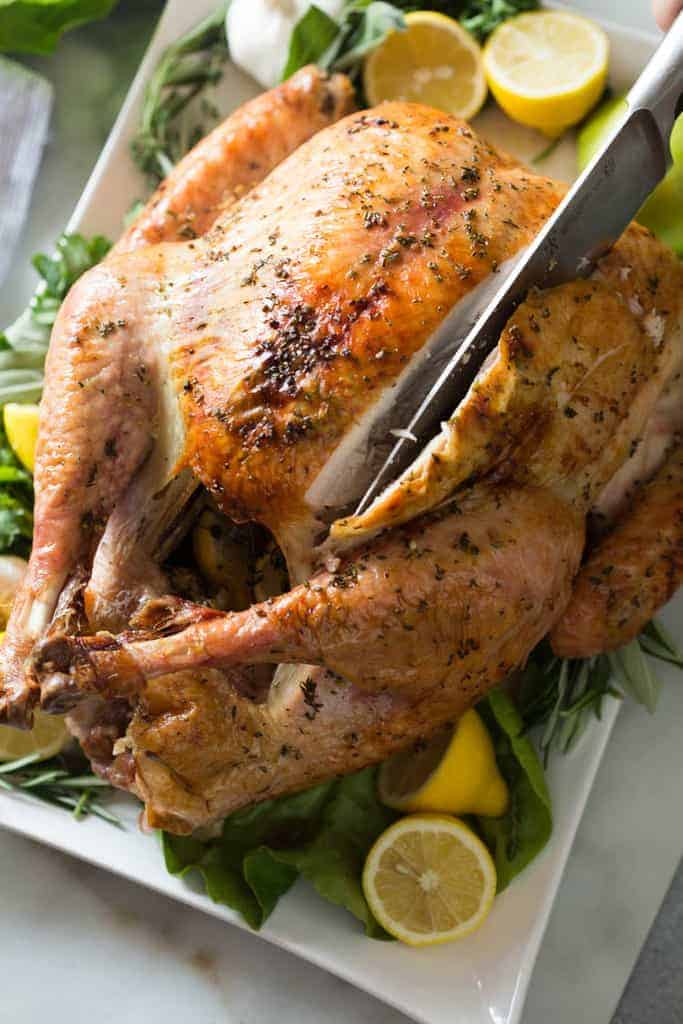
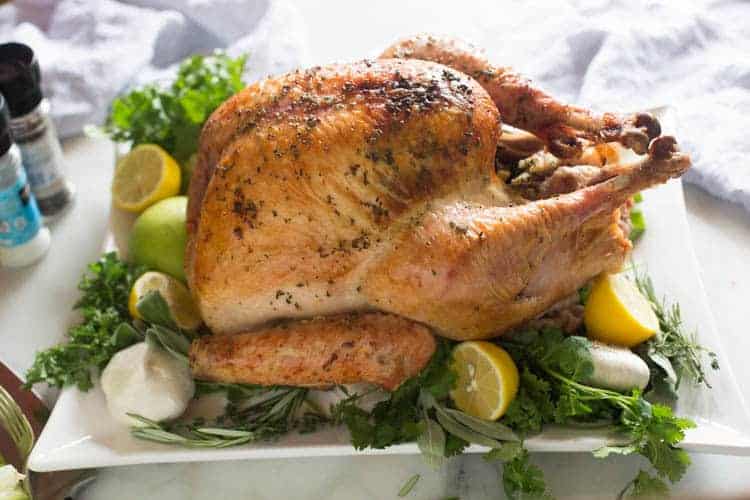
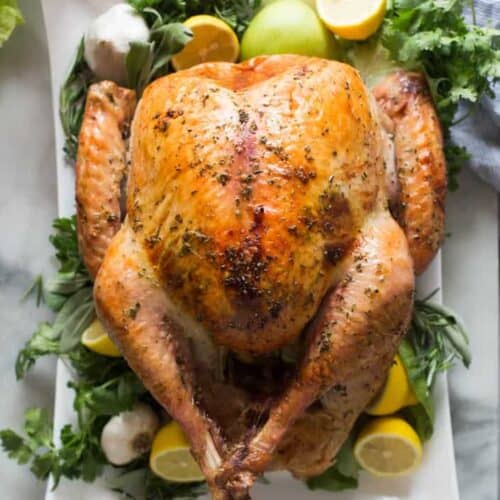
Not only is this roasted turkey recipe fool-proof and easy to make, it will exceed expectations as the centerpiece of your Thanksgiving feast!
Why in the world do people stress so much over their Thanksgiving Turkey? Ok, I guess it IS the centerpiece of your Thanksgiving meal. And that usually means you have a table full of people not to disappoint. Ok, I get it. It’s a big deal. My hope is to squash any fears or insecurities you might have about cooking a perfect, beautiful Thanksgiving Turkey. This method is completely fuss-free and EASY. There’s no brining or basting the turkey, no cooking it upside down, or anything weird. You don’t even need an expensive roasting pan. I’m convinced that this recipe is not only the simplest way to cook a Thanksgiving turkey, it also yields a gorgeous, super juicy, perfectly cooked turkey. The real KEY to baking a perfect Thanksgiving Turkey is not to overcook it–that’s what dries out the meat, and you want to carve into a juicy, moist turkey on Thanksgiving! So, just plan ahead to get the timing right.
First things first: Buy about 1.5 pounds of turkey per person. (So if you’re feeding 6 people, buy at least a 10 lb. turkey). That way you’ll have leftovers. Make sure and allow plenty of time for your turkey to thaw! A good rule of thumb is to allow one day in the fridge for ever 5 pounds of turkey. I always give myself one extra day, just to be safe. Set the turkey on a cookie sheet or pan, to catch any liquid the turkey may drip as it defrosts in the fridge. If you wash your turkey in your sink you will just contaminate your sink. Remove the turkey from it’s packaging, dry it off with some paper towels, and then prepare it for the oven. Any bacteria on the turkey will be killed in the hot oven while it bakes. If you buy a high-quality turkey from the store (like Butterball or Norbest), then brining the turkey is an unnecessary step. You can do it if you want, but you can still achieve a deliciously moist turkey without brining it. However, if the turkey is wild, you should brine it the night before to make sure it will be moist and flavorful. Basting is really unnecessary to produce a beautiful golden brown turkey. It also requires you to constantly open the oven, which causes the oven to loose heat and the turkey to take longer to cook–which could lead to a dry turkey. By smearing an herb butter mixture over the outer and inner skin of the turkey you will ensure the skin will brown beautifully, and taste amazing. If you try to put stuffing/dressing inside the cavity of the bird, the turkey will be overcooked by the time the stuffing reaches a temperature that’s safe to eat. Instead, cook your stuffing in a casserole dish. Then you can fill the cavity of the turkey with things that will give it flavor (and add flavor to the drippings/stock): salt and pepper and any mixture of onion, apple, carrots, celery, or citrus. The only way to really tell if the turkey is cooked (165 degrees F), is by using a thermometer (I love this one). Test the turkey right from the oven—if it reaches 160 degrees F, I take it out and tent it with foil. It will continue to cook inside the foil tent to make up that extra 5 degrees. After removing the turkey from the oven, let it rest for at least 15 minutes, or up to 40 minutes (that gives you some extra time if you need to bake or warm anything else in the oven). If you’re using the drippings for gravy, remove the turkey from its pan, to a cutting board and tent it with foil while it rests there. If you’re not using the drippings, then just leave the turkey in the pan and tent with foil. If you have a big metal roasting pan, great! If you don’t, no worries. Just use a casserole dish big enough to fit the bird, or buy a $1 disposable foil roasting pan from Walmart (then you can throw it away after). Place a bunch of chopped veggies on the bottom of your pan. The veggies will act like the wire rack in a regular roasting pan by elevating the turkey slightly. Place the turkey right on top of the chopped veggies. After the turkey is finished cooking there will be juice and browned cooked bits at the bottom of your roasting pan. You can reserve all of it for making turkey gravy. You can also use the leftover neck and giblets you pull from the turkey when you remove it from the packaging, to make giblet gravy. The most flavorful gravy! Your grandma would be proud 😉
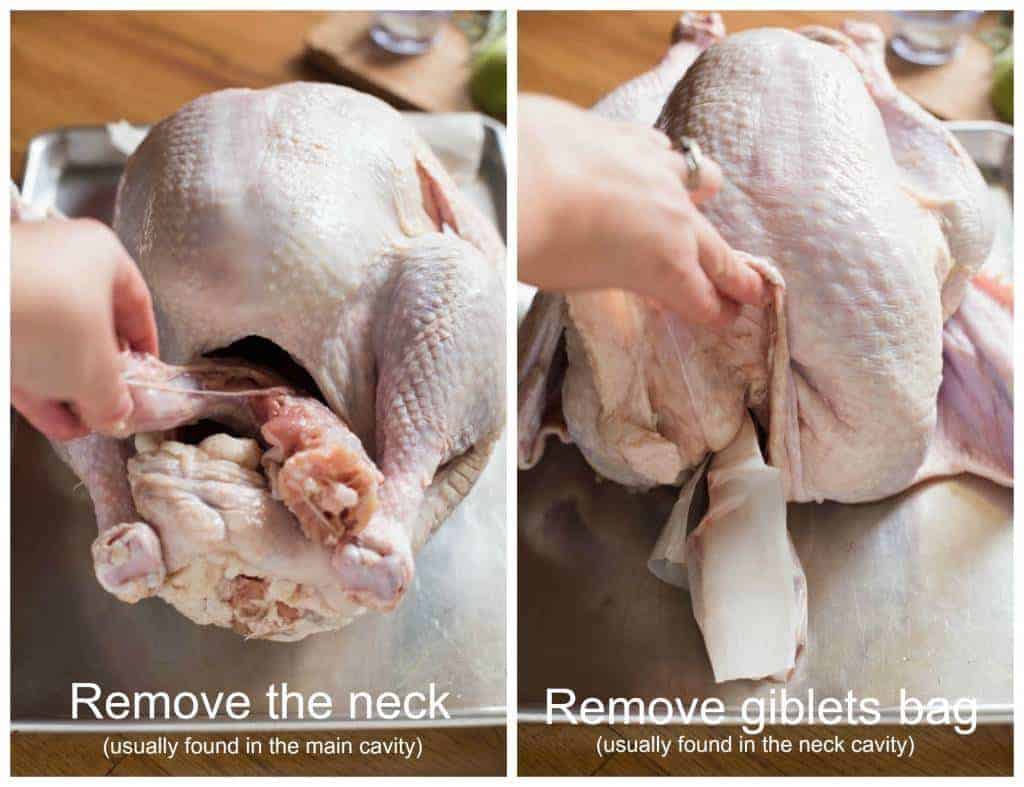
First, remove the thawed turkey from it’s packaging. Remove the neck (usually found in the large cavity of the bird) and the bag of giblets (sometimes found in the smaller neck cavity of the bird). Discard them, or save them for gravy. Pat the turkey dry with paper towels.
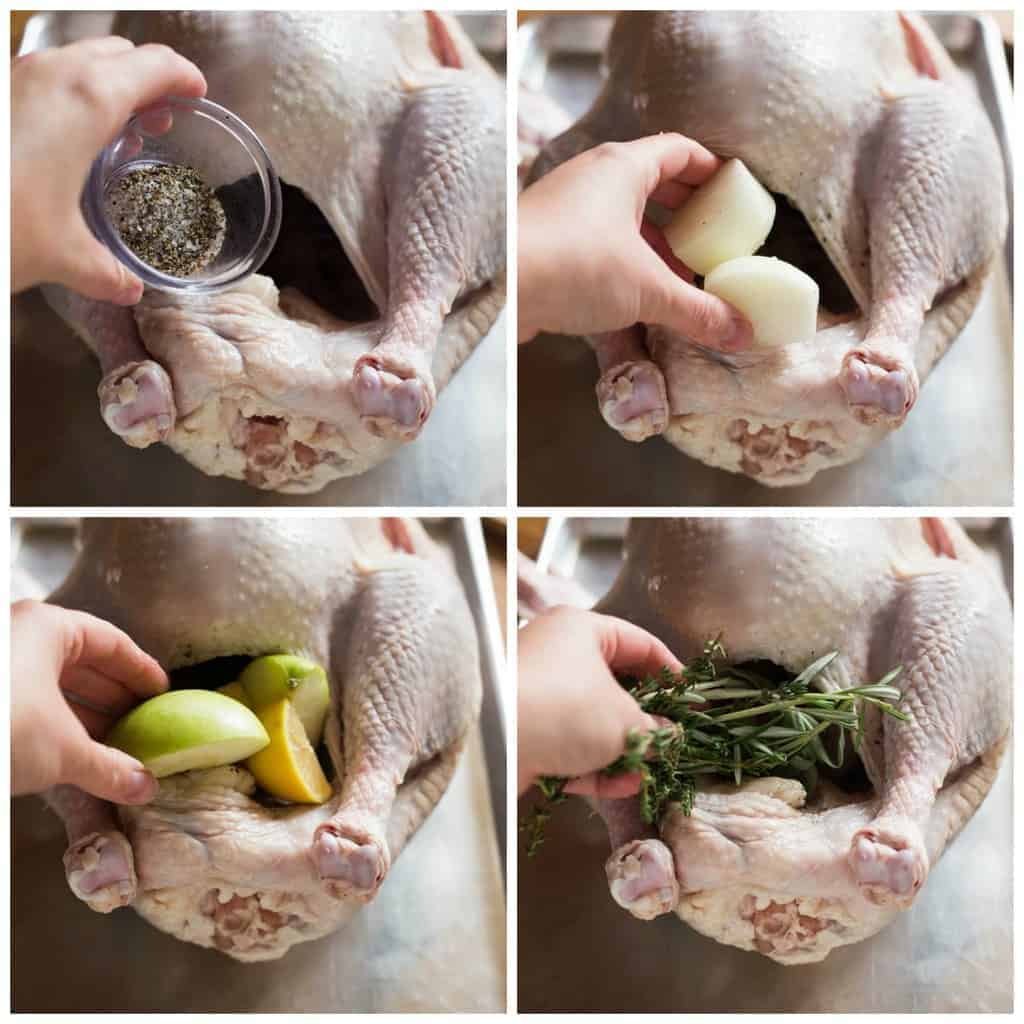
Next, season the cavity of the turkey with salt and pepper. Stuff it with the quartered lemon, onion, apple and herbs.
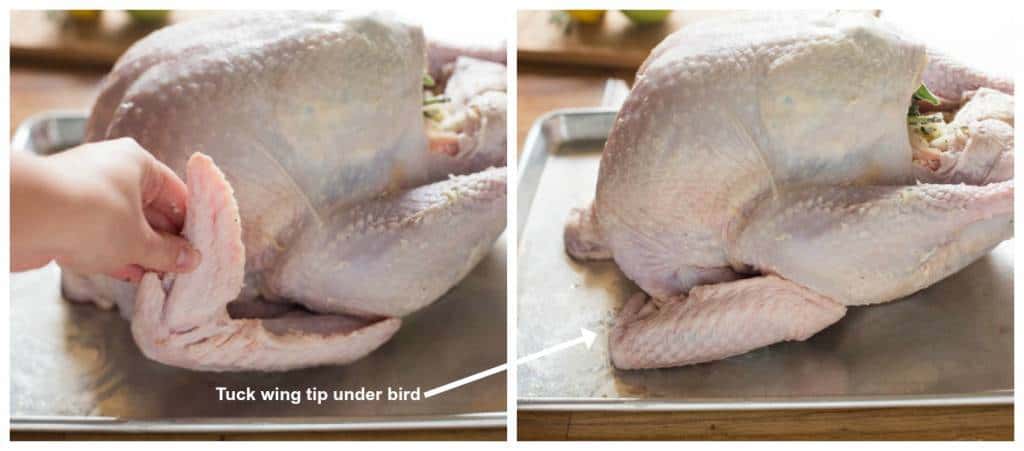
Tuck the wings of the turkey underneath the turkey and set the turkey on a roasting rack inside a roasting pan (or on top of a bed of chopped veggies —carrots, onion and celery work well—in a disposable roasting pan). Tucking the wings prevents them from burning, and helps the turkey sit flatter.
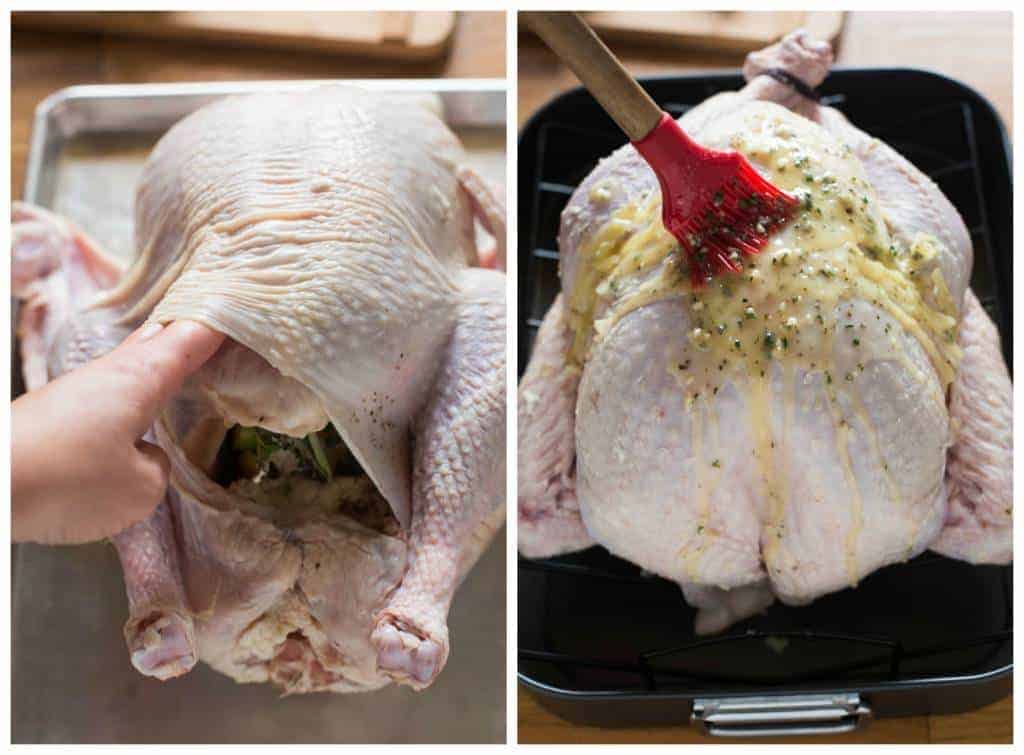
Use your fingers to loosen and lift the skin above the breasts (on the top of the turkey) and smooth a few tablespoons of the herb butter underneath. Use some twine to tie the turkey legs together. Then slather the outside turkey in the rest of the herb butter. That’s it! You are ready to let your oven do the rest of the work!
You will want to check the turkey about half way through cooking. Use your oven light to see if the skin is golden, and then place a large piece of tinfoil over the breast meat of the turkey to help keep it from overcooking.
Whether this is your first time cooking a turkey, or you just decided to give this method I try, I would love to hear from you! Rate the recipe and comment below with your experience.
Best Homemade Rolls Broccoli Casserole Perfect Mashed Potatoes Sausage Cranberry Pecan Stuffing Sweet Potato Casserole Cranberry Fluff Salad Apple Cranberry Fruit Salad Triple Berry Pie Other pie recipes
You can also FOLLOW ME on FACEBOOK, TWITTER, INSTAGRAM and PINTEREST for more great recipes! RATE and COMMENT below–I would love to hear your experience. *This post contains affiliate links. I love sharing my favorite products with you! This post contains affiliate links.
