What I love about this healthy snack:
Fast: Kale chips are so EASY and fast to make! Just toss them with some olive oil and salt, bake them, and sprinkle with parmesan cheese! Healthy: Kale is a super food for good reason. It’s high in fiber and a great source of Vitamins A, K, C, E, and Calcium. Plus, it’s low-calorie! Inexpensive: Fresh kale is really cheap at the grocery store and you likely already have garlic, salt, olive oil, and parmesan in your fridge!
How to Make Kale Chips:
Chop the kale. Remove the large stems from kale and chop it into chunks.
Wash the kale. I use a salad spinner to wash the kale because it works really great for removing all the water from the kale. The key to crispy kale chips is making sure the kale is completely dry before seasoning it, and giving the individual pieces of lettuce space on the pan. If the kale is too wet or overcrowded it will steam, instead of roast. .
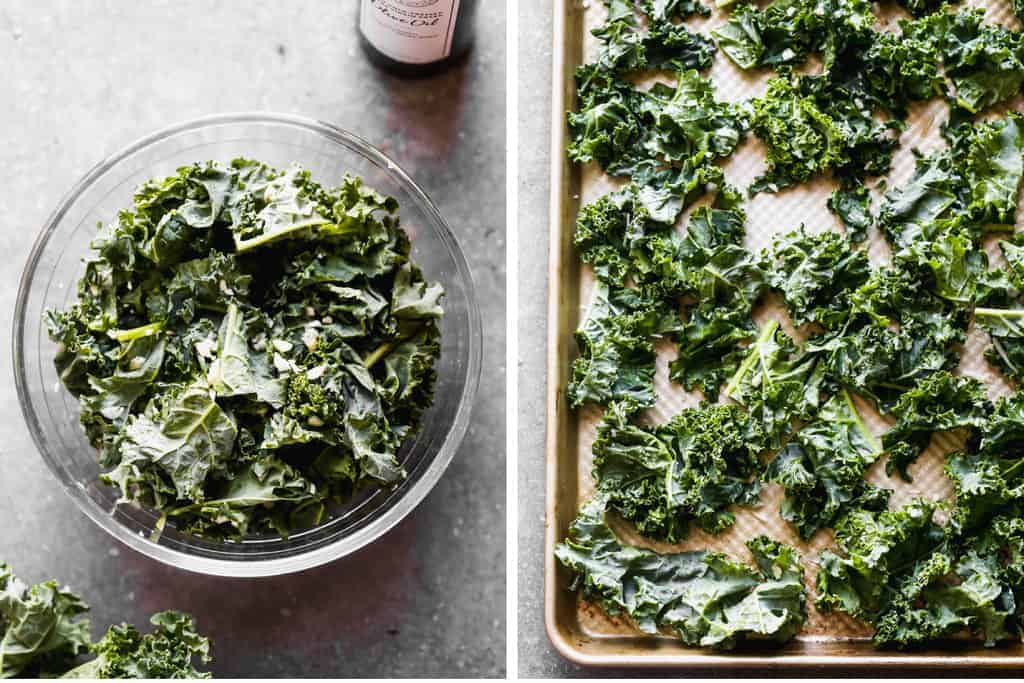
Season. Place kale in a large bowl and toss lightly with olive oil, sea salt, and garlic.
Bake. Lay the freshly seasoned kale flat on a large baking sheet. For best results, don’t overcrowd the baking sheet. (Make in two batches if necessary). Bake at 300 degrees F for 10 minutes, then rotate the pan and bake for an additional 10-15 minutes or until crisp.
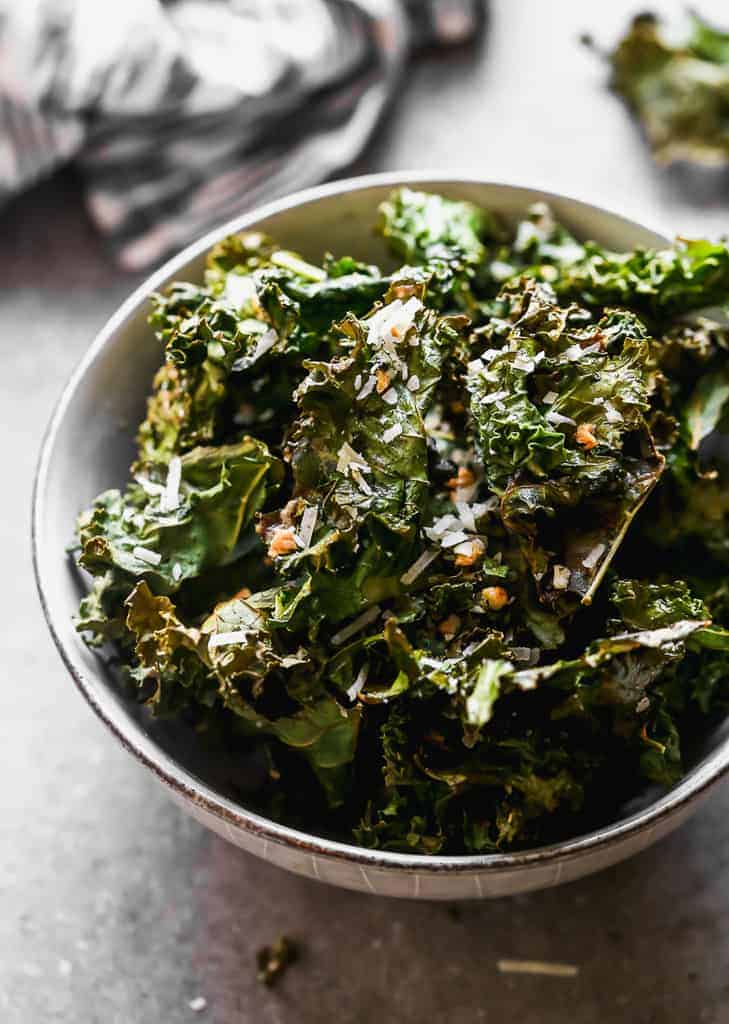
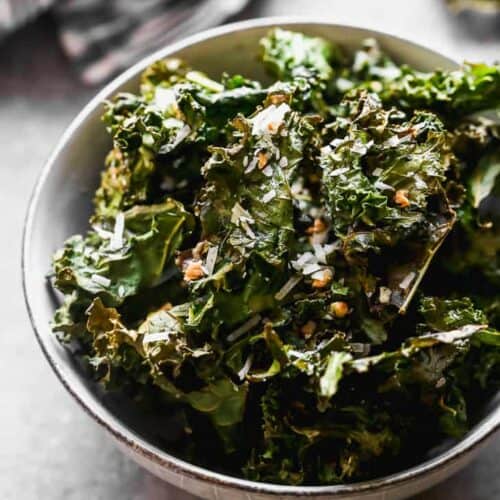
Top with parmesan. Allow to cool for a few minutes on the baking sheet, then sprinkle with parmesan cheese. Serve warm or store. Store kale chips in an airtight container at room temperature for up to one week.
Seasoning Variations:
I season my kale with olive oil, sea salt, and garlic then top them with a handful of parmesan cheese before baking them in the oven. You can really season them with whatever flavors you like. Try chili powder, cumin, onion powder and paprika for a southwest flavor.
More Healthy Snacks to Love:
Healthy Applesauce Oat Muffins Strawberry Banana Protein Smoothie No-Bake Granola Bars Healthy No-Bake Granola Bites Tomato Avocado Melt
FOLLOW ME on FACEBOOK, TWITTER, INSTAGRAM and PINTEREST for more great recipes! Have you tried this recipe?! RATE and COMMENT below! I would love to hear your experience. I originally shared this recipe July 2013. Updated January 2020 with step-by-step photos and instructions. This post contains affiliate links.