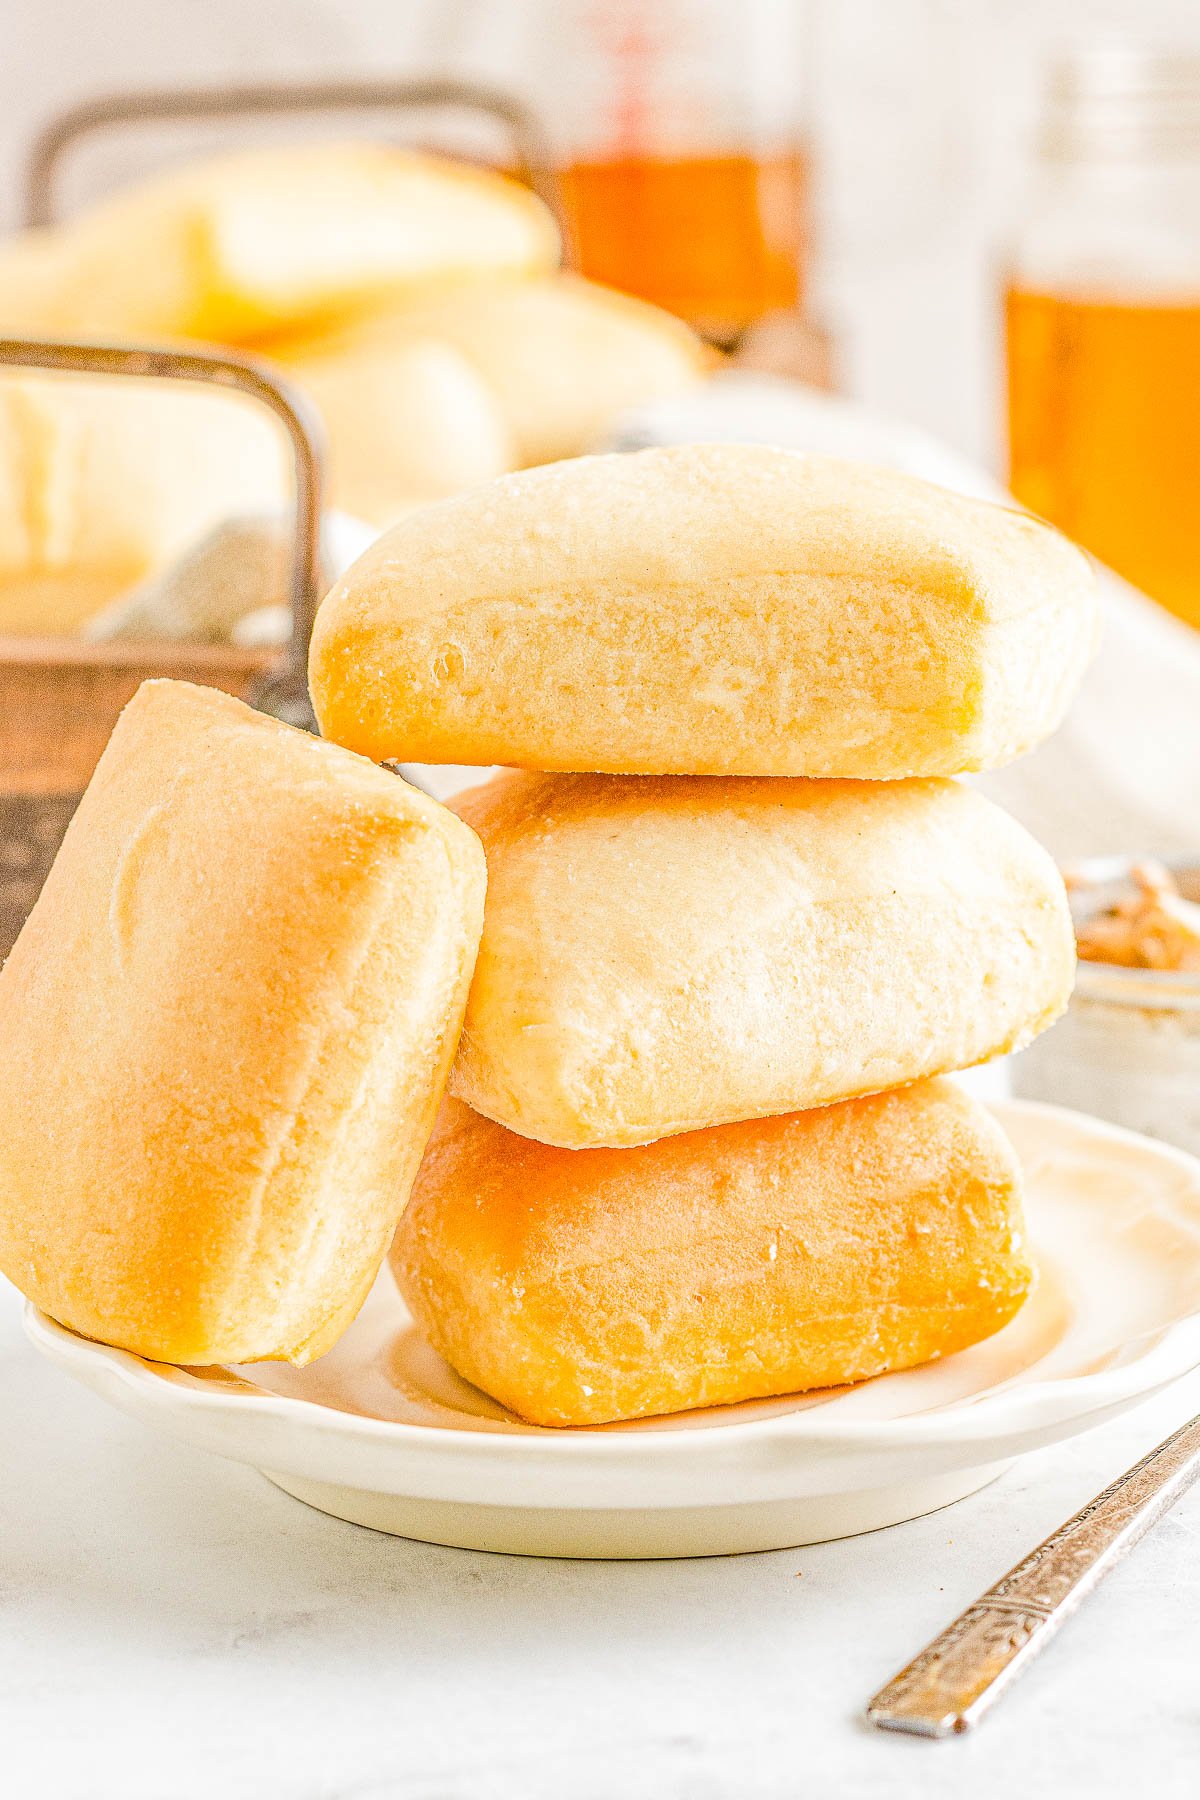
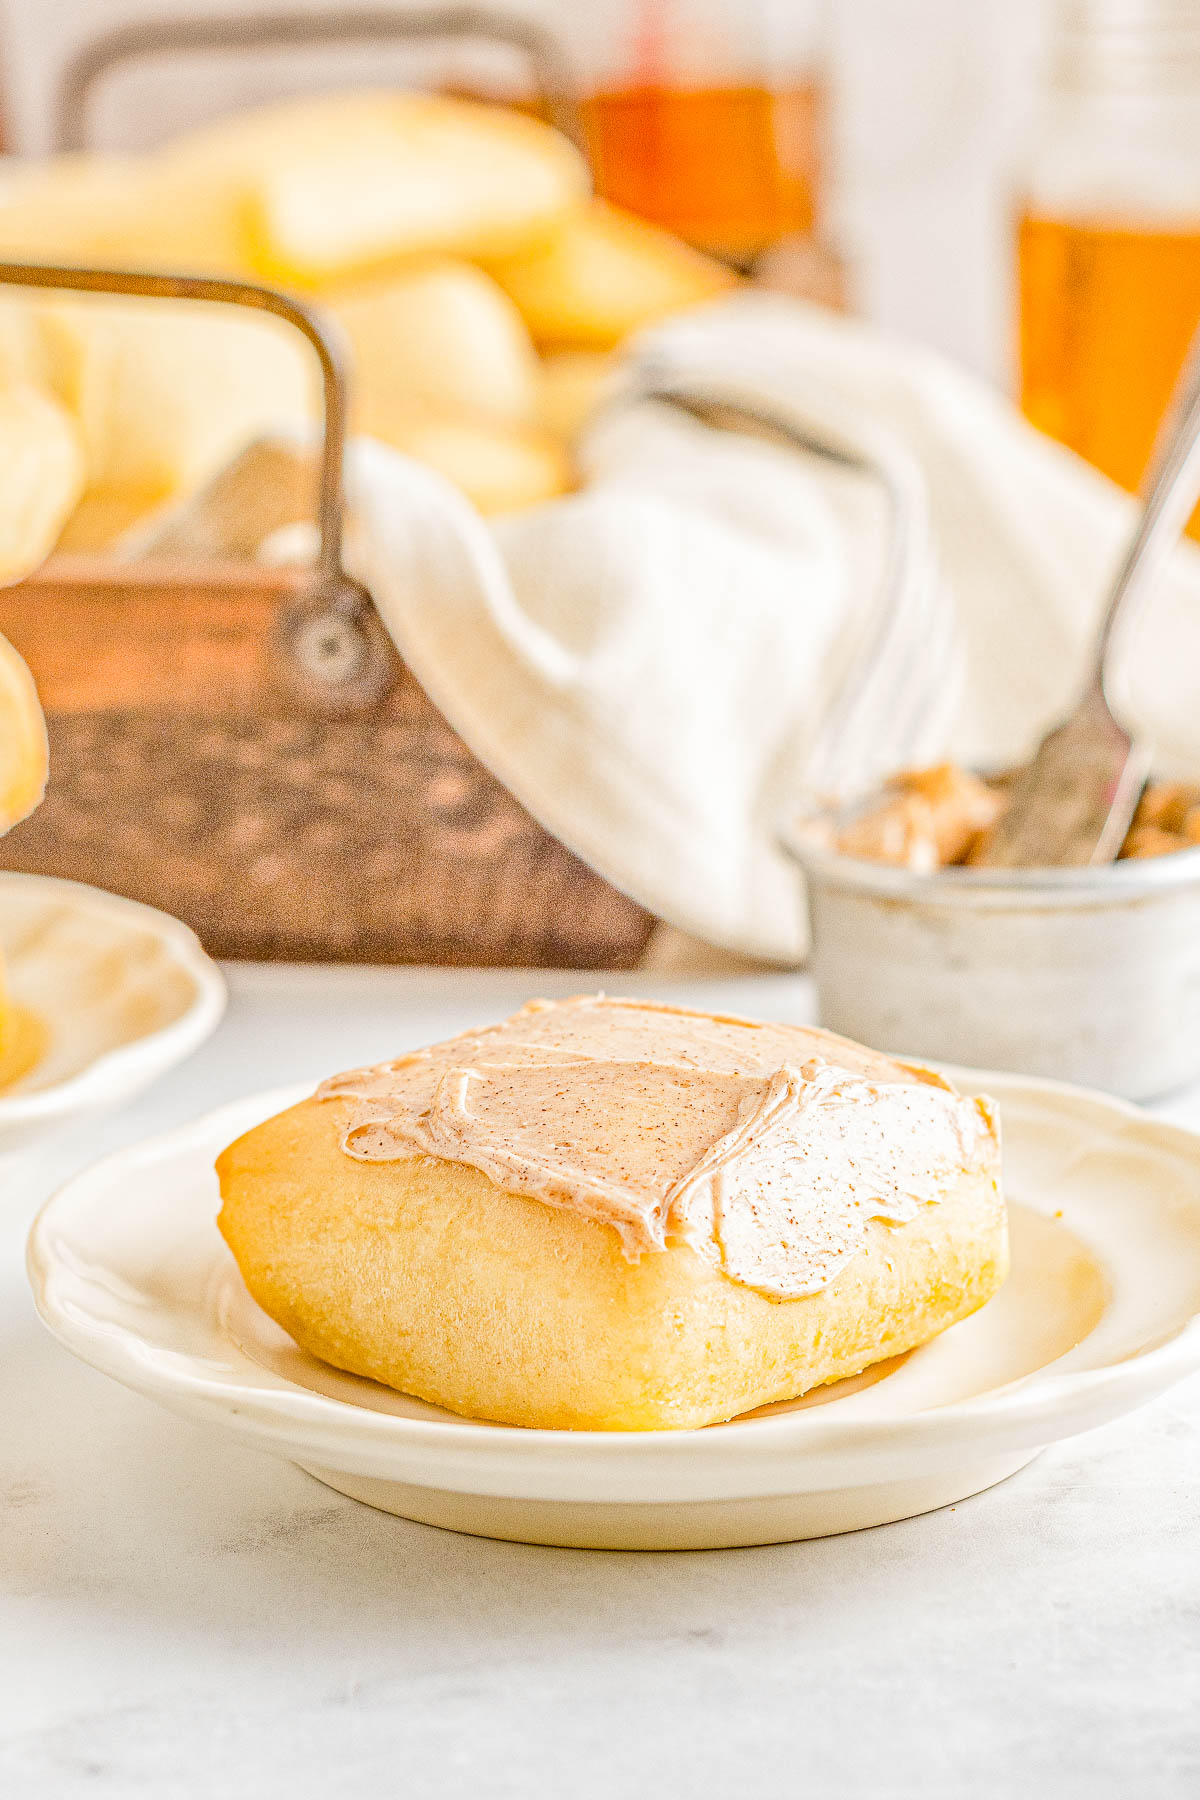
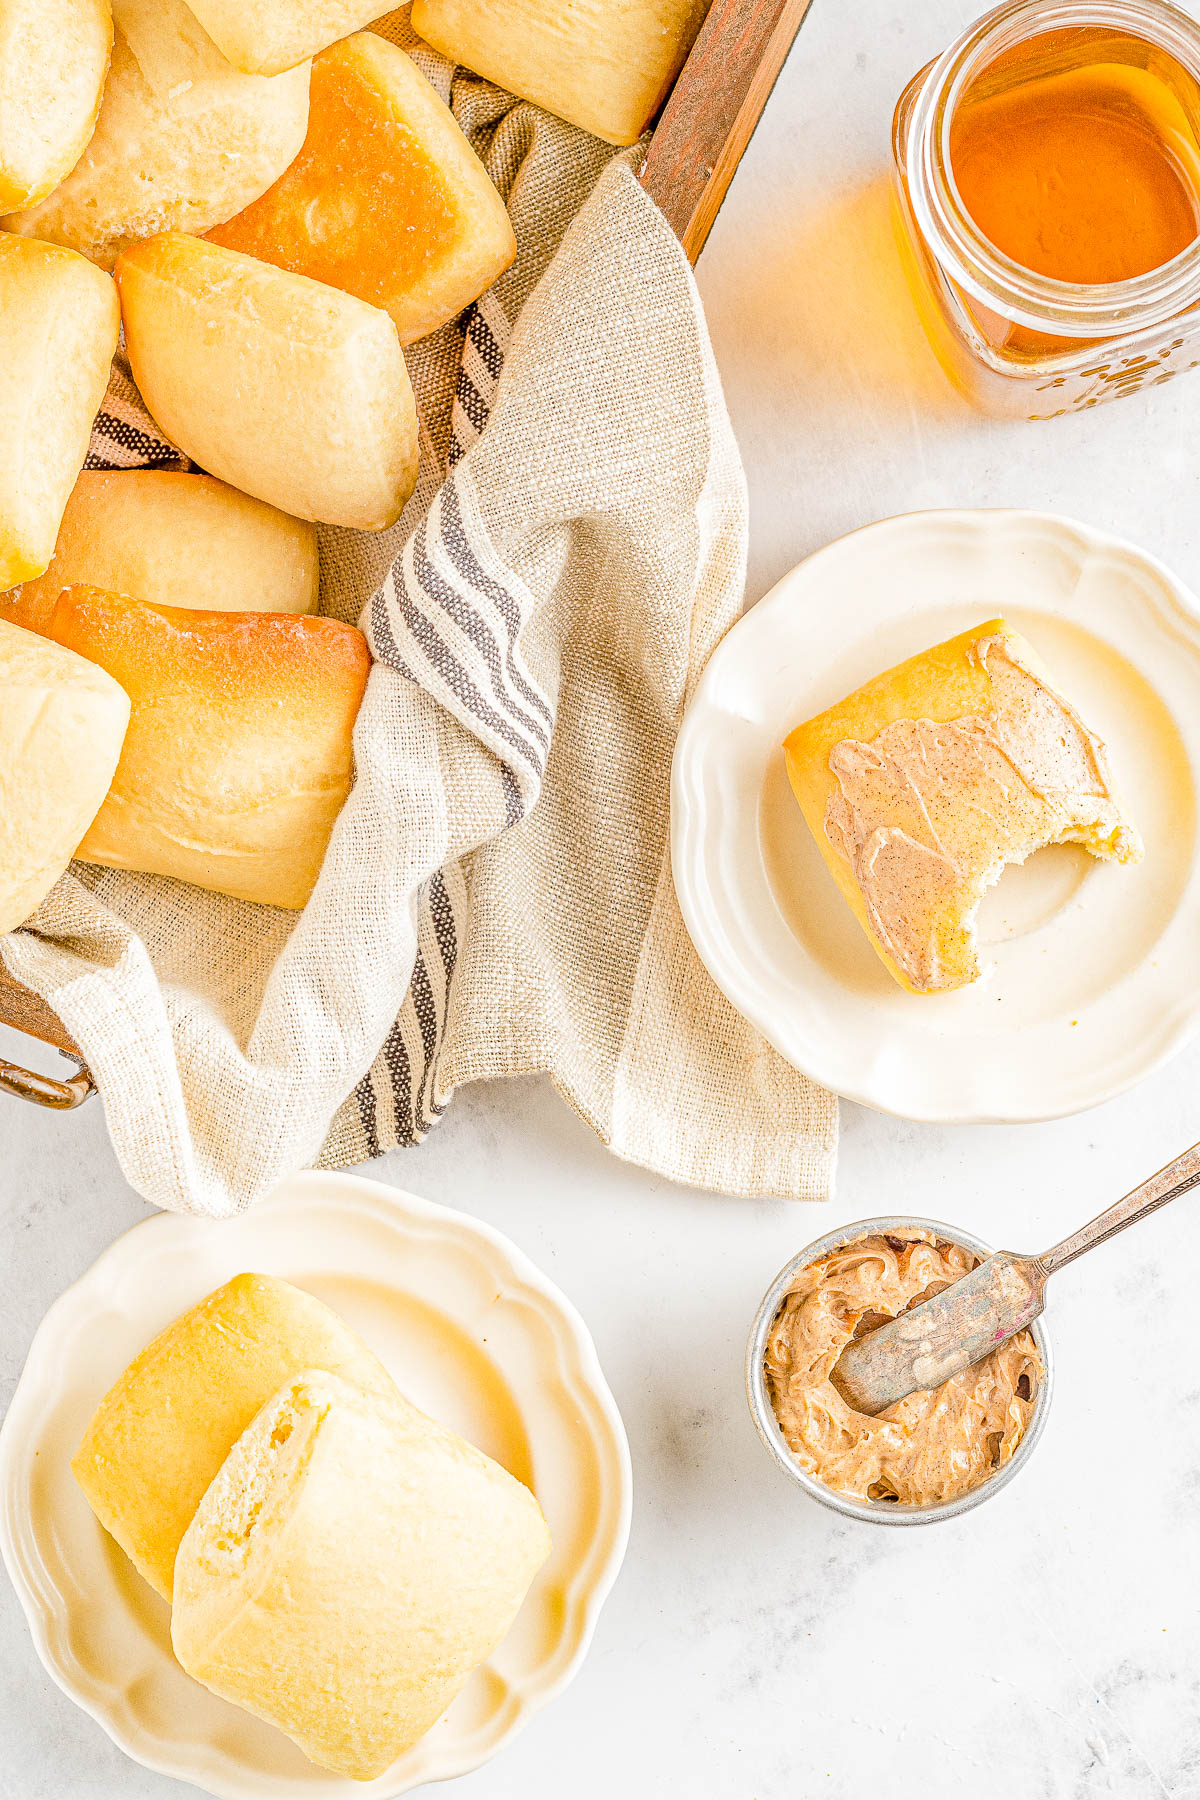
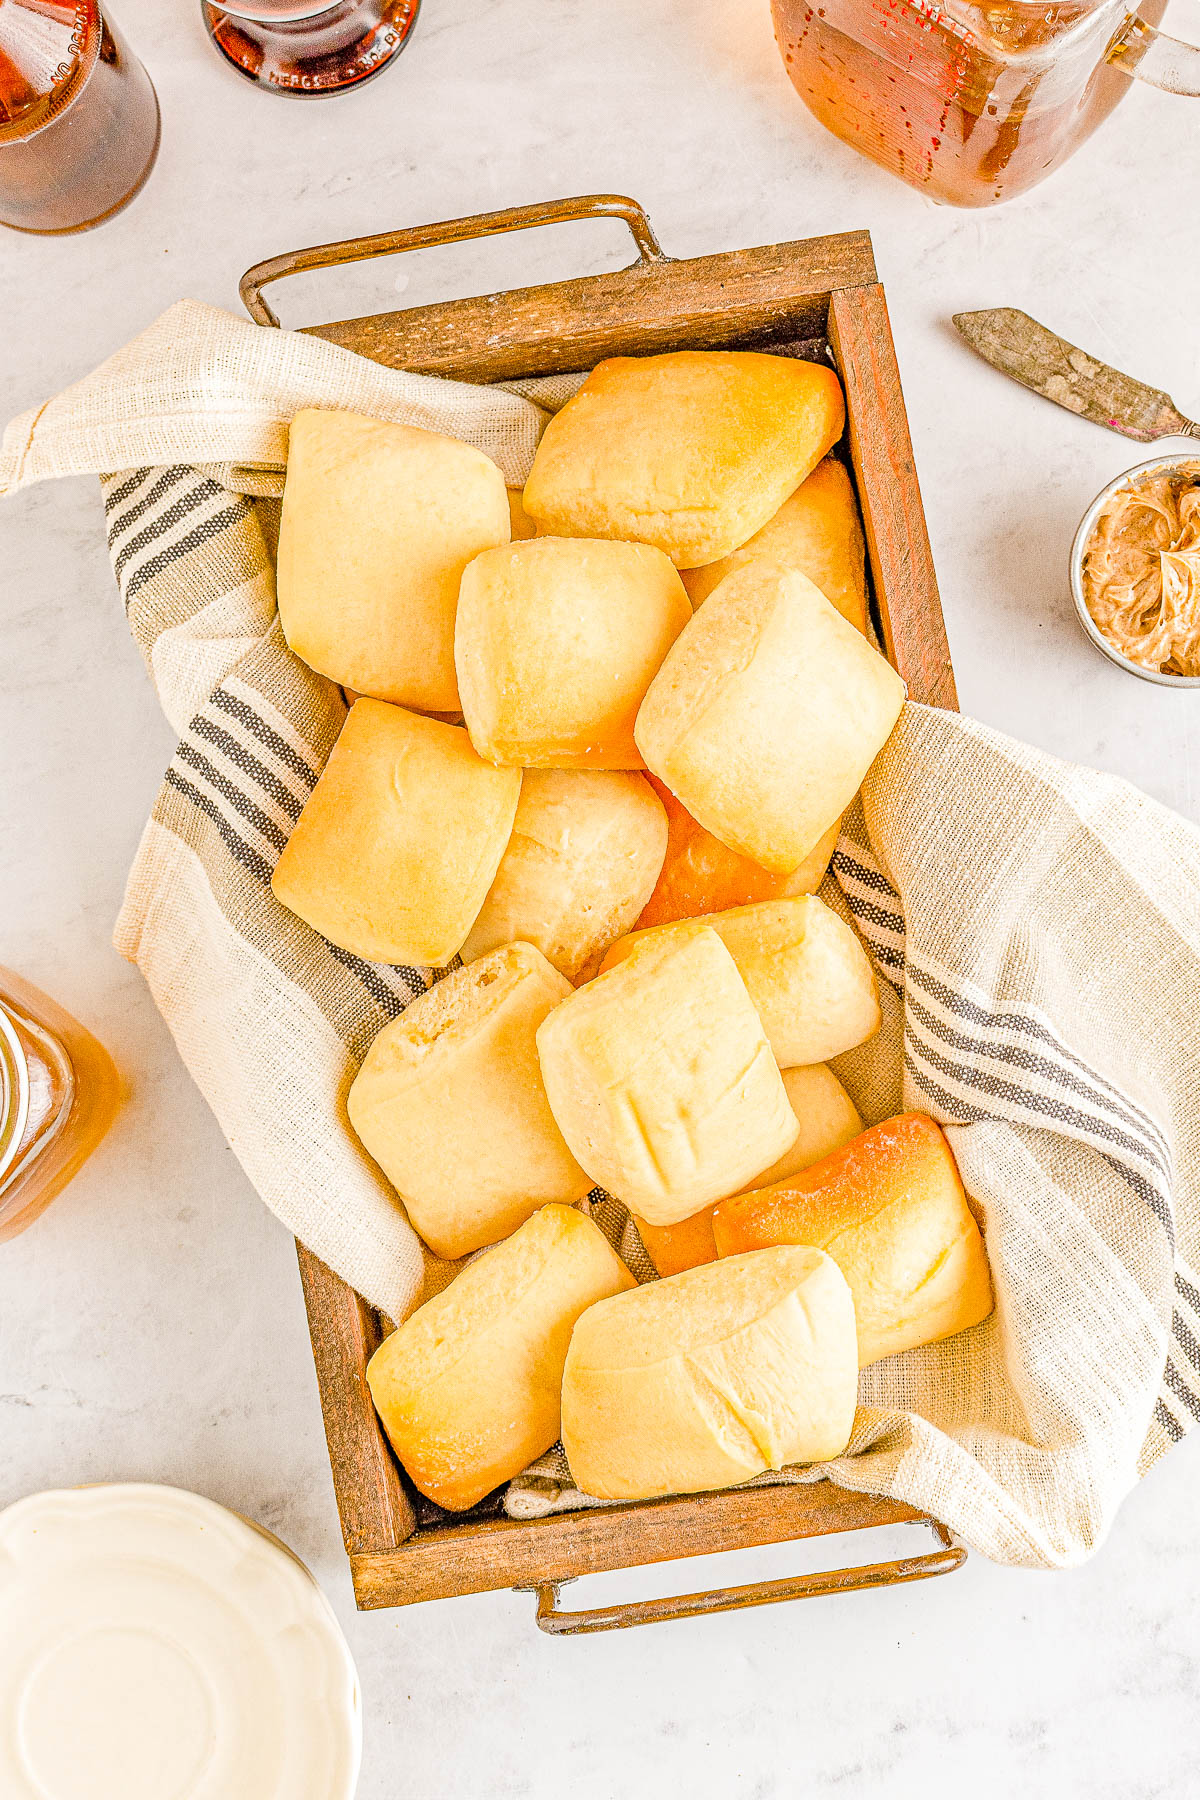
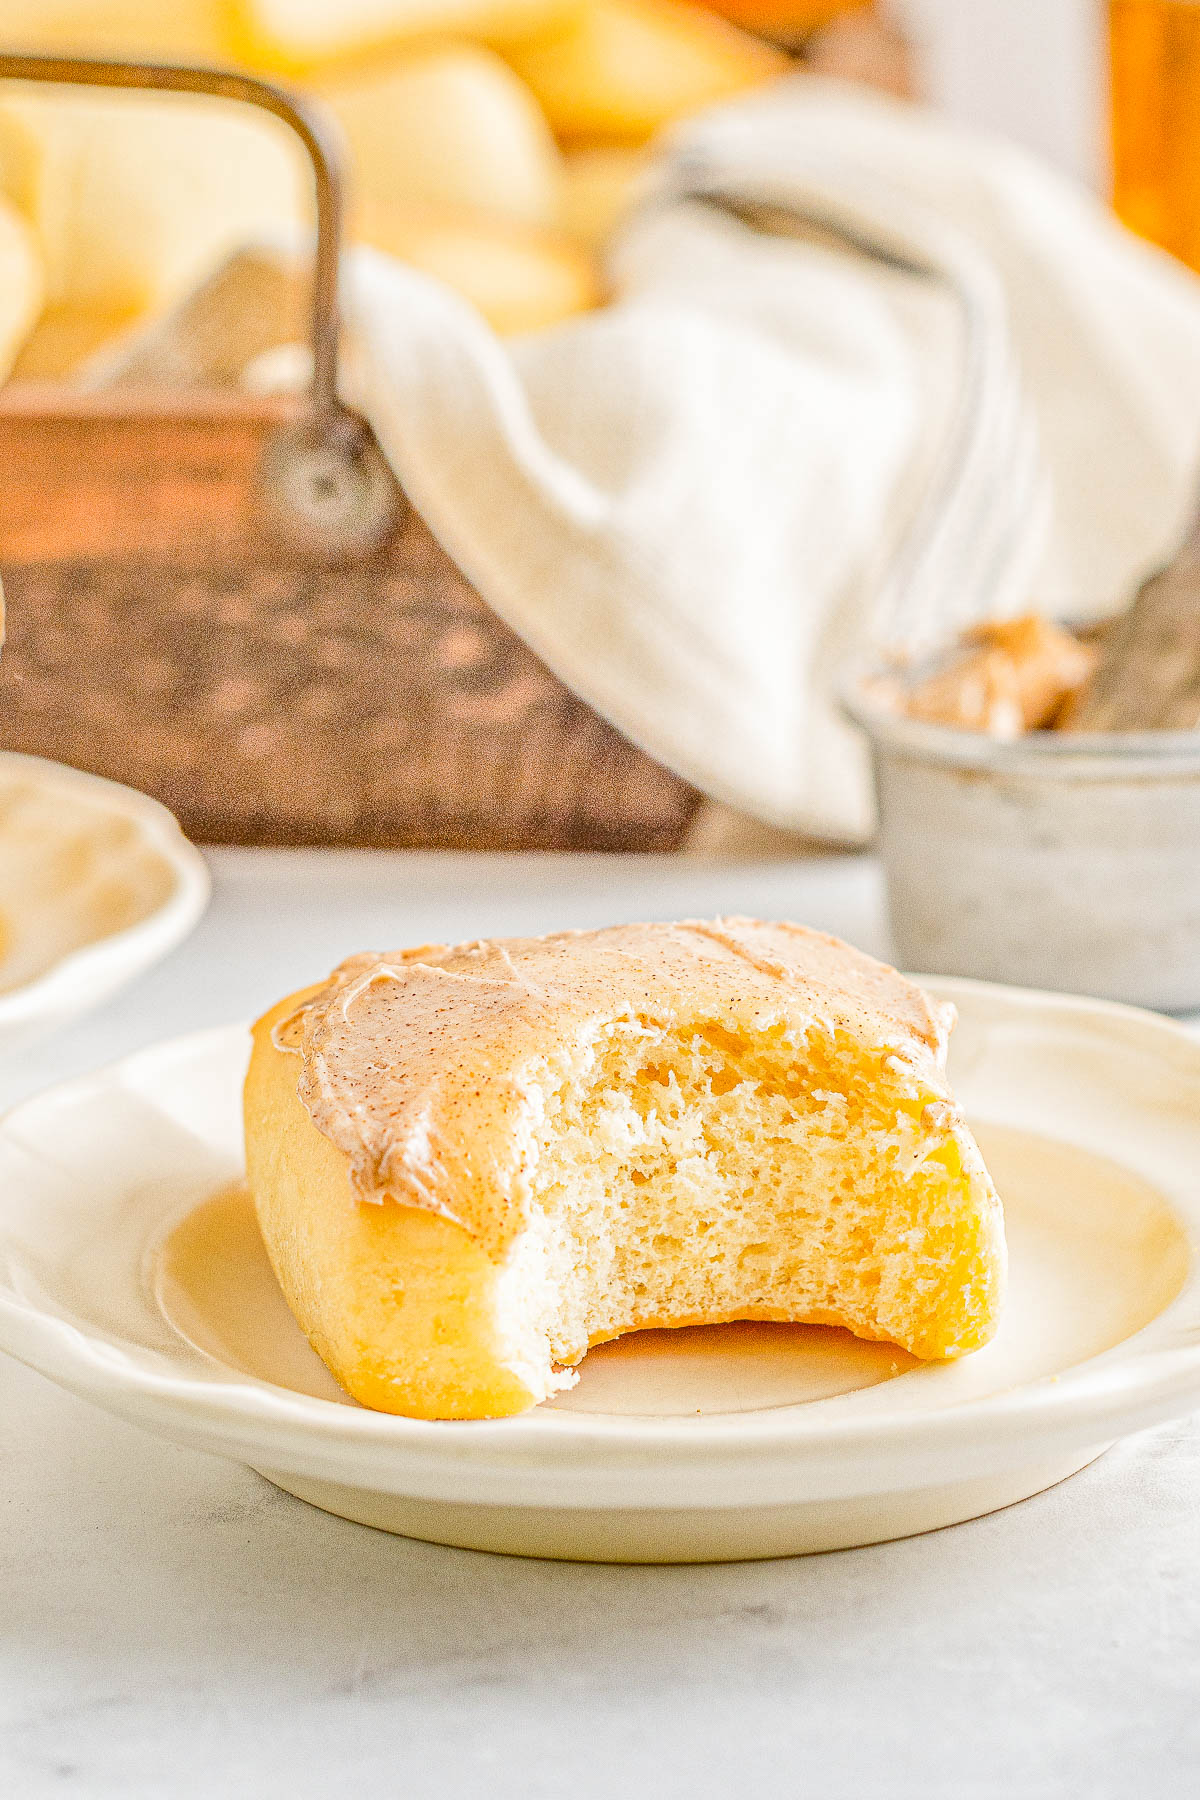
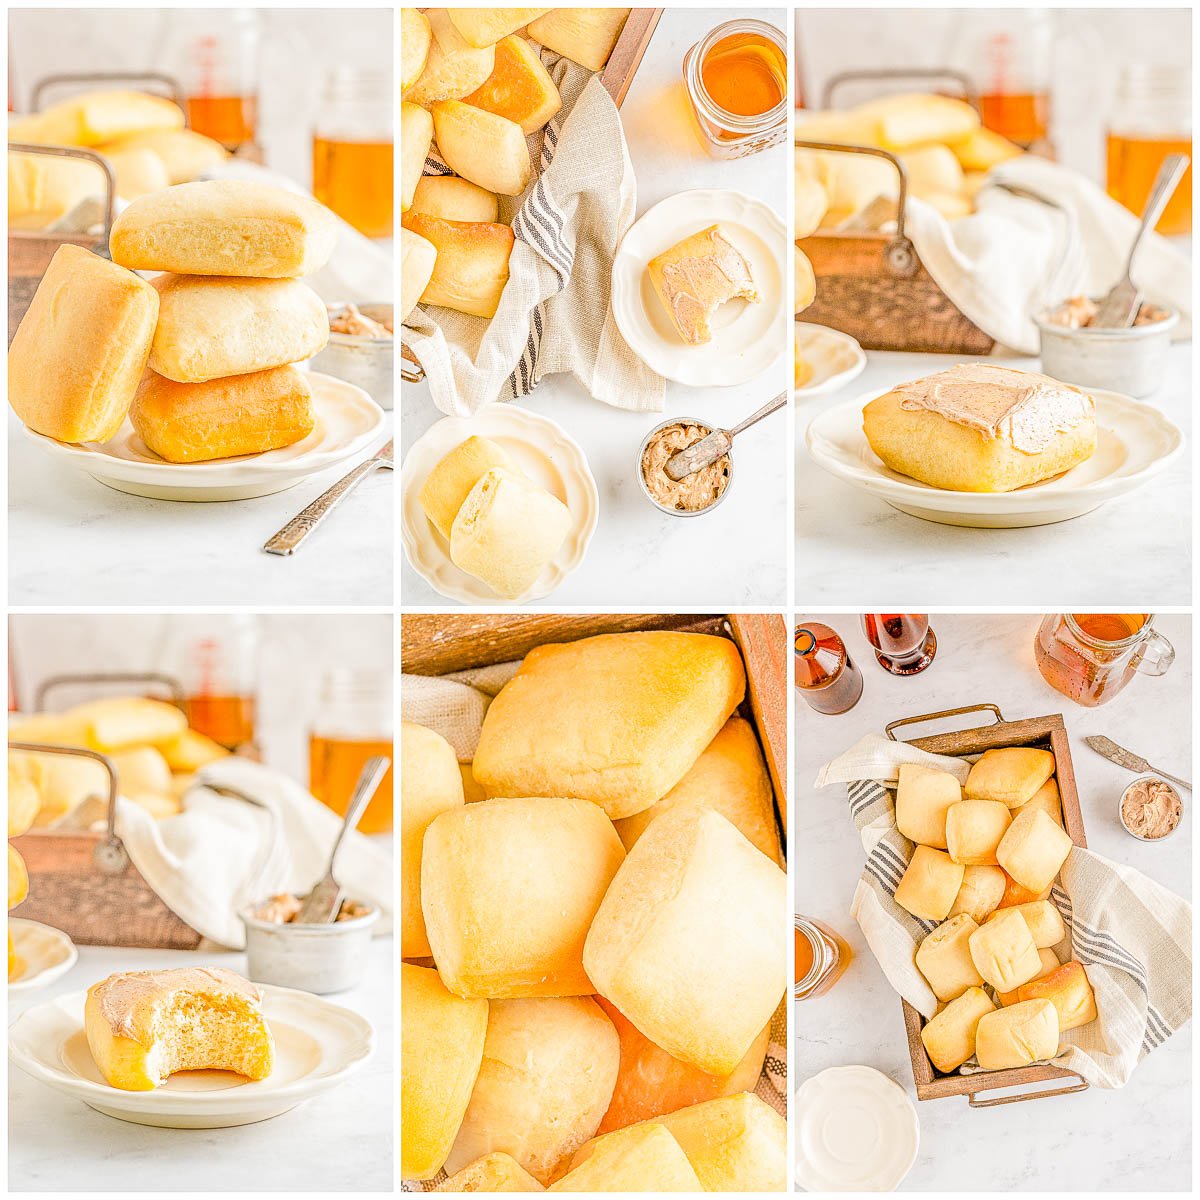
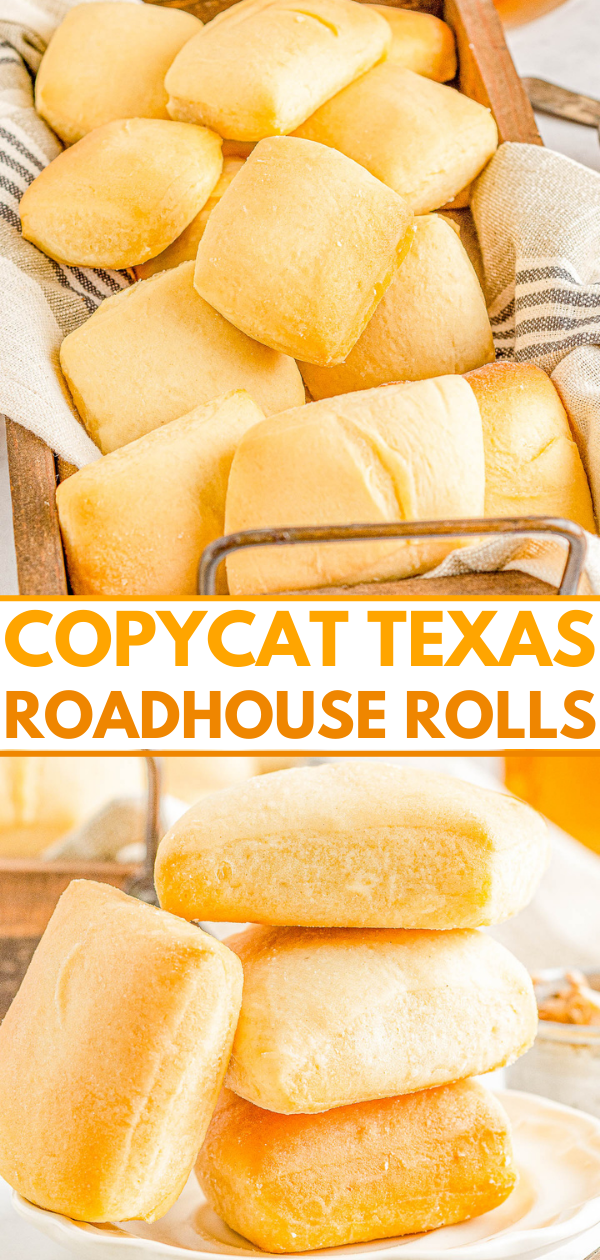
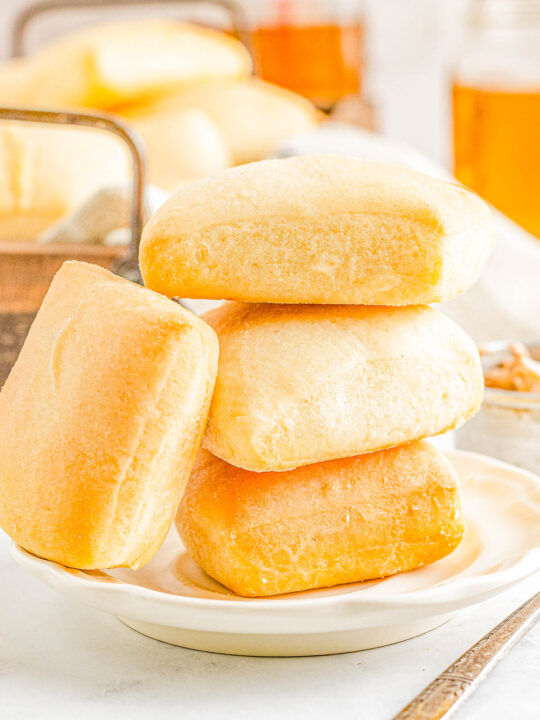
If you’re not familiar with it or have never heard of it, there’s a national restaurant chain called Texas Roadhouse and while they’re not super popular in California where I live, I have dined there in the past. And let me tell you, the most memorable thing for me on their menu are the Texas Roadhouse dinner rolls. They’re soft, buttery, fluffy, and light. The rolls are brushed with melted butter after baking which is wonderful. Texas Roadhouse rolls are served with cinnamon honey butter which melts into the crevices of the freshly baked rolls. Between the smell of bread baking and the cinnamon honey butter, your house is going to smell divine. It’s the type of incredible scent that causes everyone to come into the kitchen and ask what you’re making! Whether you want to make these rolls for a special occasion like an Easter or Mother’s Day celebration, for the holidays as a great side for Thanksgiving or Christmas dinner, or graduation or game day parties, these homemade dinner rolls are an absolute hit with everyone! Even if you’ve never made homemade bread or dinner rolls before, this copycat recipe is easy to follow, straightforward, and completely approachable even for novices.
Ingredients for This Recipe
To make this copycat recipe for Texas Roadhouse rolls, you’ll need the following very common and easy-to-find fridge and pantry ingredients including the following:
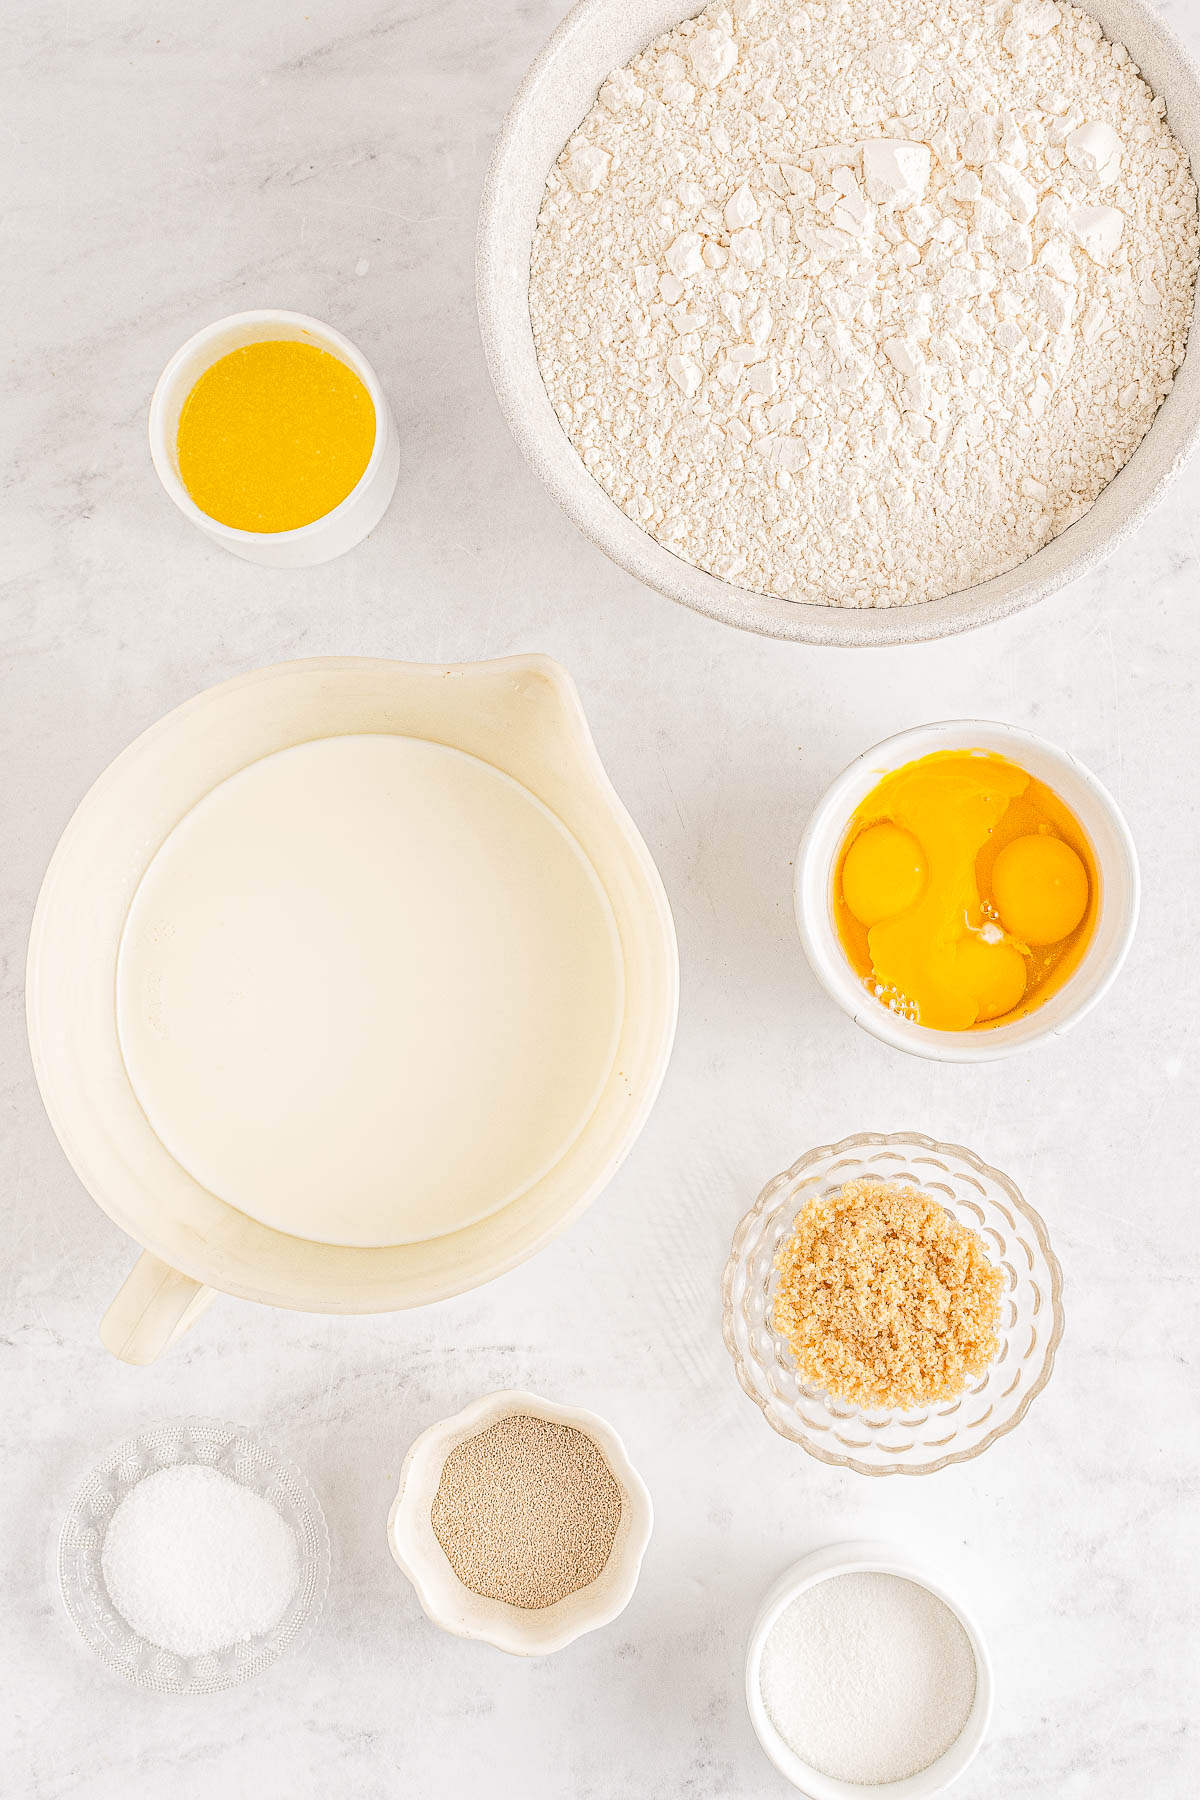
For the Dinner Rolls:
Warm milk Active dry yeast Granulated sugar Large eggs + egg yolks Light brown sugar Melted butter All-purpose flour Salt
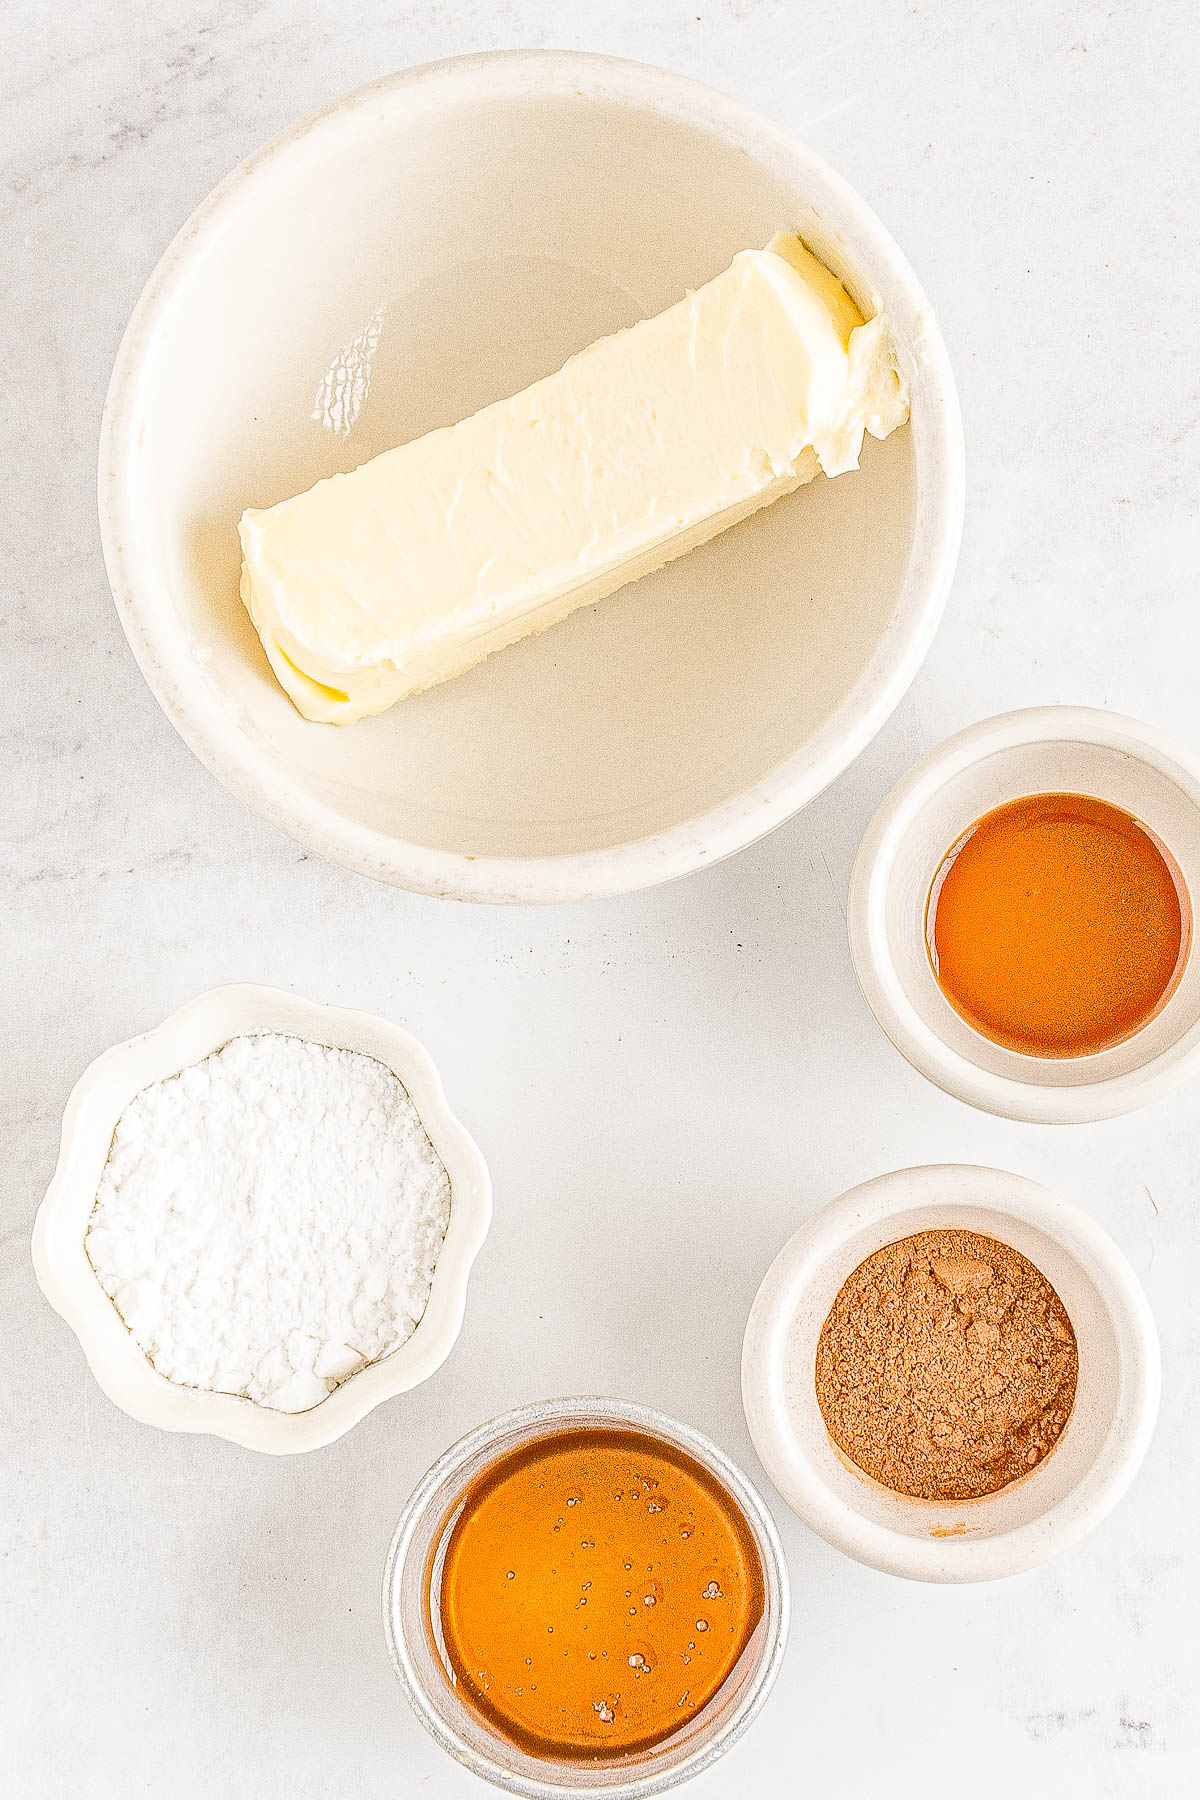
For the Honey Cinnamon Butter:
Unsalted butter Confectioners’ sugar Honey Cinnamon Vanilla extract
Note: All ingredients amounts are listed in the recipe card section when you keep scrolling down.
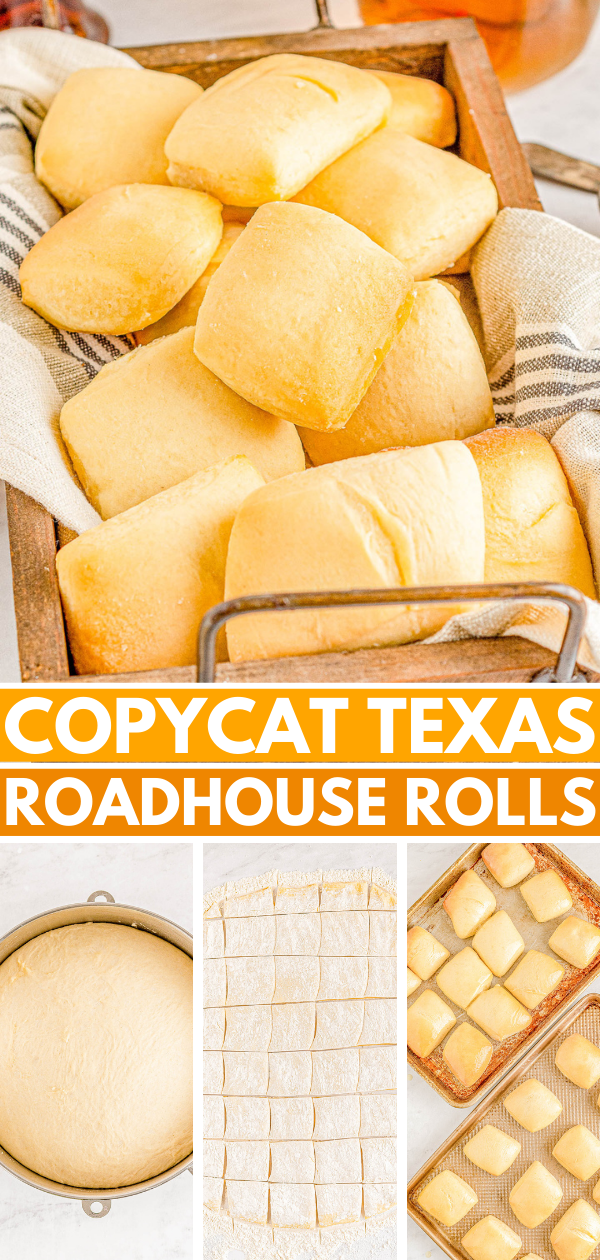
How to Make Copycat Texas Roadhouse Rolls
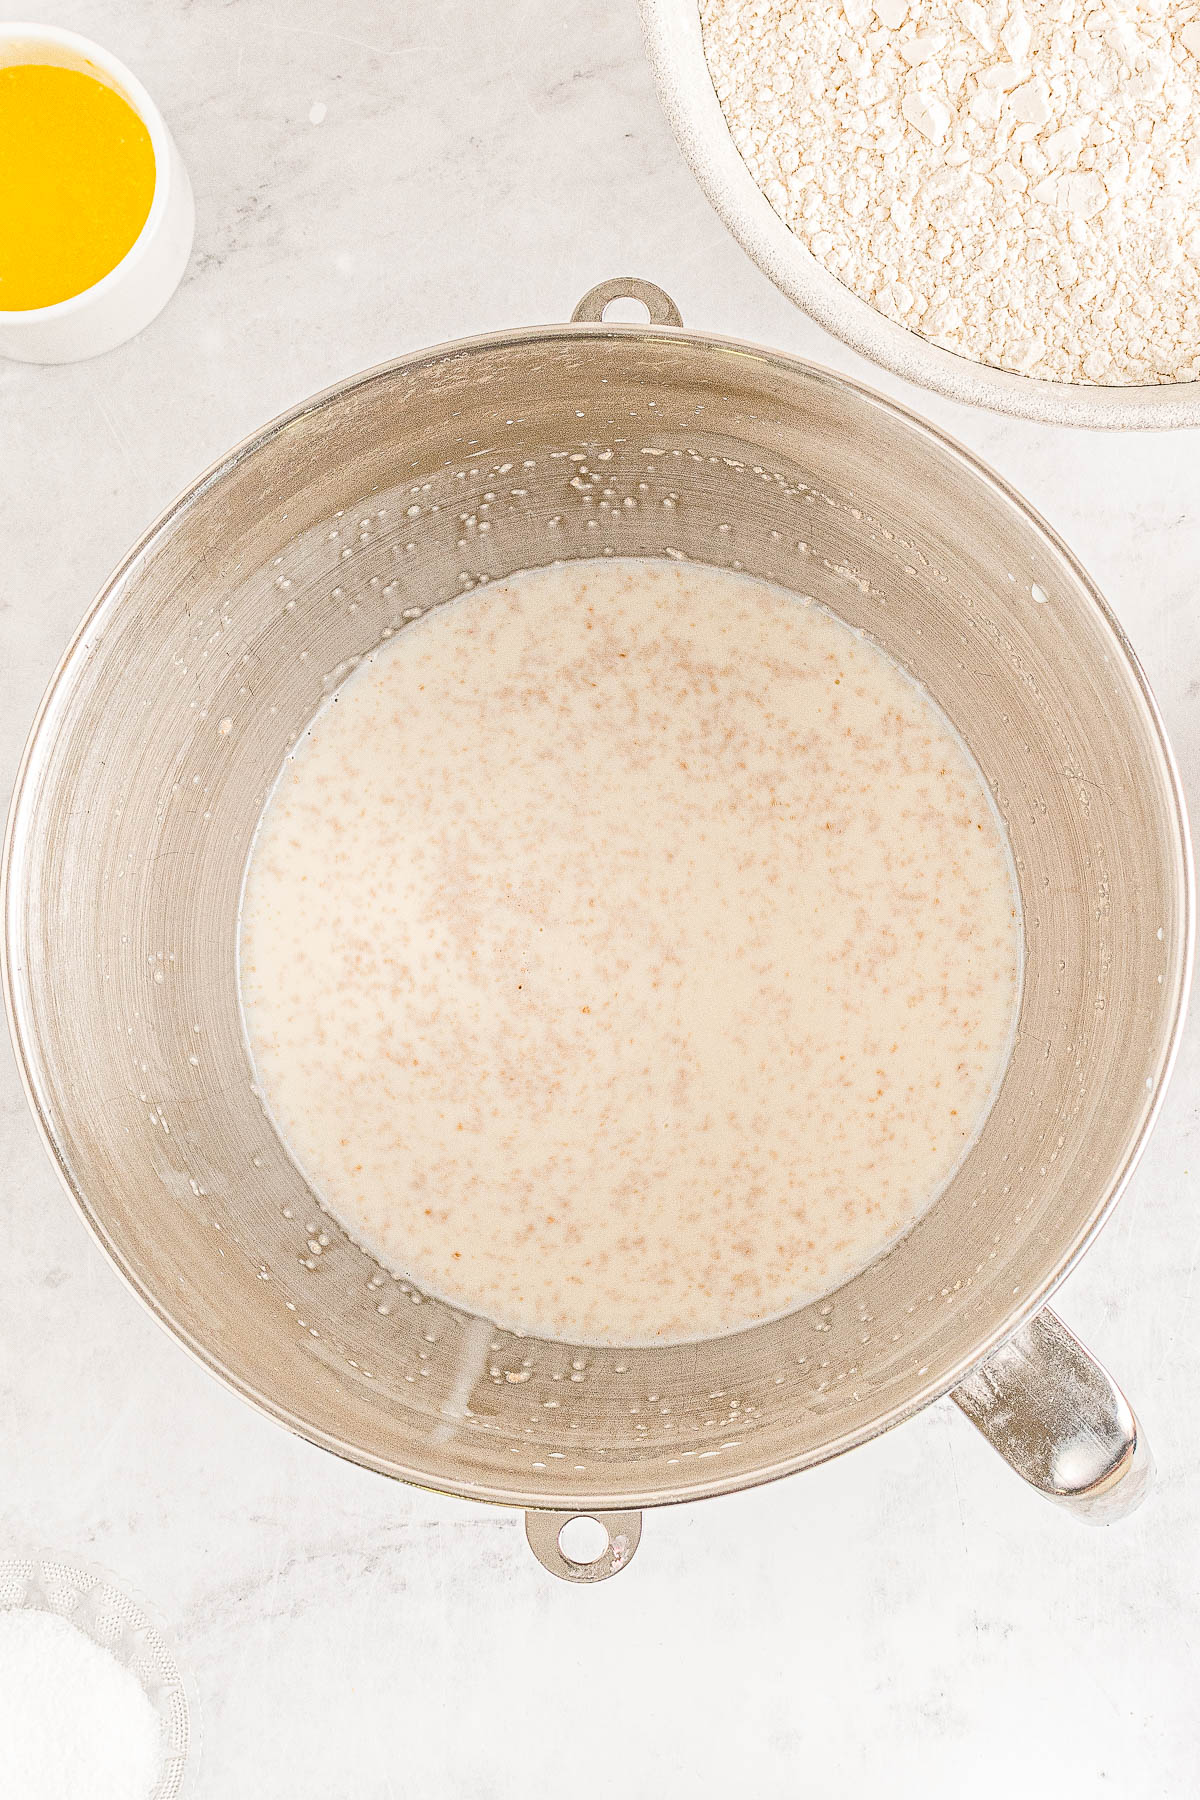
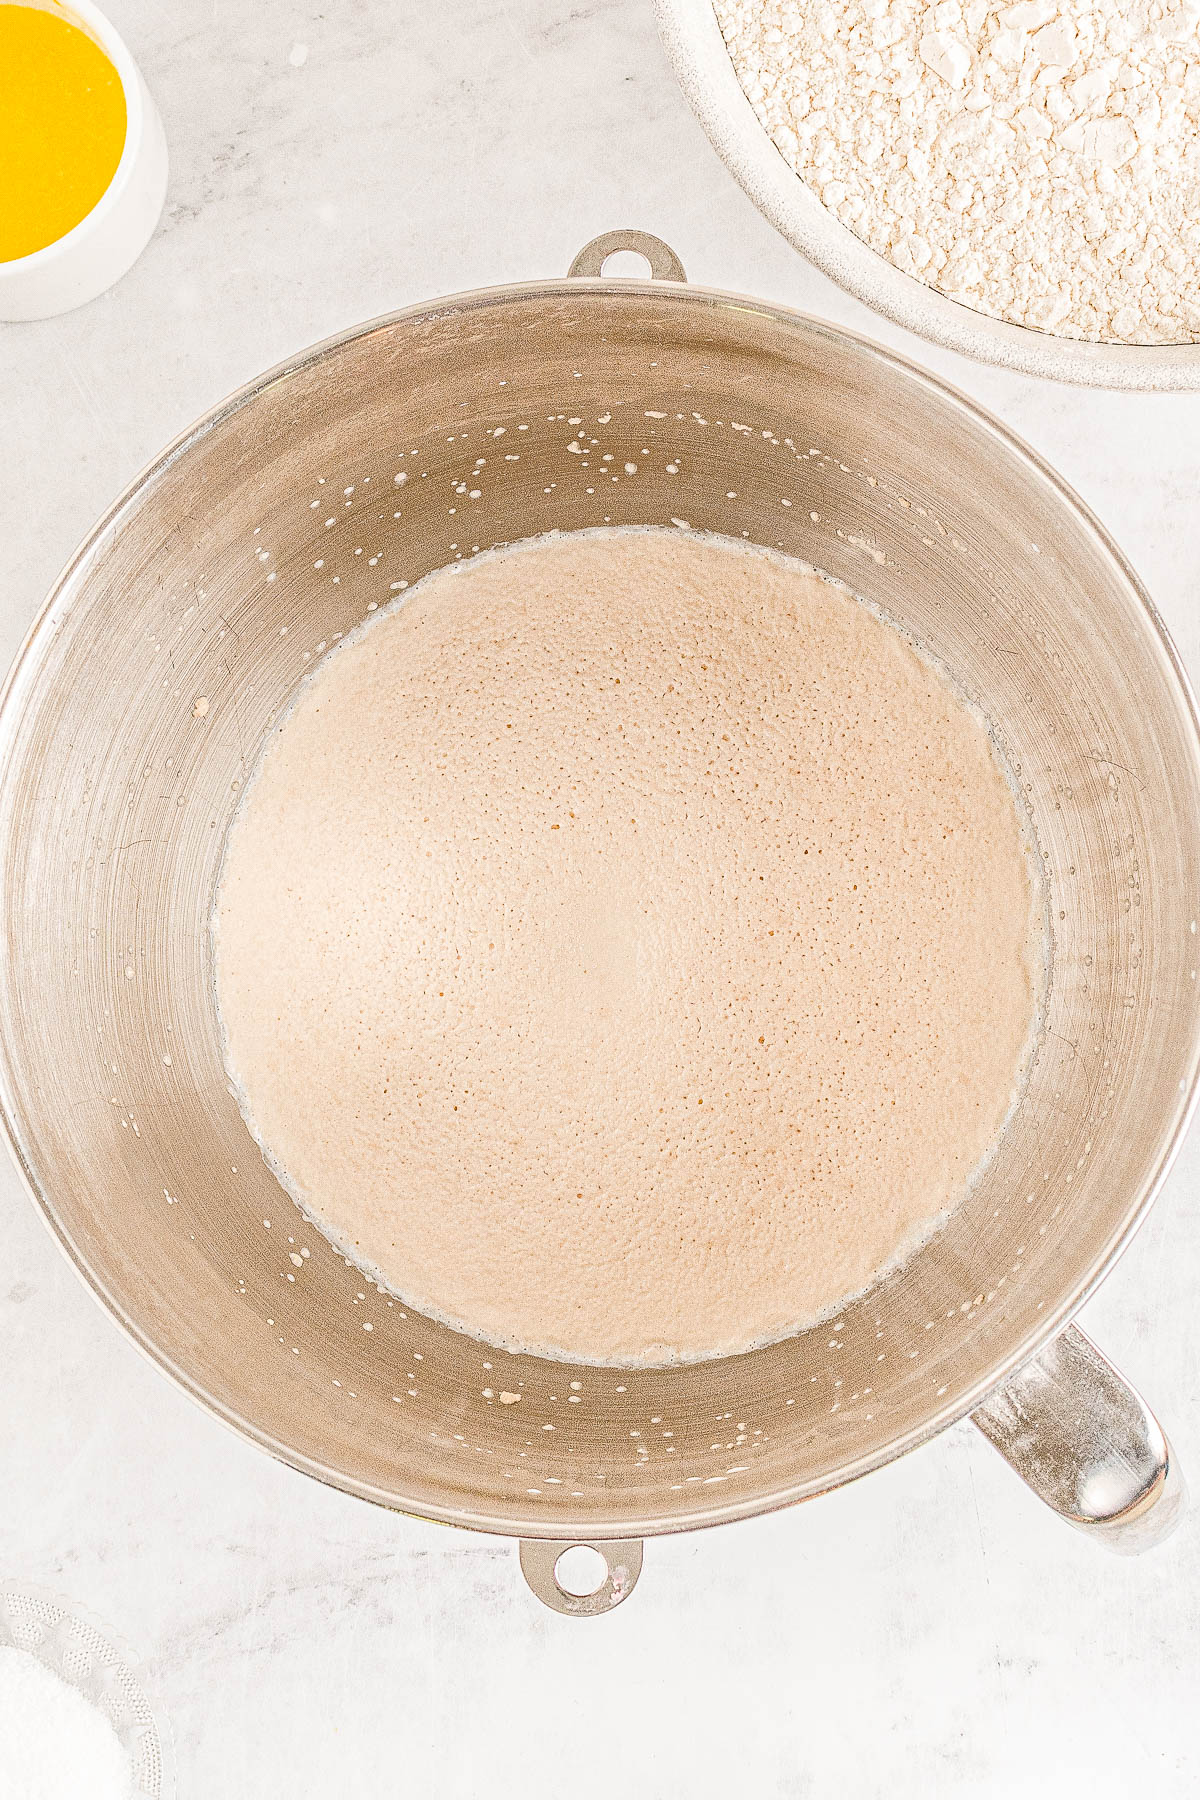
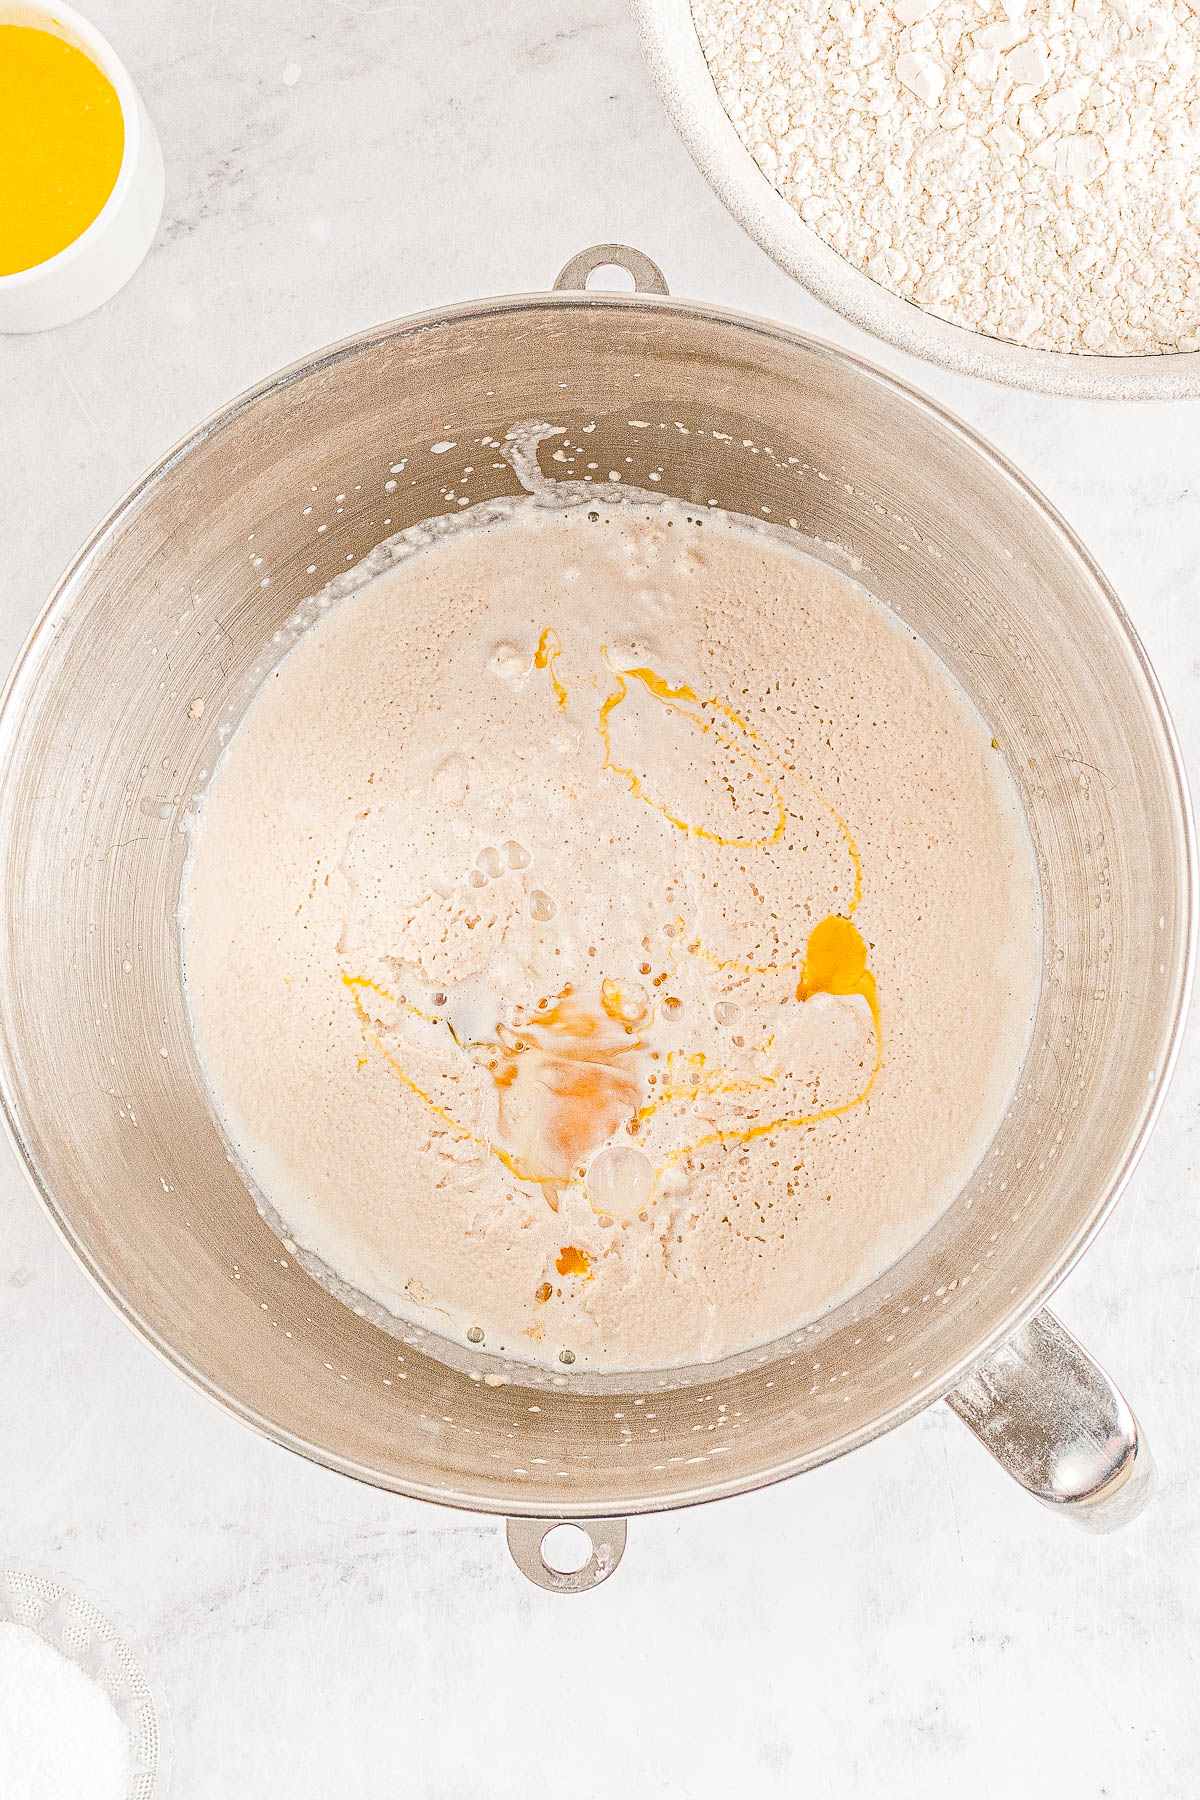
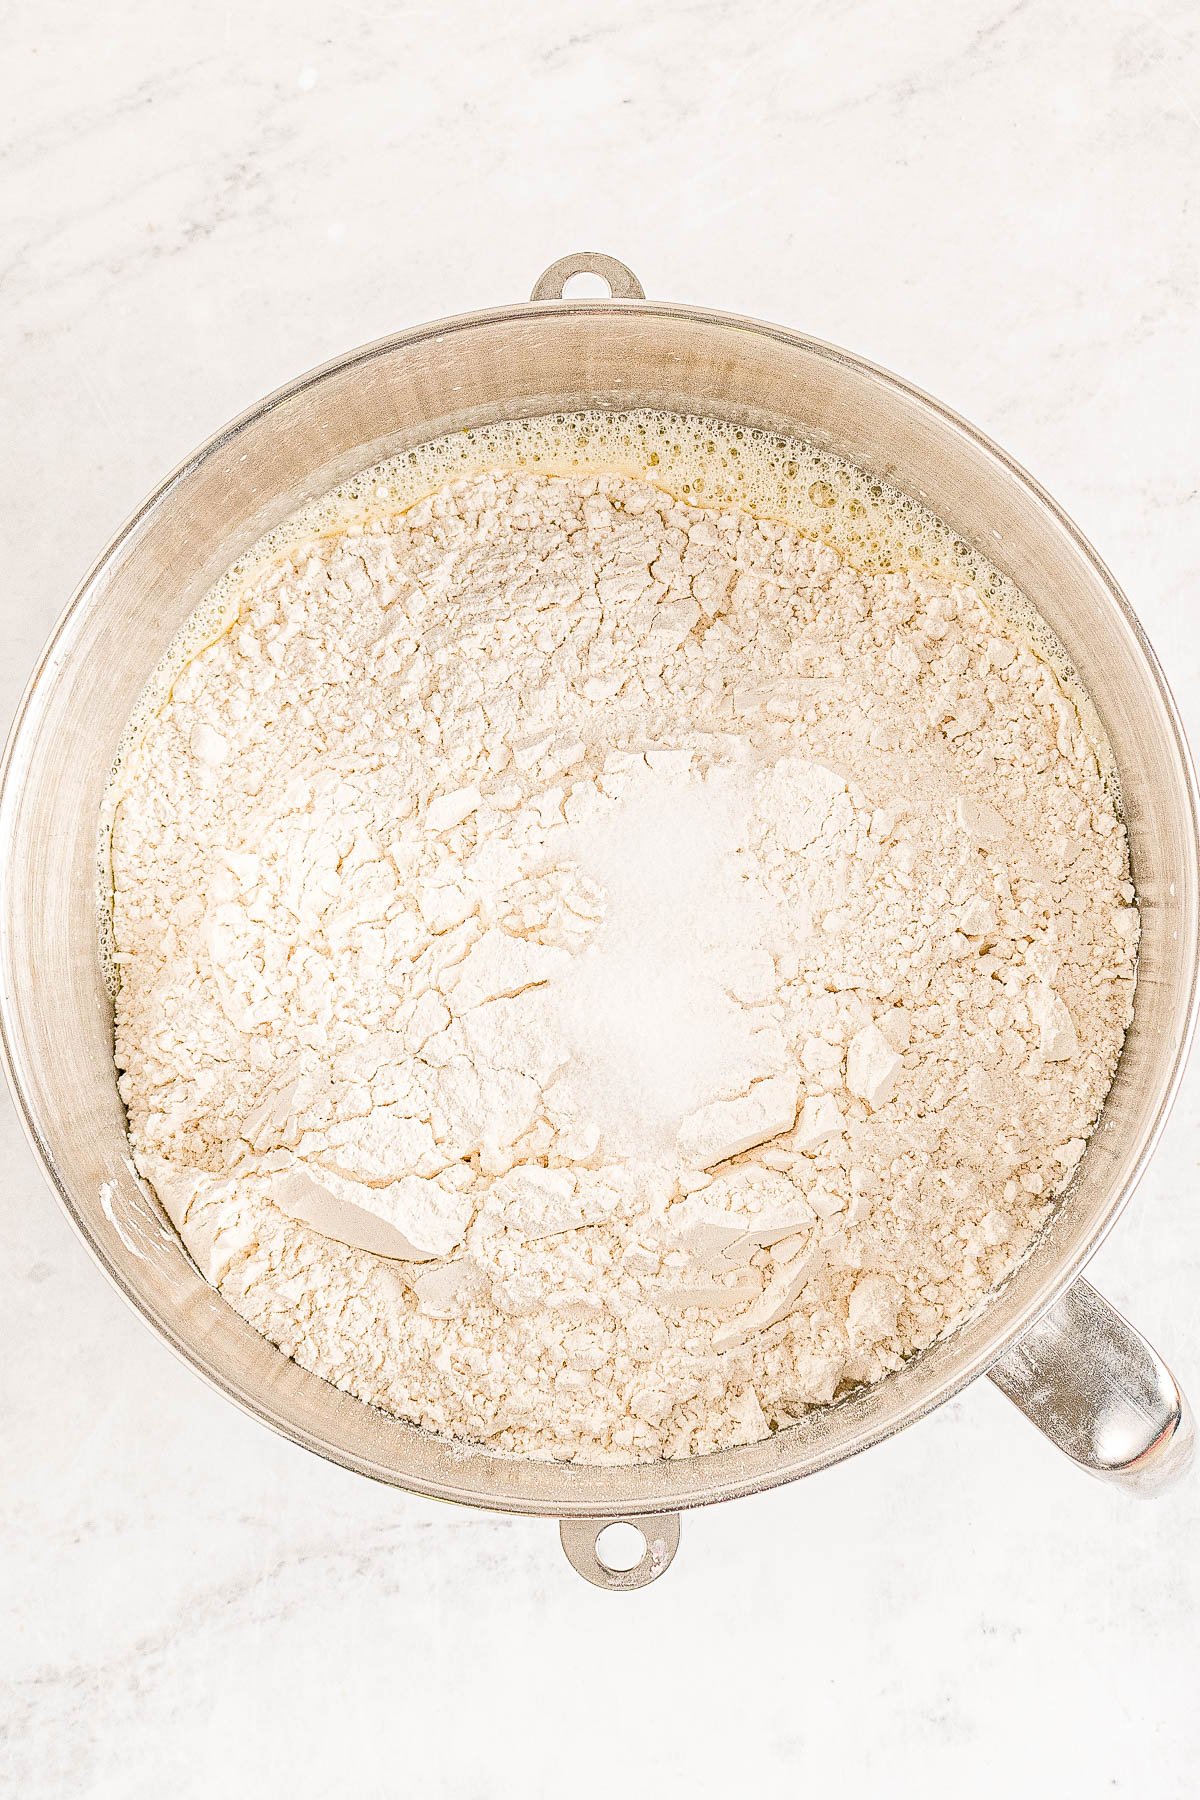
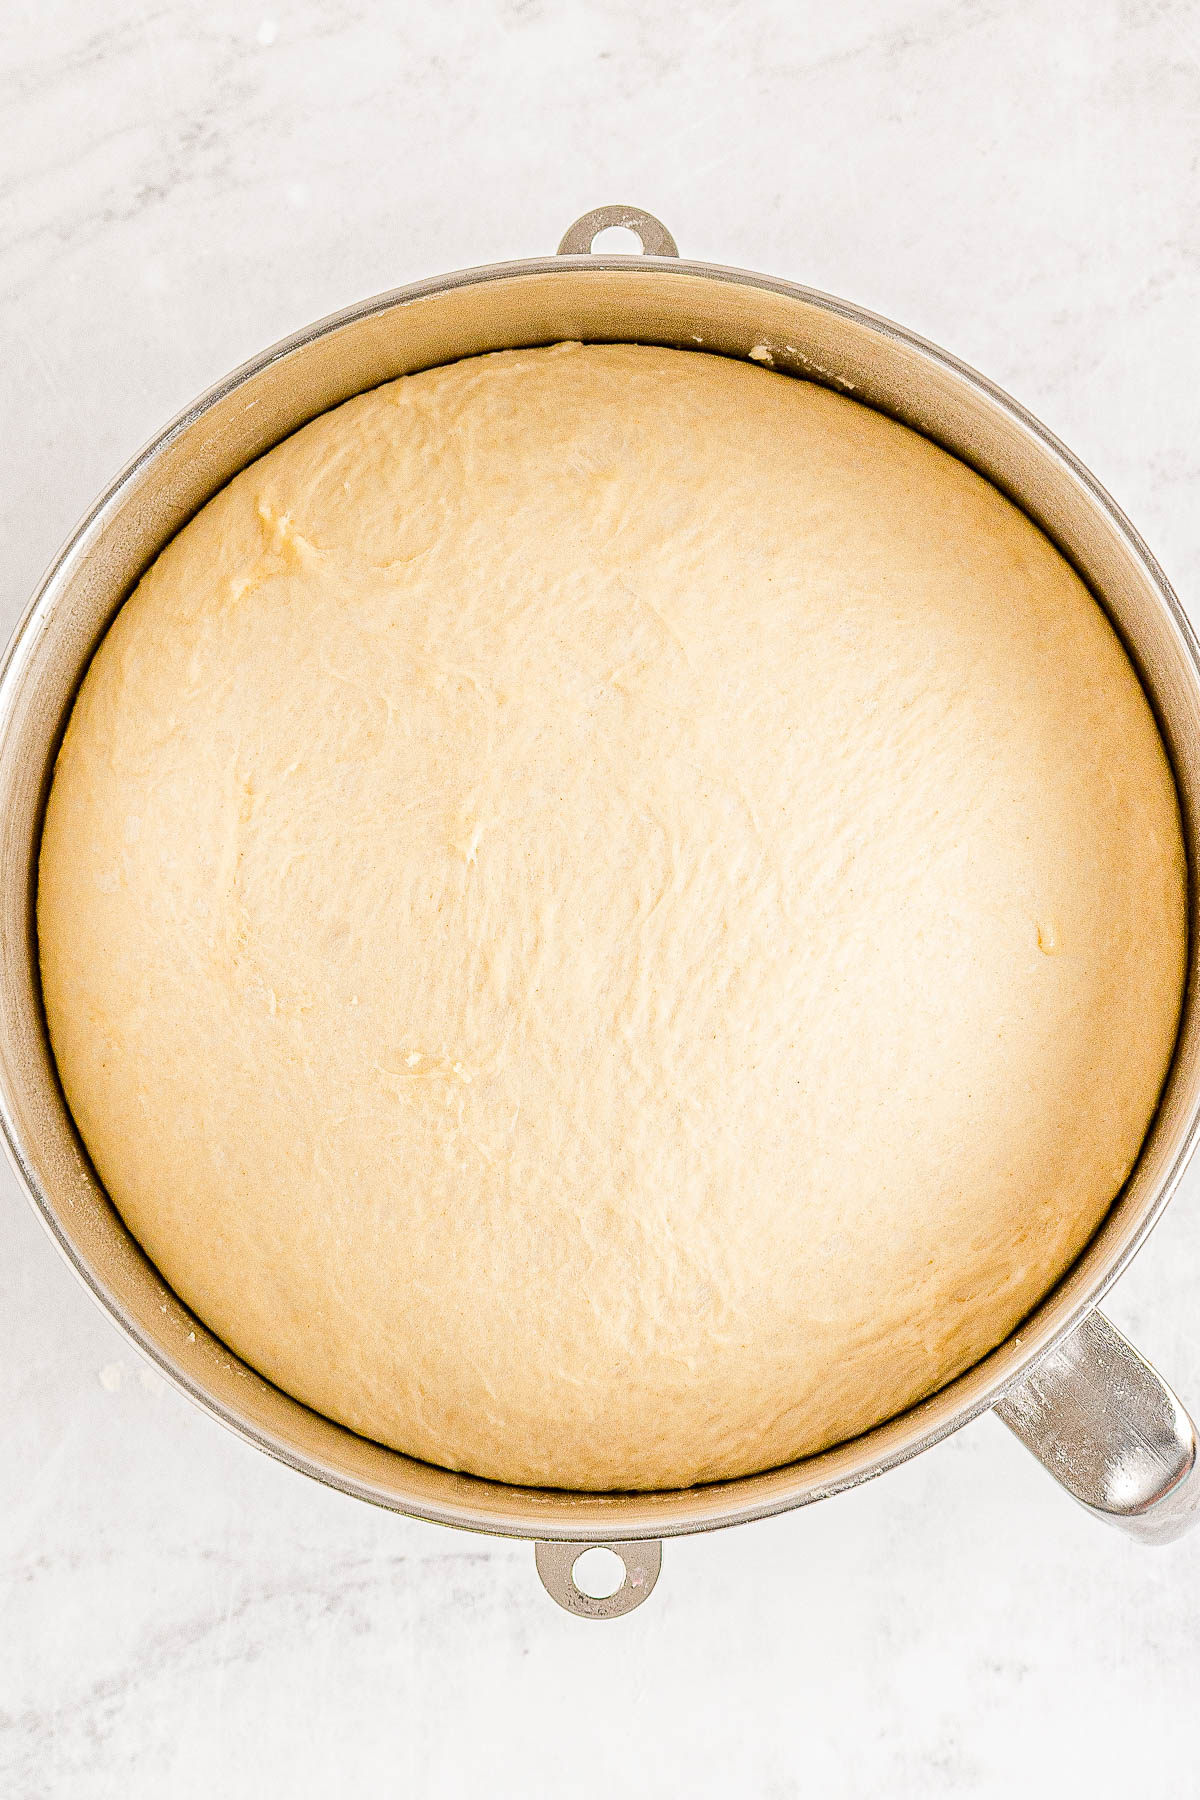
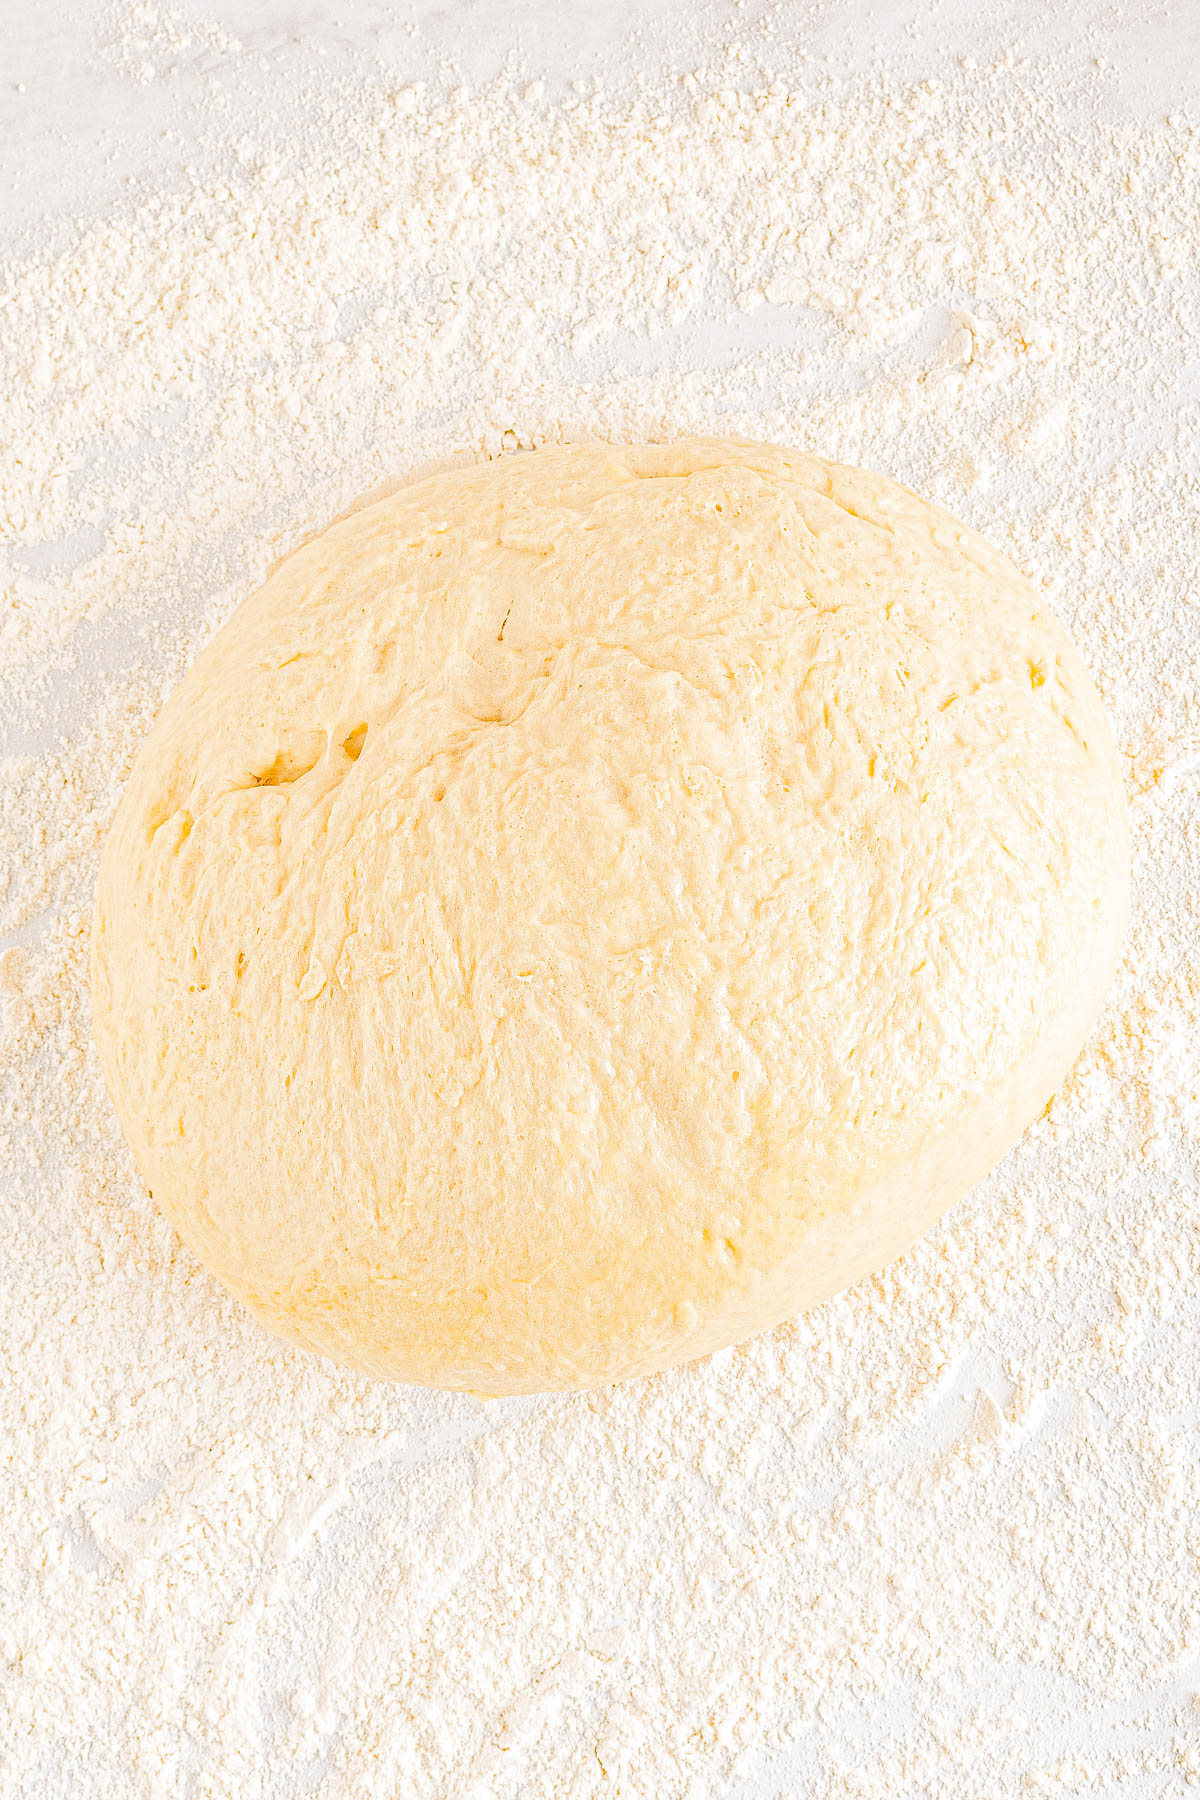
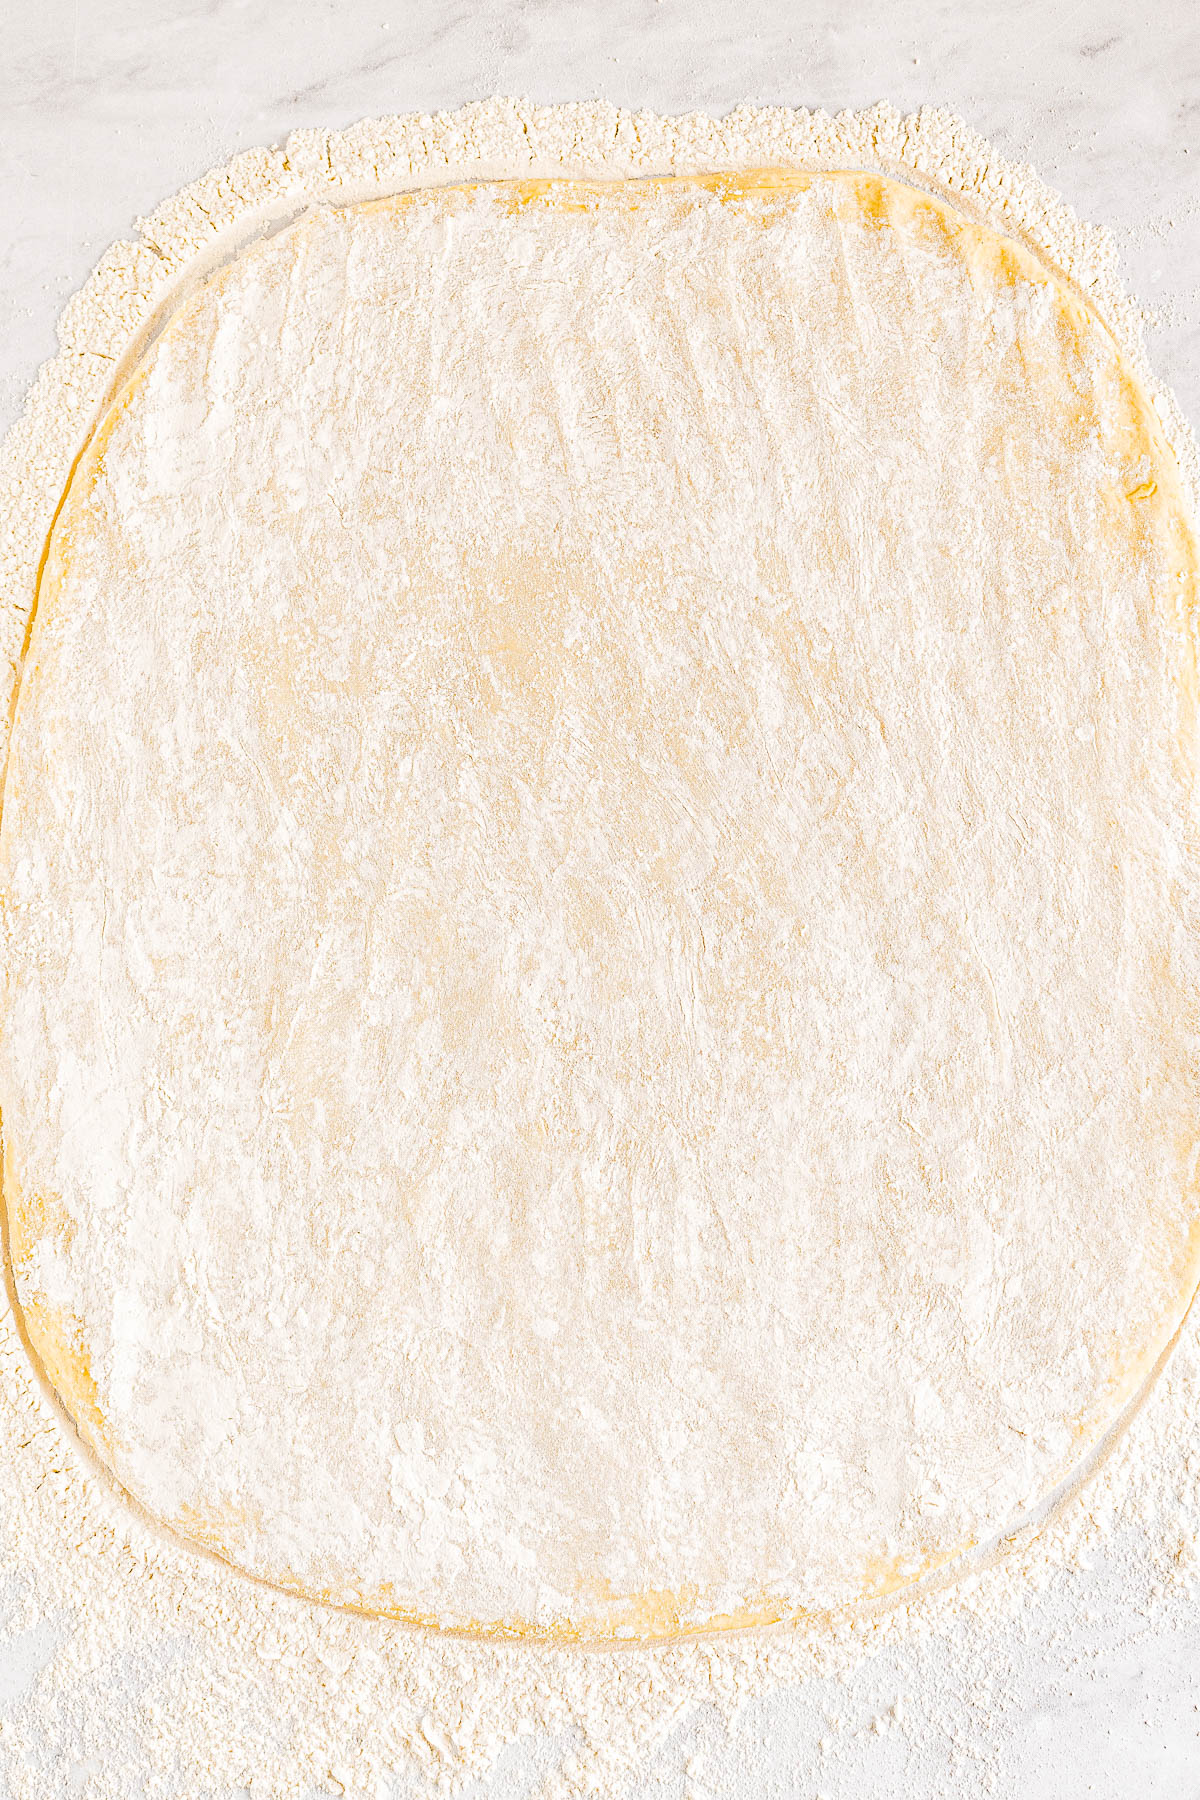
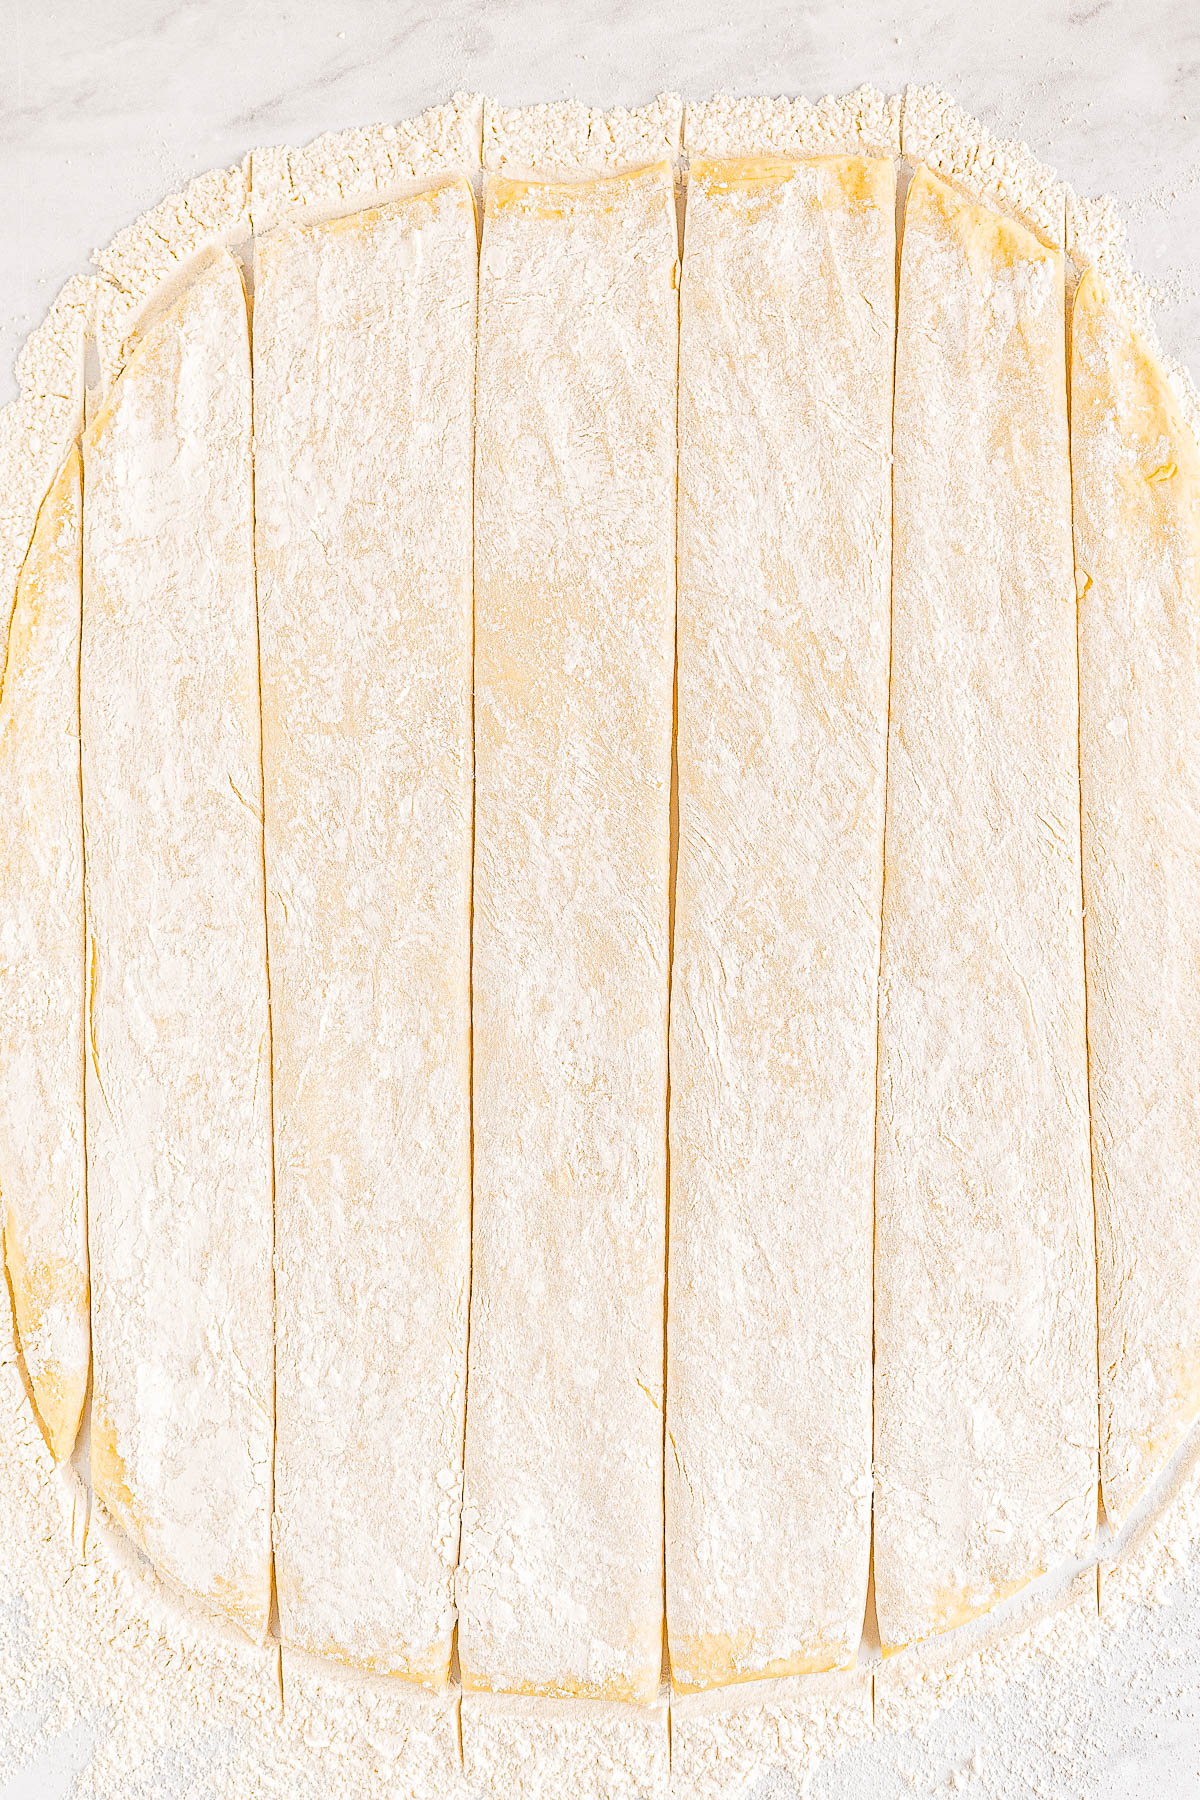
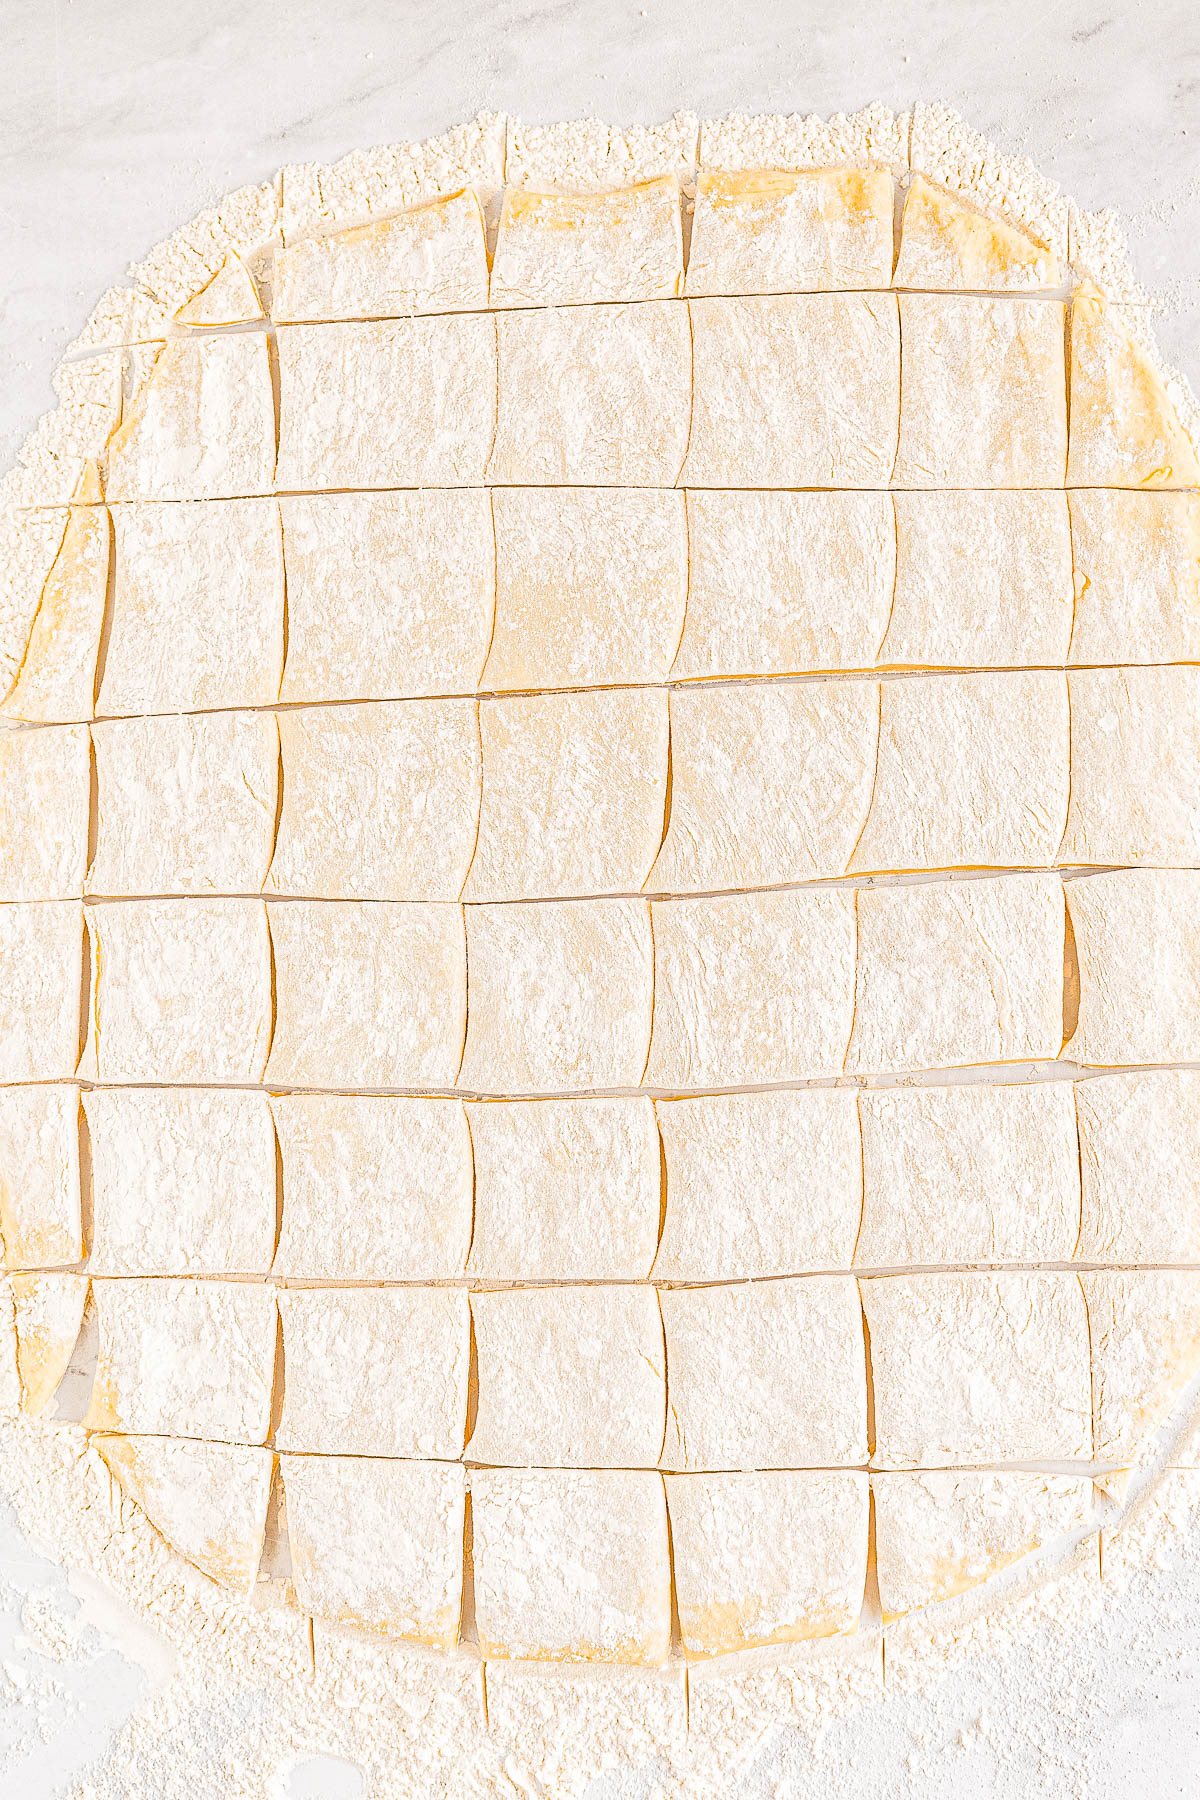
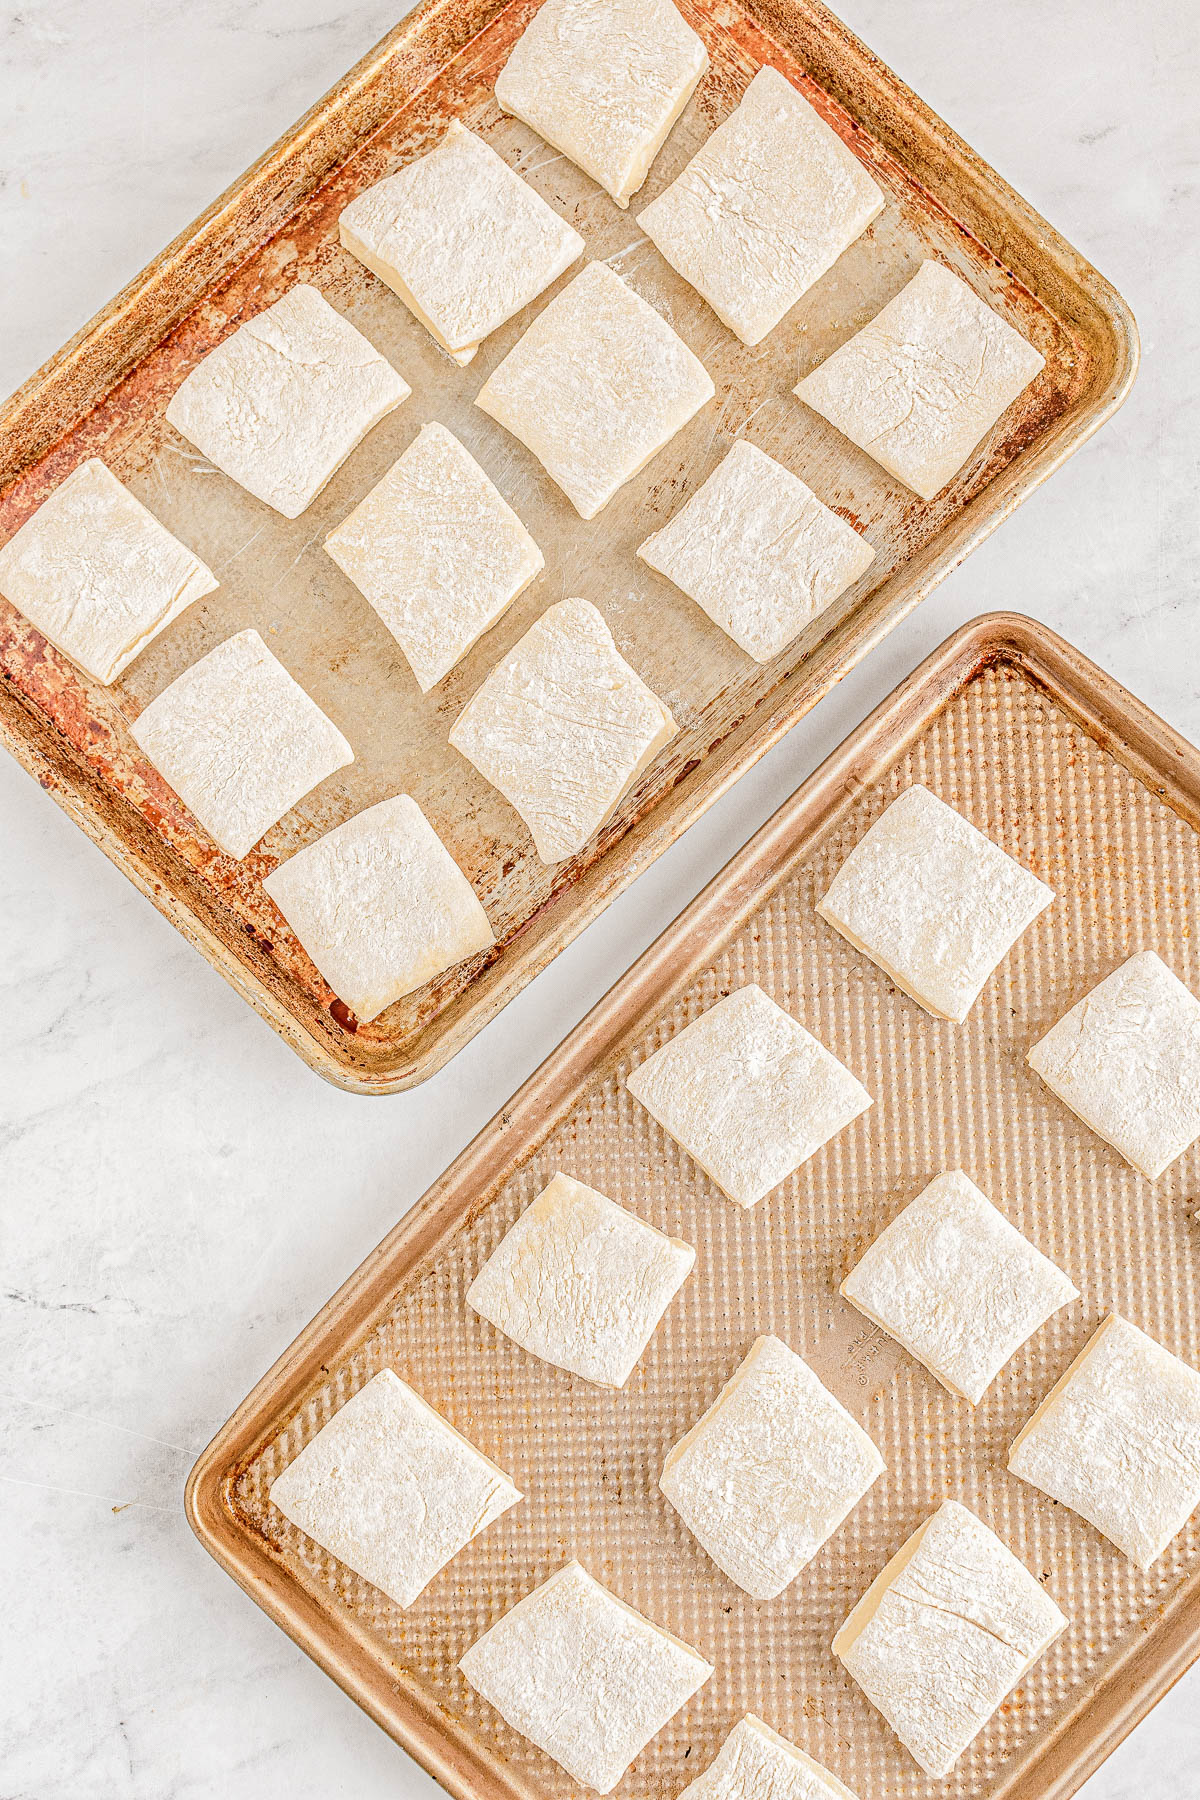
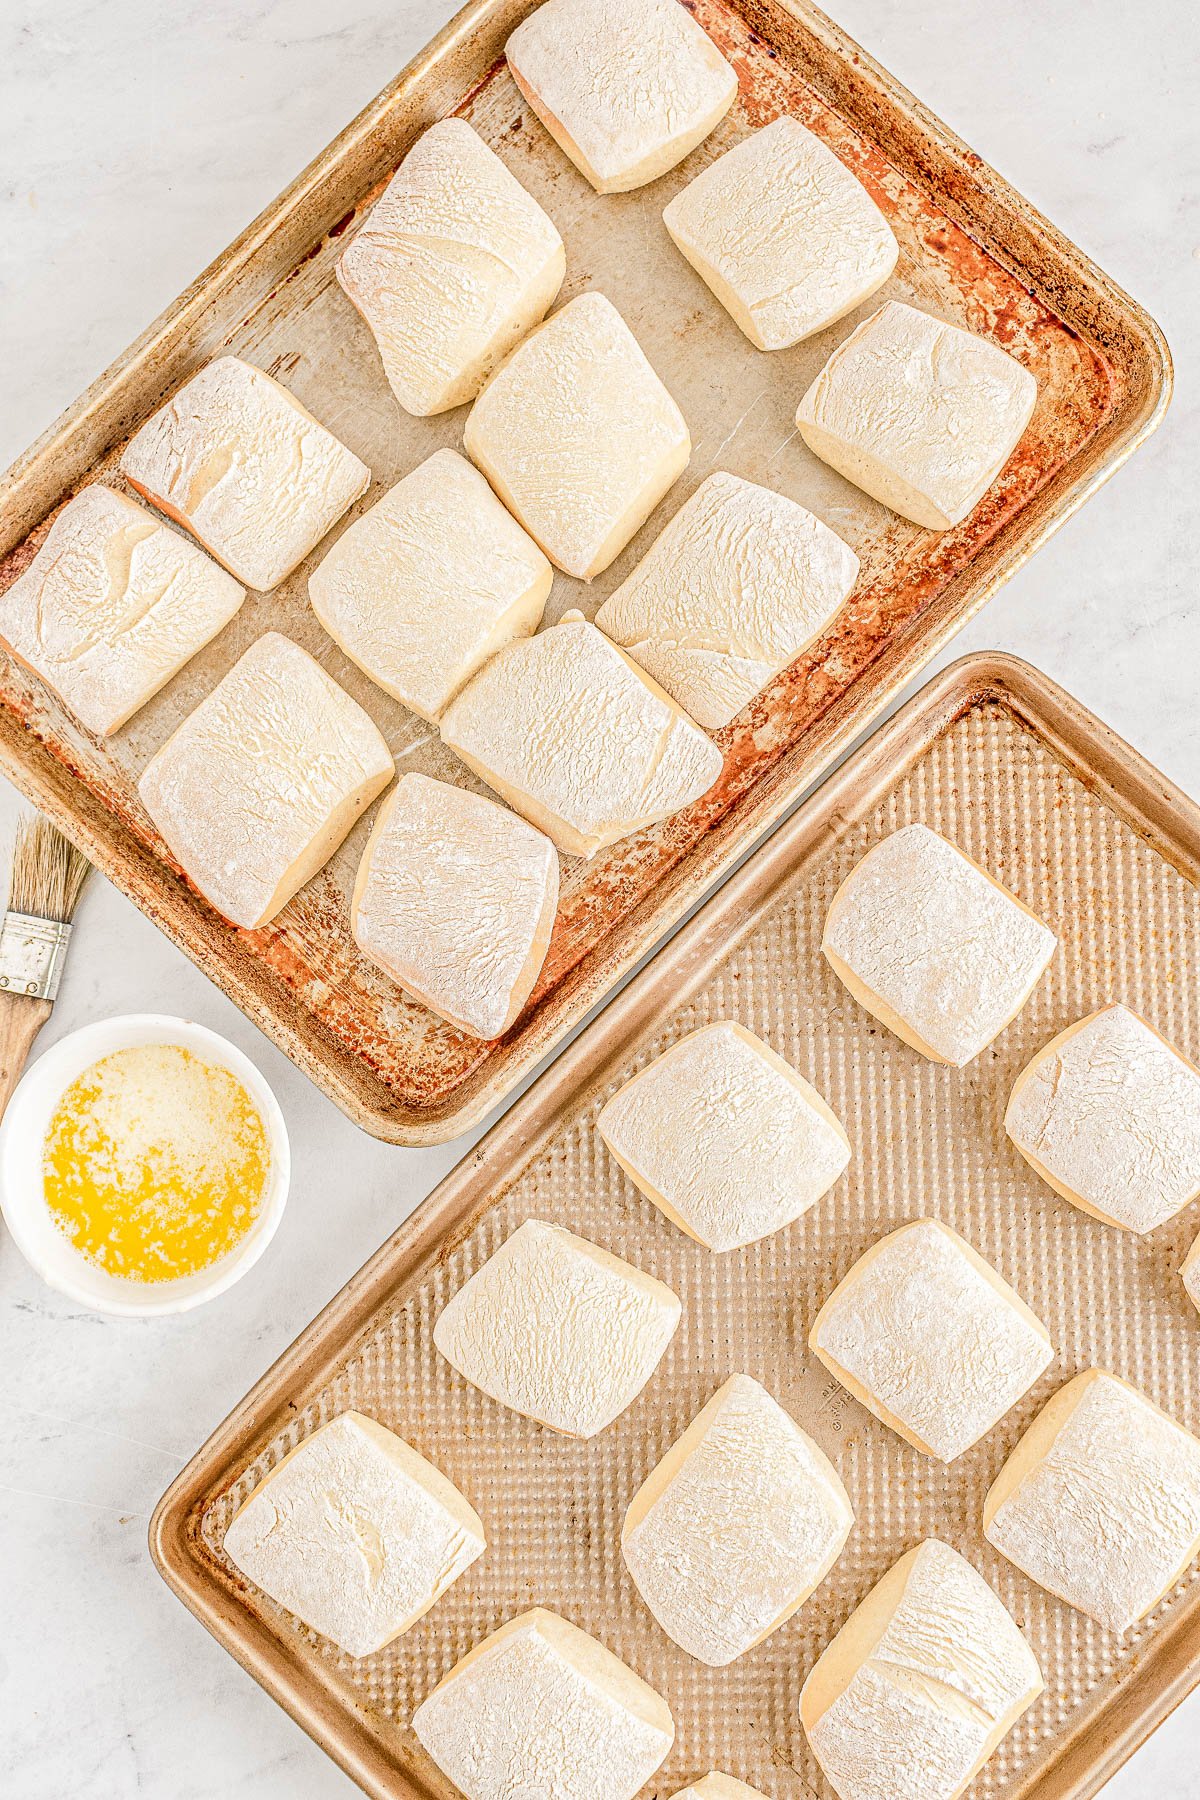
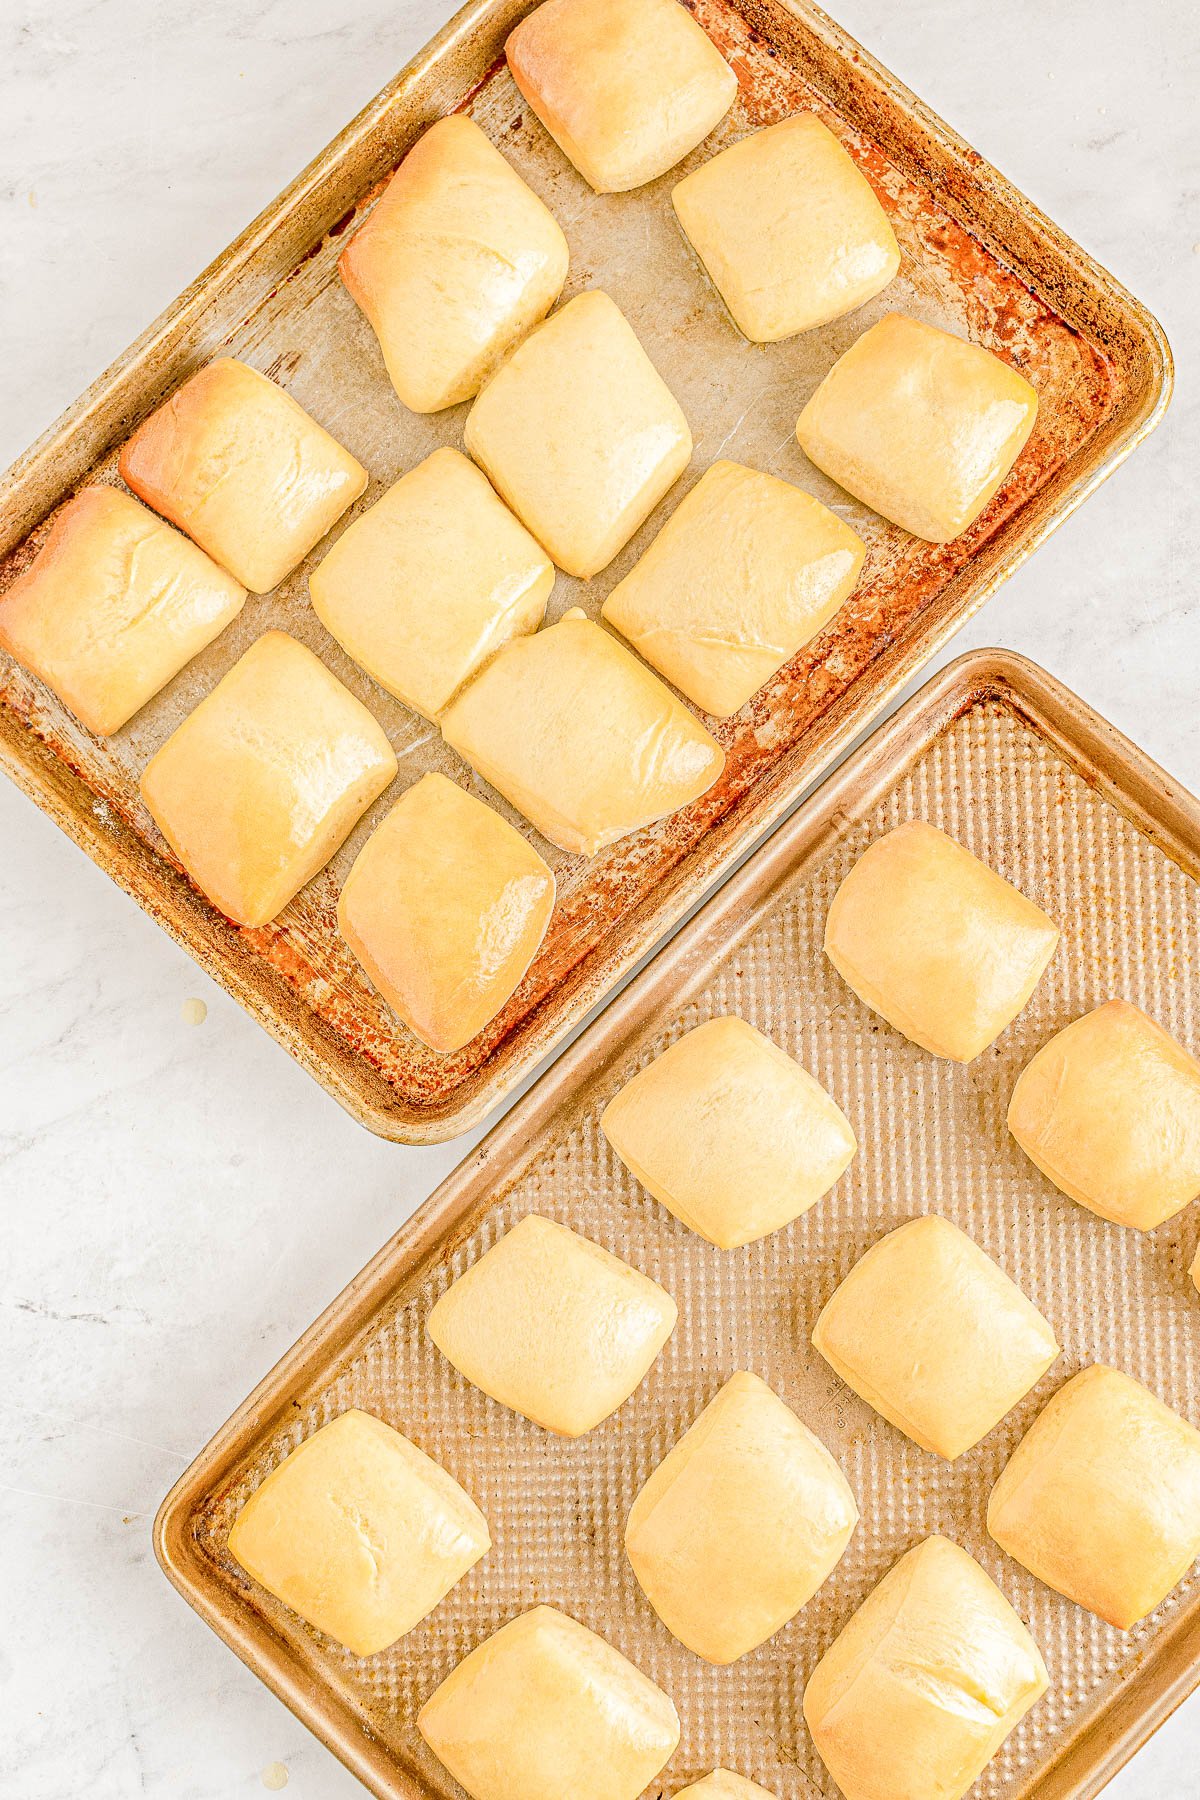
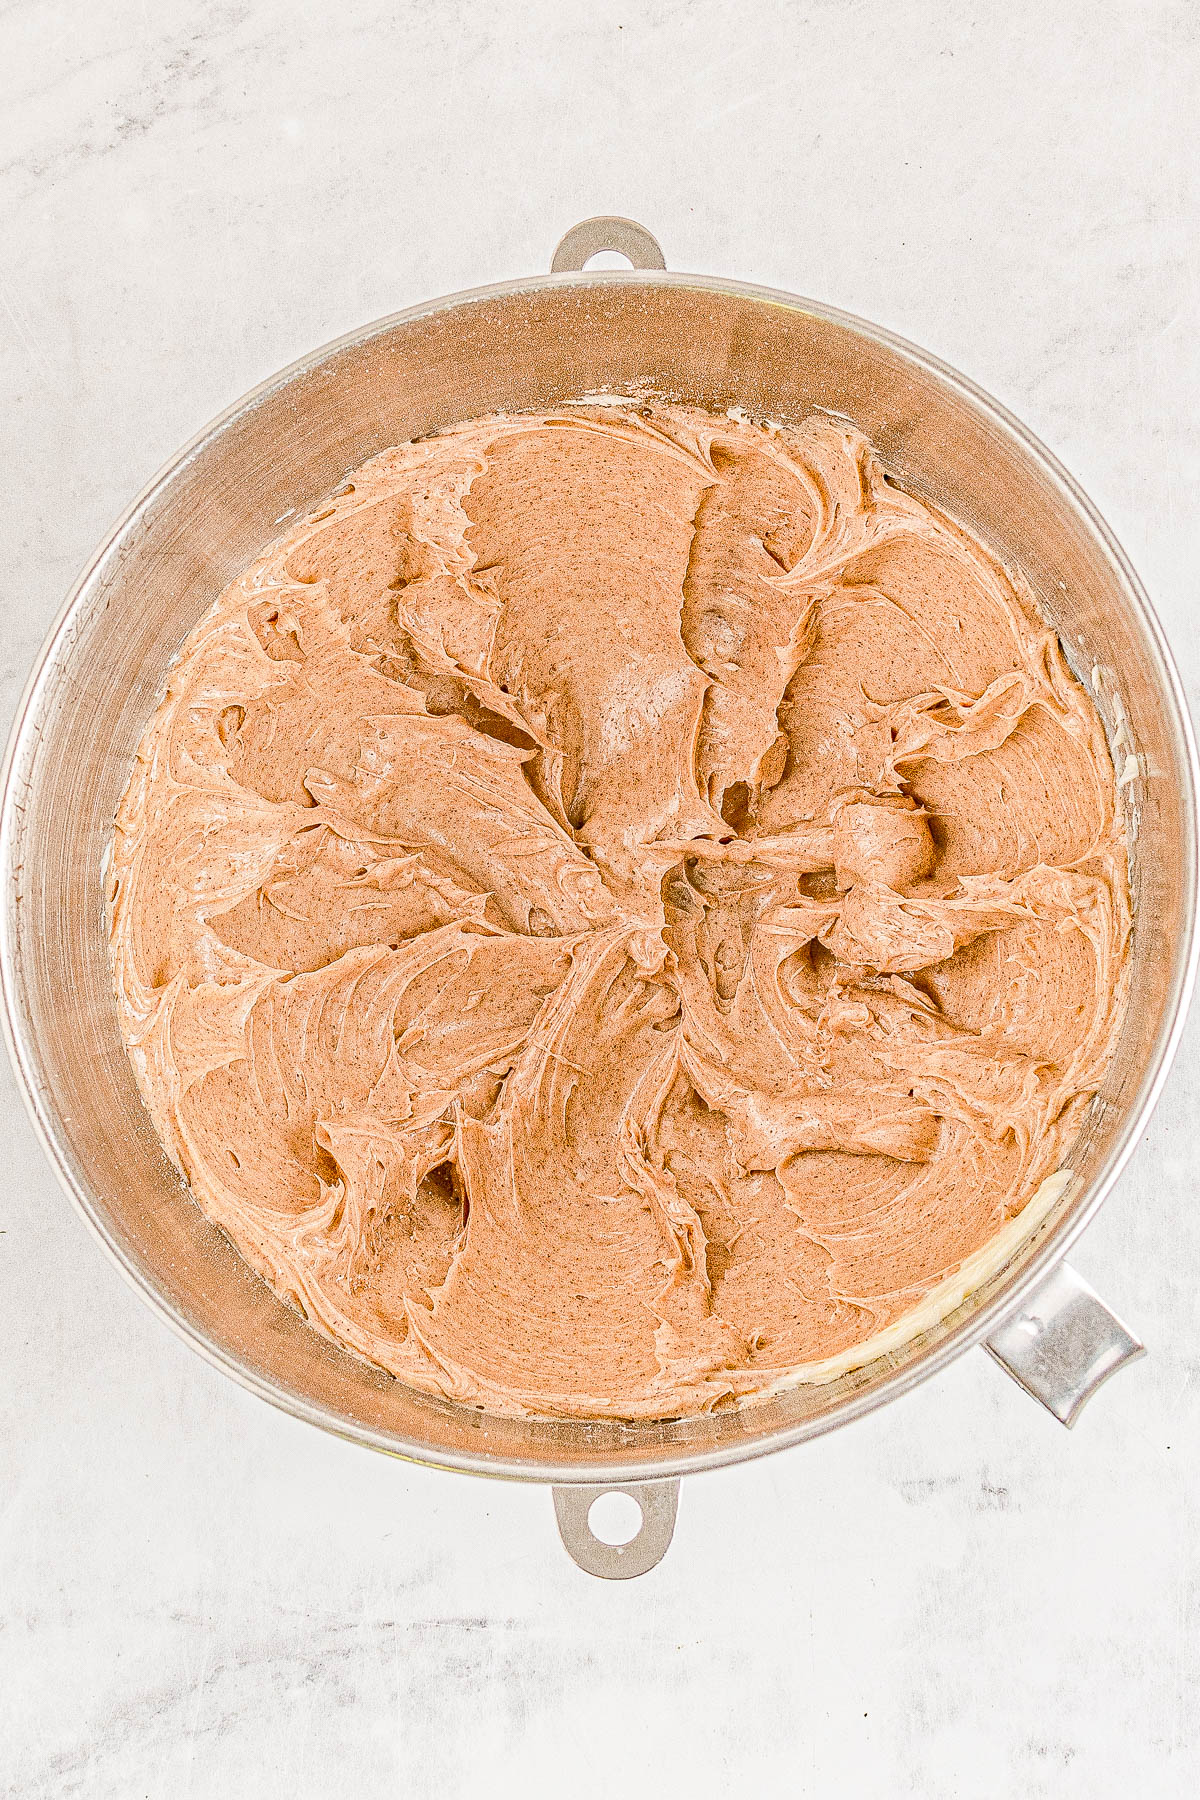
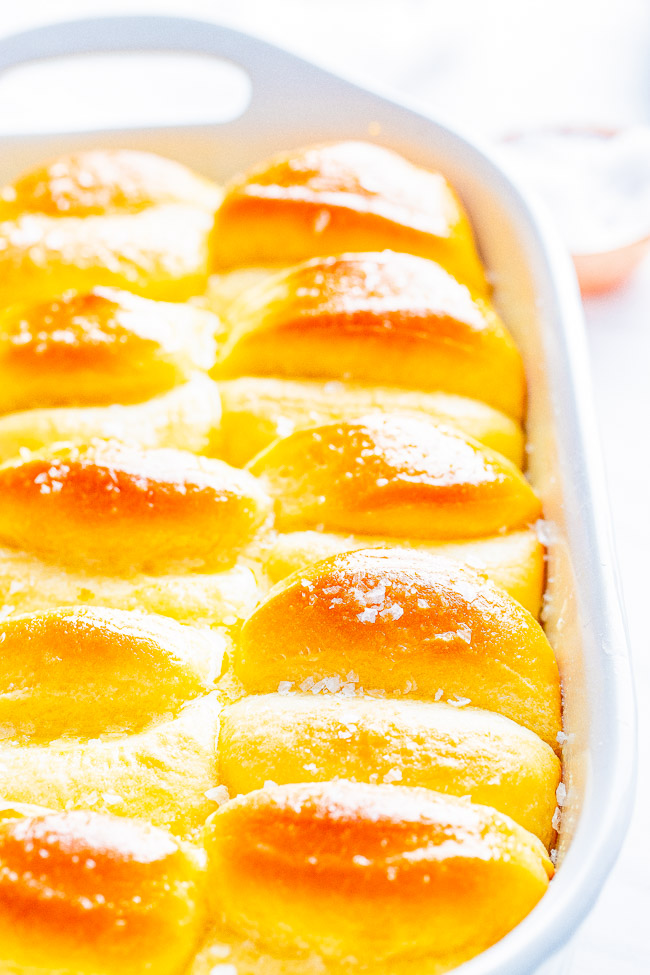
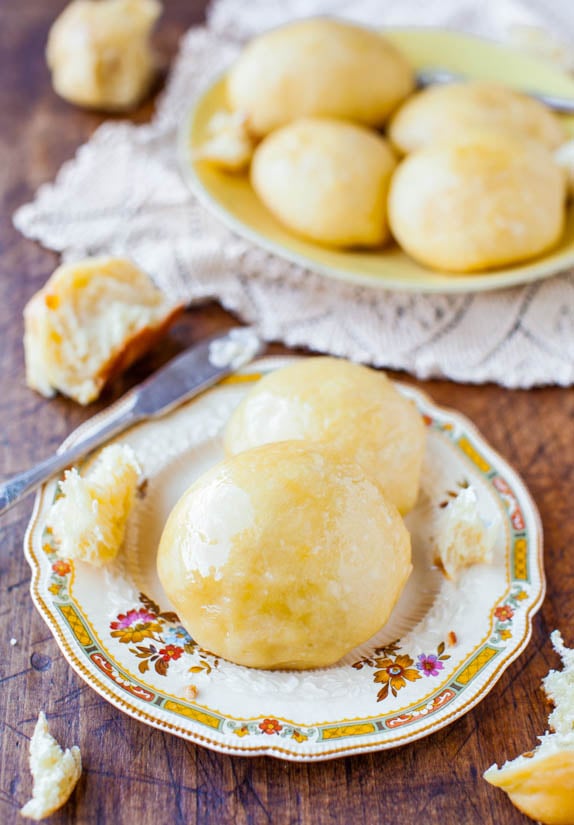
Follow my straightforward steps and even if you’re new to making yeast breads and rolls, that’s okay because this is a very approachable and do-able recipe. Let’s get started. Step 1: To the bowl of a stand mixer fitted with the whisk attachment, add the milk, yeast, and some of the granulated sugar. If you’re doing it by hand, use a large mixing bowl and wooden spoon. Step 2: Proof for 5 minutes. This means check for proof that the yeast is alive and well, meaning the yeast mixture is bubbly and foamy looking. Step 3: Add the eggs, yolks, sugars, and melted butter. Step 4: Add the flour, salt, mix, and swap in the dough hook for the paddle attachment. Knead on medium speed for 6 minutes, or until the dough bounces back after pushing on it. Step 5: Remove it from the mixing bowl, and either spray that mixing bowl or another large bowl with cooking spray, cover with plastic wrap, and allow the dough to rise for 1 hour, or until doubled in size. Step 6: After 1 hour, transfer the dough to a floured surface and roll it out with a rolling pin to ½ inch thick. Step 7: Slice it with a pizza wheel it into about 40 pieces. Step 8: Transfer the pieces of dough to large baking sheets and allow the dough torise for 30 to 45 minutes or until doubled in size. Towards the end of this time, preheat your oven to 350F. Step 9: Bake for 35 minutes, or until golden browned. Step 10: Brush with melted butter immediately after baking. Step 11: Make the Cinnamon Honey Butter by beating together all the ingredients. Step 12: Serve the warm rolls with honey cinnamon butter and enjoy!
A Few Notes About the Texture of the Dough
You may end up cursing this Texas Roadhouse dinner roll dough because it’s very soft, tacky, and sticky. If you’re kneading by hand rather than in a stand mixer, it’ll want to stick to your hands and in the mixer, it’ll be prone to sticking to the sides of the mixing bowl. However, this serves the very important purpose later on that your finished rolls turn out soft, light, fluffy, and they just melt in your mouth!
This dough is wet, sticky, and tacky. If the dough is so sloppy and you are struggling to get the dough to come together, add a couple tablespoons of additional flour. If you’re struggling to knead it in a stand mixer, and it just won’t come together or clear the sides, add a few more tablespoons flour. If you’re struggling to knead it by hand, toss out a couple more tablespoons of flour on your work surface. When kneading the dough you can test to see if the dough has enough elasticity by pressing it. If it springs back it’s ready. If it stays pushed in, keep kneading. It should not be a hard dough in the least. It’s very soft and supple
Your fingers will easily make imprints and it won’t be difficult or a hard press to make an imprint. If it is hard to make an imprint, added that indicates that too much flour has been Your hands may likely feel like they are stuck to the dough if kneading by hand or when transferring or holding the dough to take it out of your stand mixer. This is a tried and true recipe so the flour, if you need to add any, will only vary by 1/4 cup MAX. And that will only be due to the fact that we’re not measuring on a scale in grams. If you were, scales make it right on the money every time. Sometimes if you’re making bread on a very humid day or it’s raining and there’s more moisture in the air, you’ll also need a bit more flour. Again, 4 tablespoons (1/4 cup) maximum.
Tips for Making These Rolls
Try to live with this sticky, tacky, and pretty wet dough. Keep reading below for my dough tips and suggestions so your rolls turn out perfectly.
Activate the Yeast
If the active dry yeast does not froth during the initial proof time, it may be dead due to being expired. Or due to the milk being too hot. If it doesn’t froth, start over. I don’t like to guess if my milk (or water) are the right temperature because this is a critical aspect and element of the recipe. Too cold and the yeast don’t activate. But too hot and you kill the yeast and need to start over. Therefore, I always use a digital thermometer and take the temperature of the liquids and make sure the temperature is where it should be and don’t guess. You shouldn’t guess either.
Rising Time
Rising time will take longer at cold room temperature than at warmer temps. If you’re making the rolls in the dead of winter in a cold kitchen, it’s perfectly normal and OK if it takes the dough and rolls longer to rise (more than 90 minutes the first rise, and more than 30-45 minutes the second time). Be patient until they’ve doubled in size. If you have 3 to 4 sheets of rolls, but only 2 sheets fit in your oven at one time, it’s fine to leave the others covered with a tea towel, at room temp for the 35 minutes or so it takes the first round of rolls to be baked off.
Baking the Rolls
When you’re baking the rolls, I recommend rotating your baking sheets once midway through to ensure even browning. And since all ovens run a bit differently, start checking the rolls at about 25 minutes just in case you have a hot oven. However, if they’re not done at 35 minutes which is my suggested baking guideline, continue to bake until they ARE done! Again, all ovens run differently and when baking two sheets at once, it can sometimes slow things down a bit.\
Not Enough Oven Space?
If you’ve never made 40 rolls, you may be wondering how you’re going to pull it off! Here’s what I suggest:
Bake two sheets of 12 rolls at once (24 rolls). Allow the remaining 16 or so rolls hang out on your counter while the first 24 are baking. This is fine. Bake the final 16 rolls as soon as the first 24 come out of the oven. Only use the middle two oven racks! Don’t attempt to bake all 40 at once (even if you do have 4 or 5 large baking sheets). None of them will come out well.
More Dinner Roll Recipes:
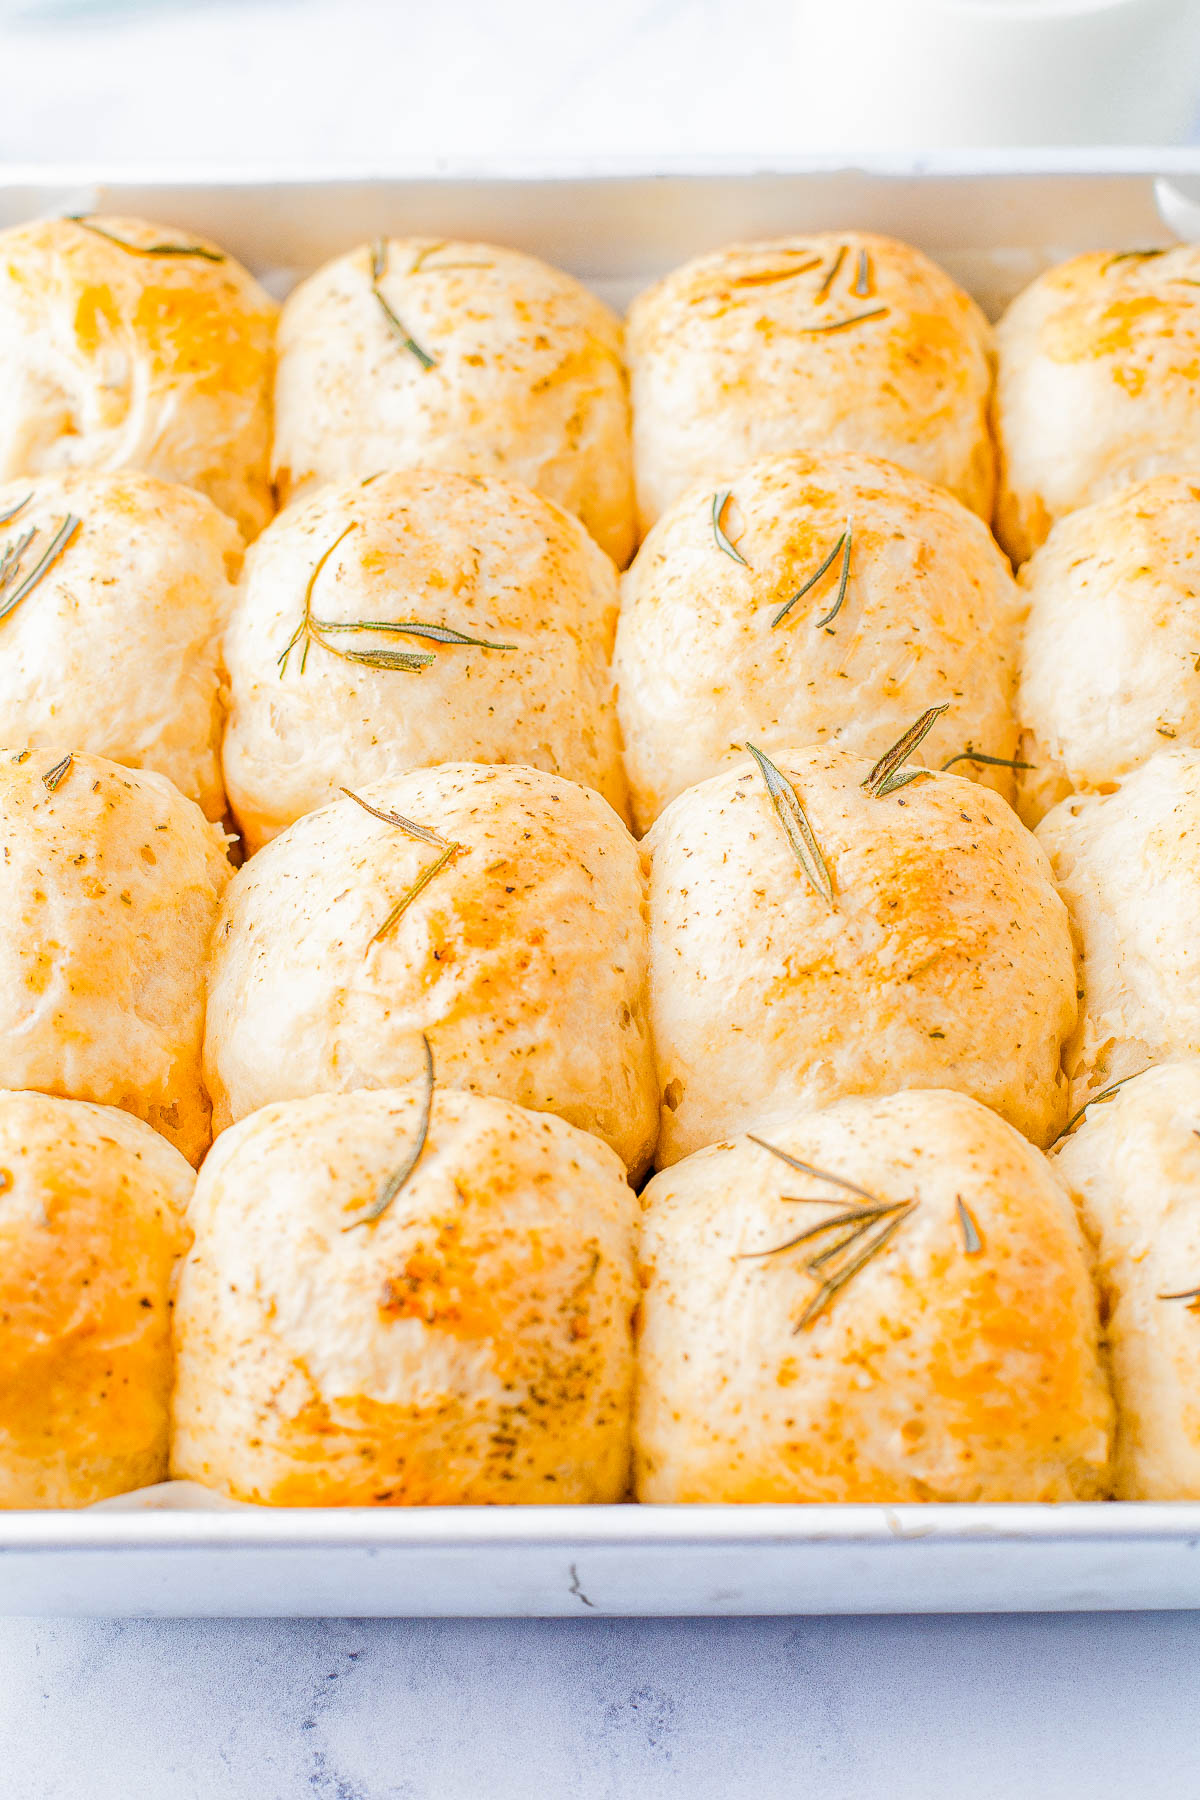
Parker House Rolls — The BEST homemade dinner rolls because they’re so light, airy, fluffy and practically melt in your mouth! They have a wonderful buttery flavor that will make them an instant family favorite at your next holiday gathering or make them for a special meal! In the freezer: Since the recipe makes about 40 rolls, you can also freeze some of them. Bread, in general, freezes very well and these Texas Roadhouse Rolls will keep airtight in a freezer bag in the freezer for up to 4 months. To thaw from frozen: I suggest taking them out and letting them sit at room temp on your counter to thaw. And before serving, zap them in the microwave for 15 seconds or as necessary to make them just a little bit toasty. Tried this recipe? Leave a review! Consider leaving a 5 star rating if you’ve made and loved one of my recipes! Herby Garlic Rolls – Indulge in the perfect holiday side dish with a basket of homemade garlic and herb rolls! Made with plenty of garlic, fresh rosemary and herbs, these soft dinner rolls are a must-have for family dinners or celebration meals like Thanksgiving and Christmas. No-Knead Make Ahead Dinner Rolls with Honey Butter – These soft, light, fluffy yeast dinner rolls are so easy to make! They’re practically work-free because there’s no-kneading involved. Soft & Fluffy Sweet Dinner Rolls — Lightly sweetened from the honey in the dough and brushed with honey-butter prior to baking!! These dinner rolls are made from scratch and are baked to golden brown perfection! Easy Oatmeal Dinner Rolls (with Raisins!) — Lightly sweetened from honey in the dough and are brushed with honey-butter prior to baking, these homemade dinner rolls are subtly sweet and so easy to make!