Do you love pie recipes as much as I do? Try my Lemon Sour Cream Pie, Triple Berry Pie, or Pumpkin Cheesecake!
Why I love this recipe:
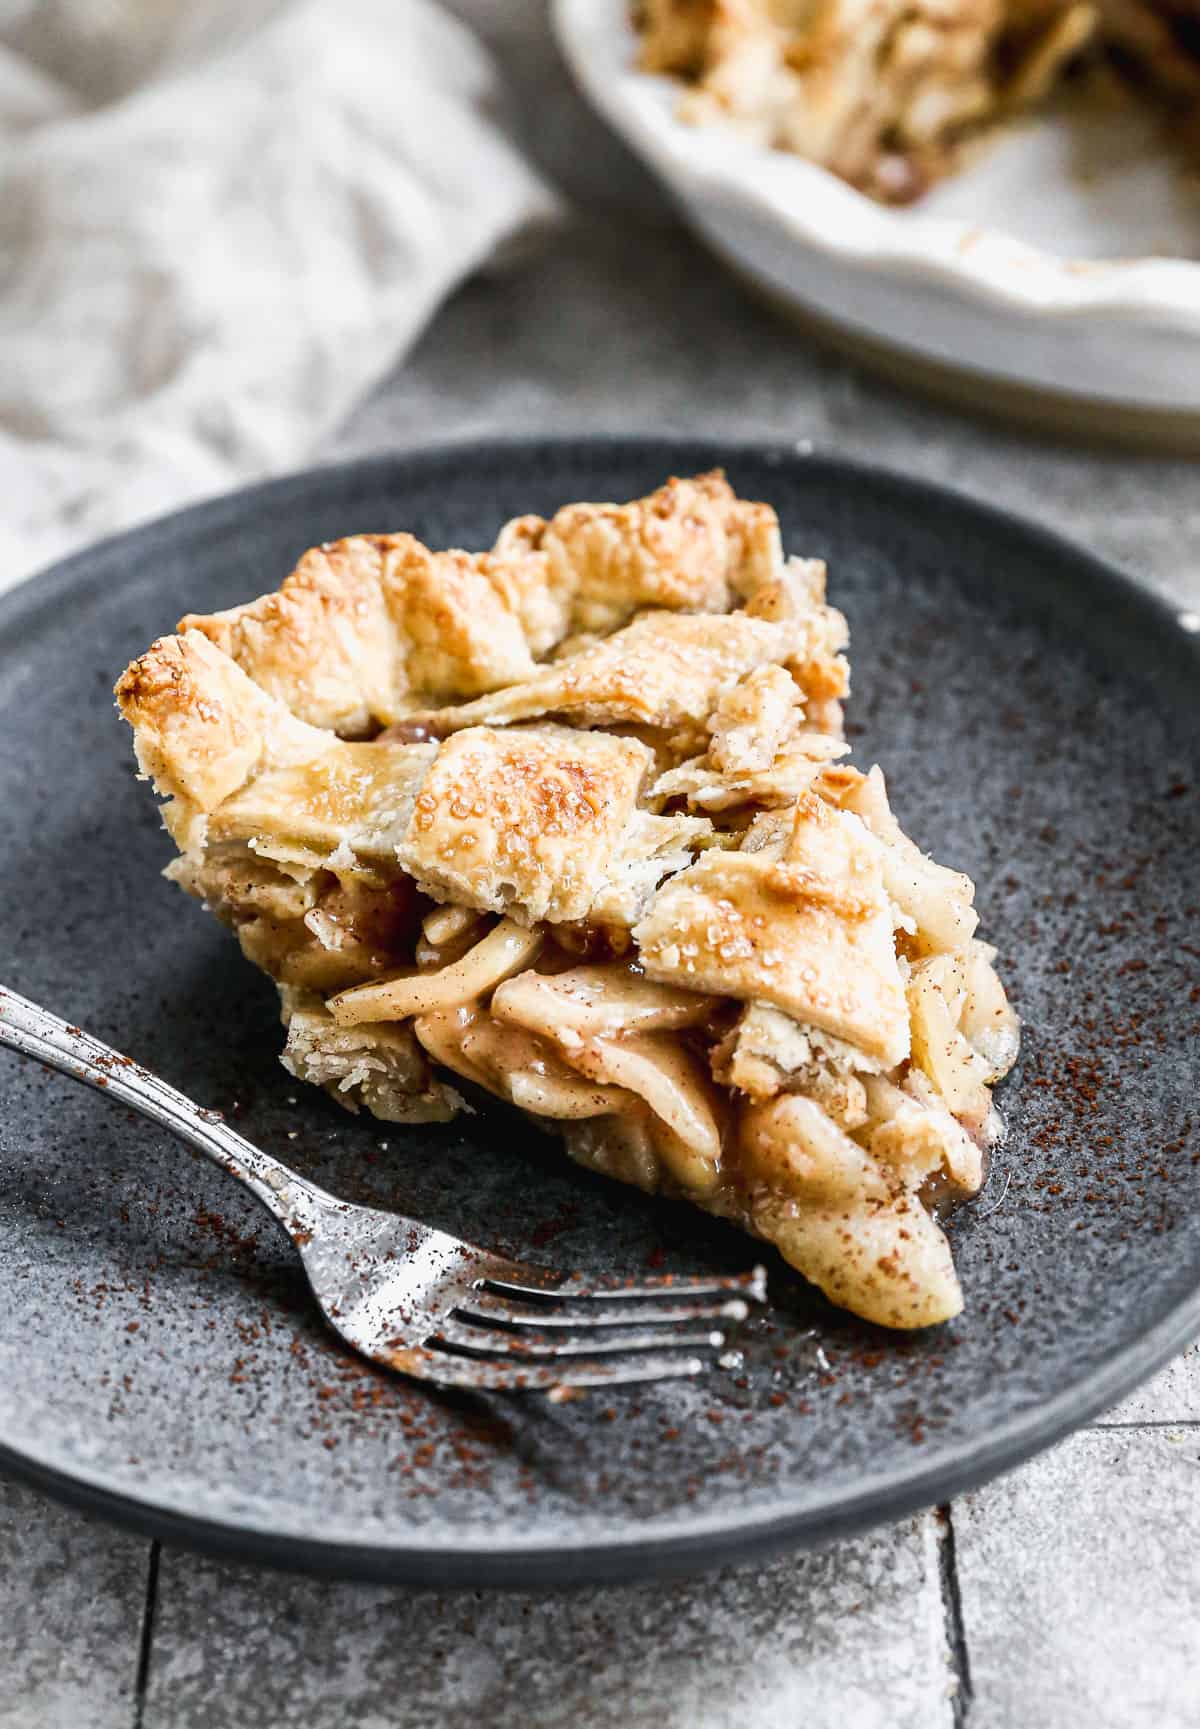
Holds Together – Easy to slice and serve without any apples sliding around. Everyone gets their fair share of apple filling and the buttery crust!Flavorful – Packed full of all the cinnamon and spices you love, this is really the BEST apple pie recipe!Perfect Crust – Buttery, flakey, and so EASY to make, this pie crust will make your pie stand out from the rest!
What type of Apples to Use:
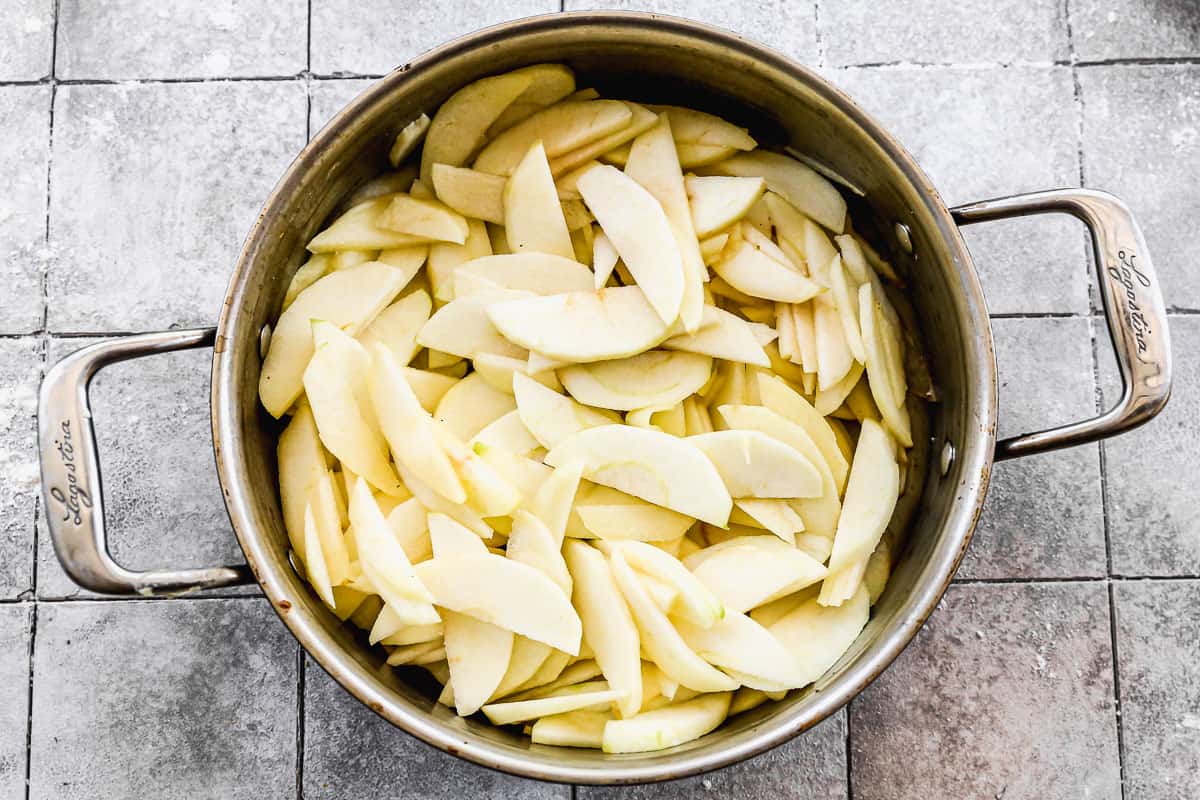
Choose tart apples for apple pie, and I always like to use more than one type of apple, to add variety of flavor. My go-to for apple pie is a combination of granny smith and honey crisp apples. I also like to use Janagold (a cross between Jonathan and Golden Delicious) or Northern Spy (red and green apple in season October/November and thought of as the perfect Apple Pie apple).
How to make Apple Pie Filling:
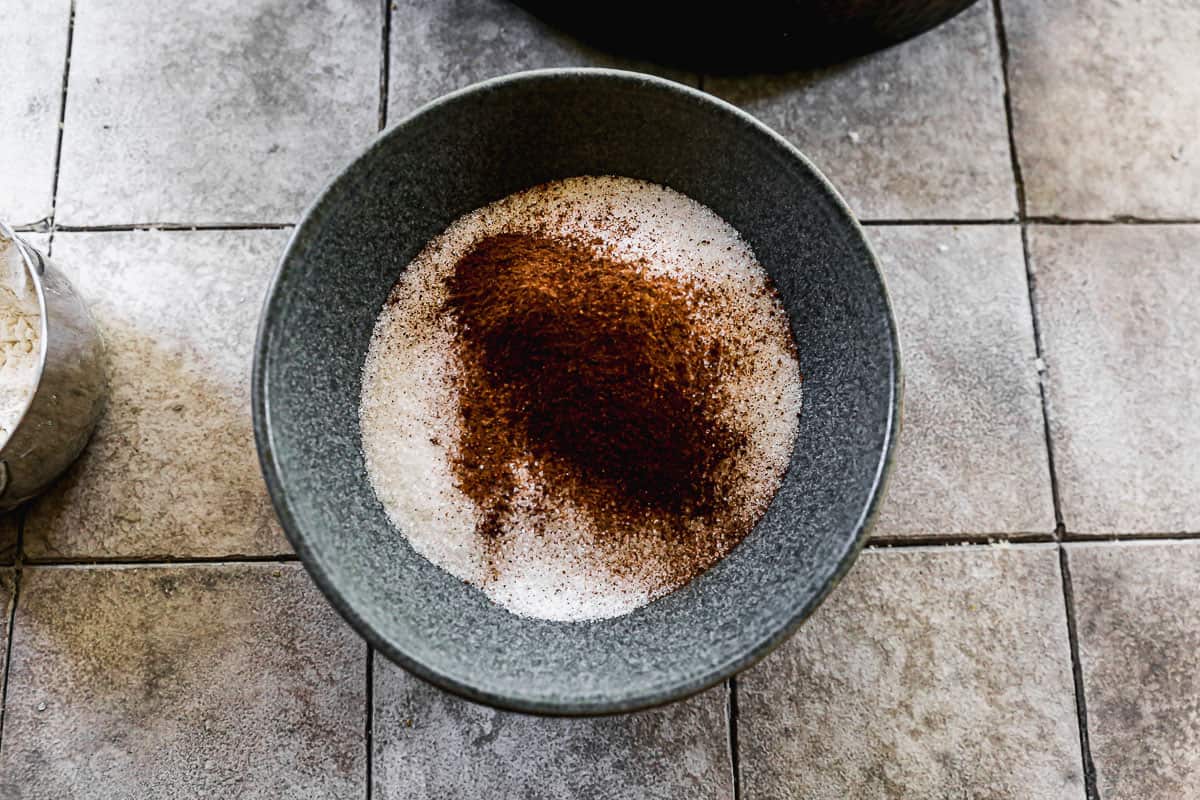
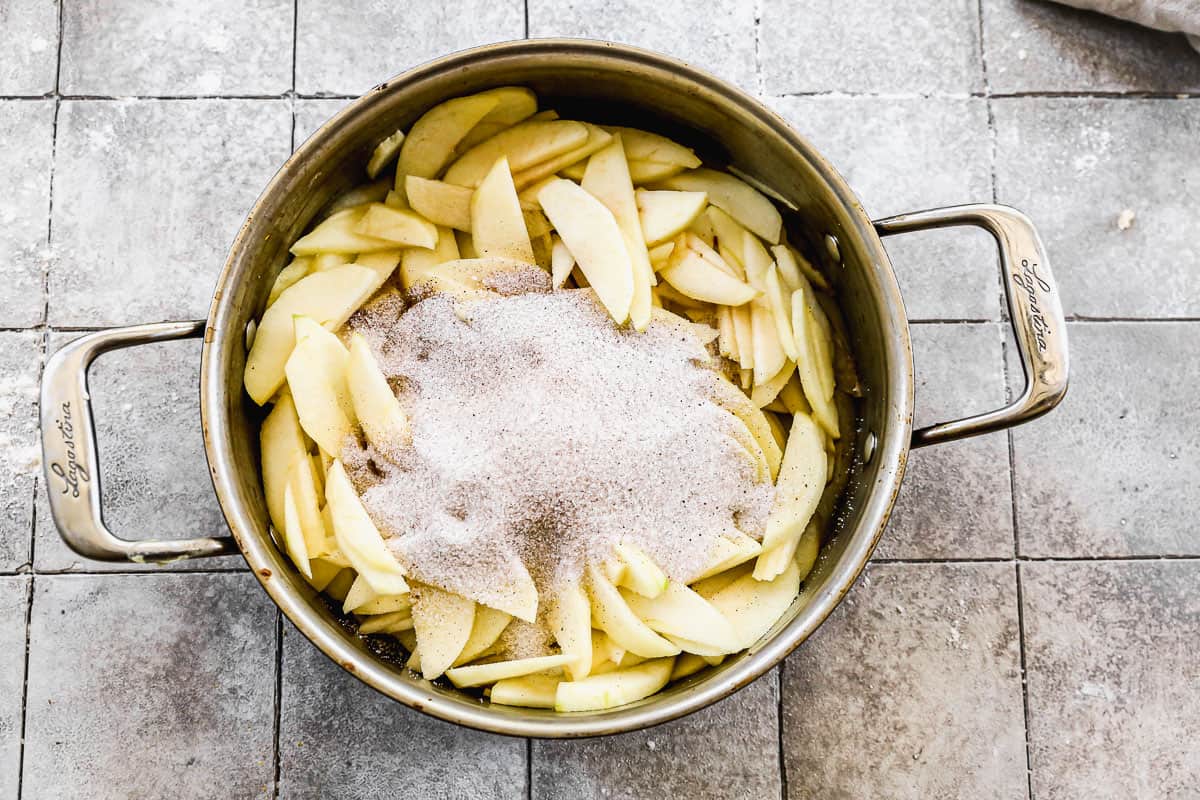
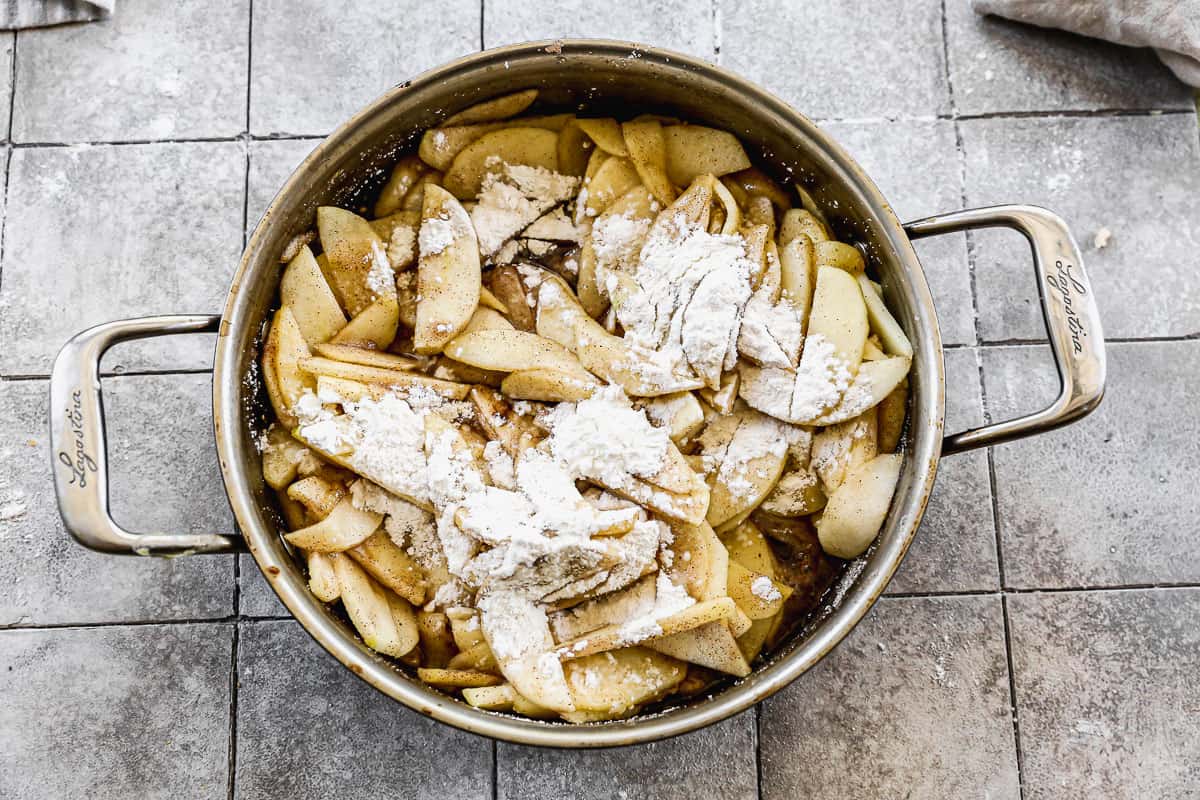
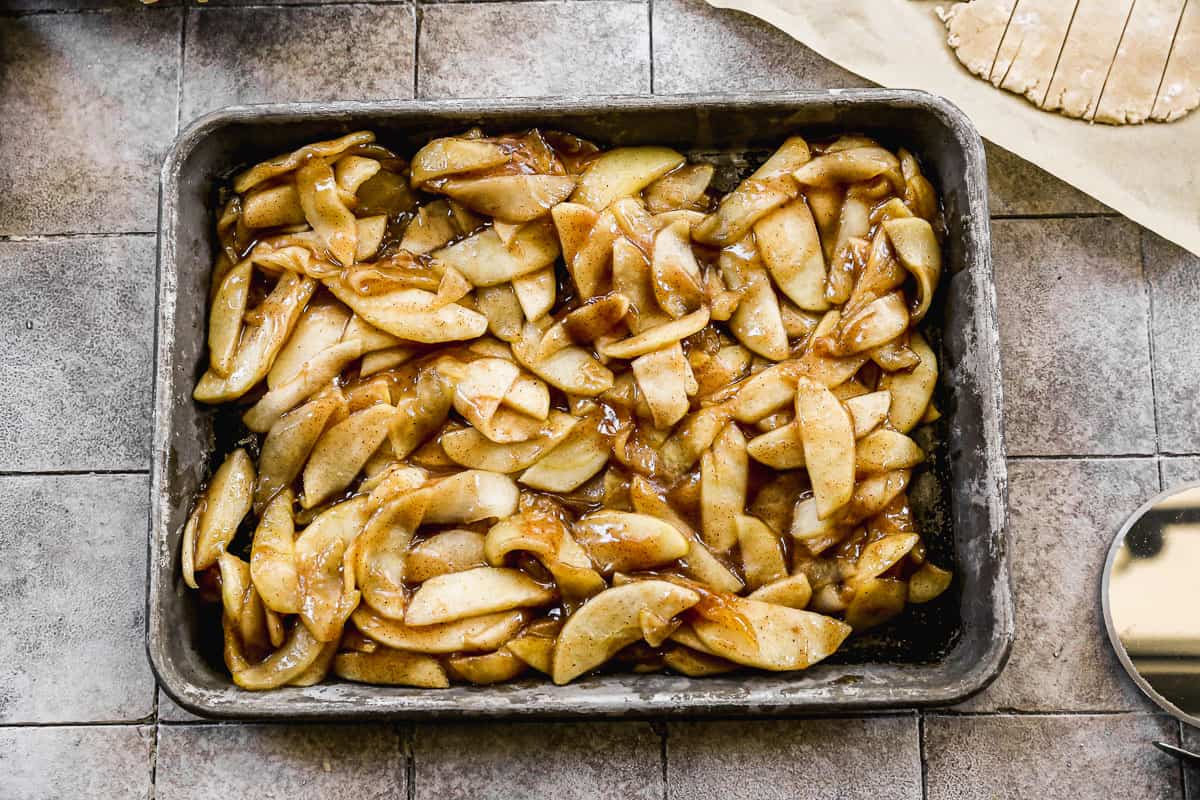
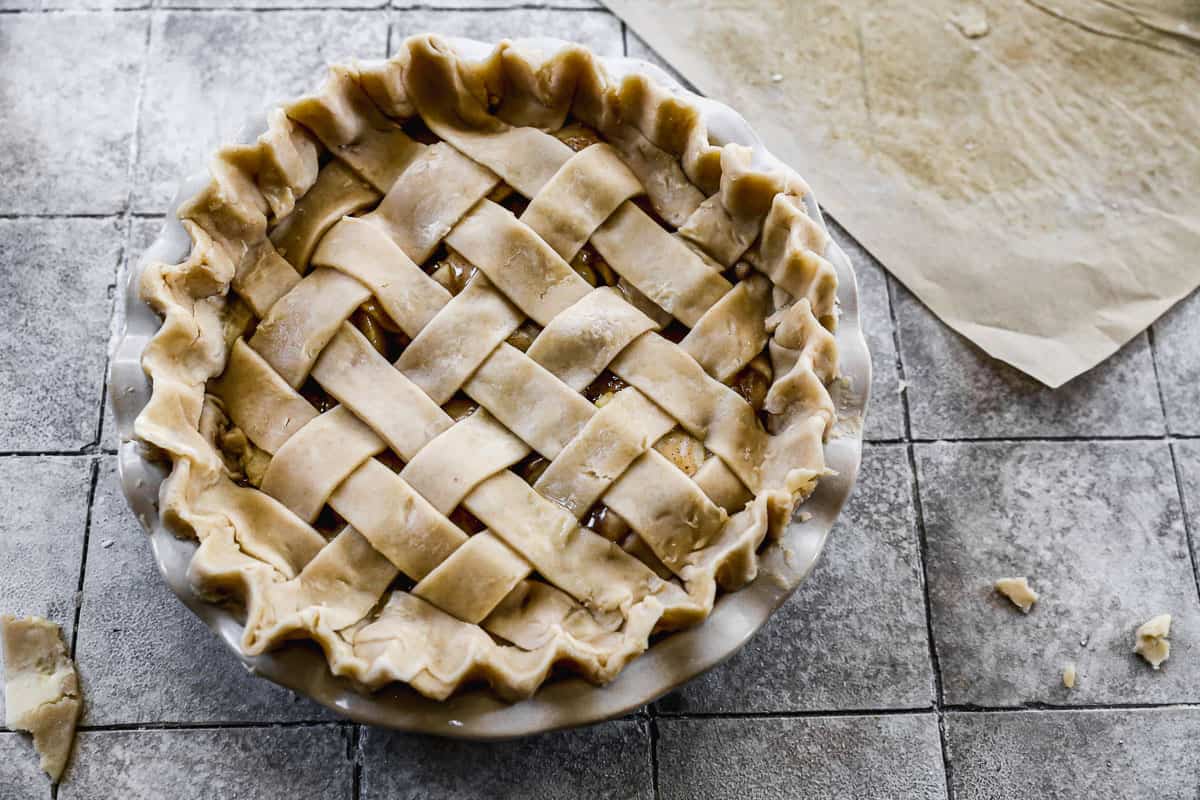
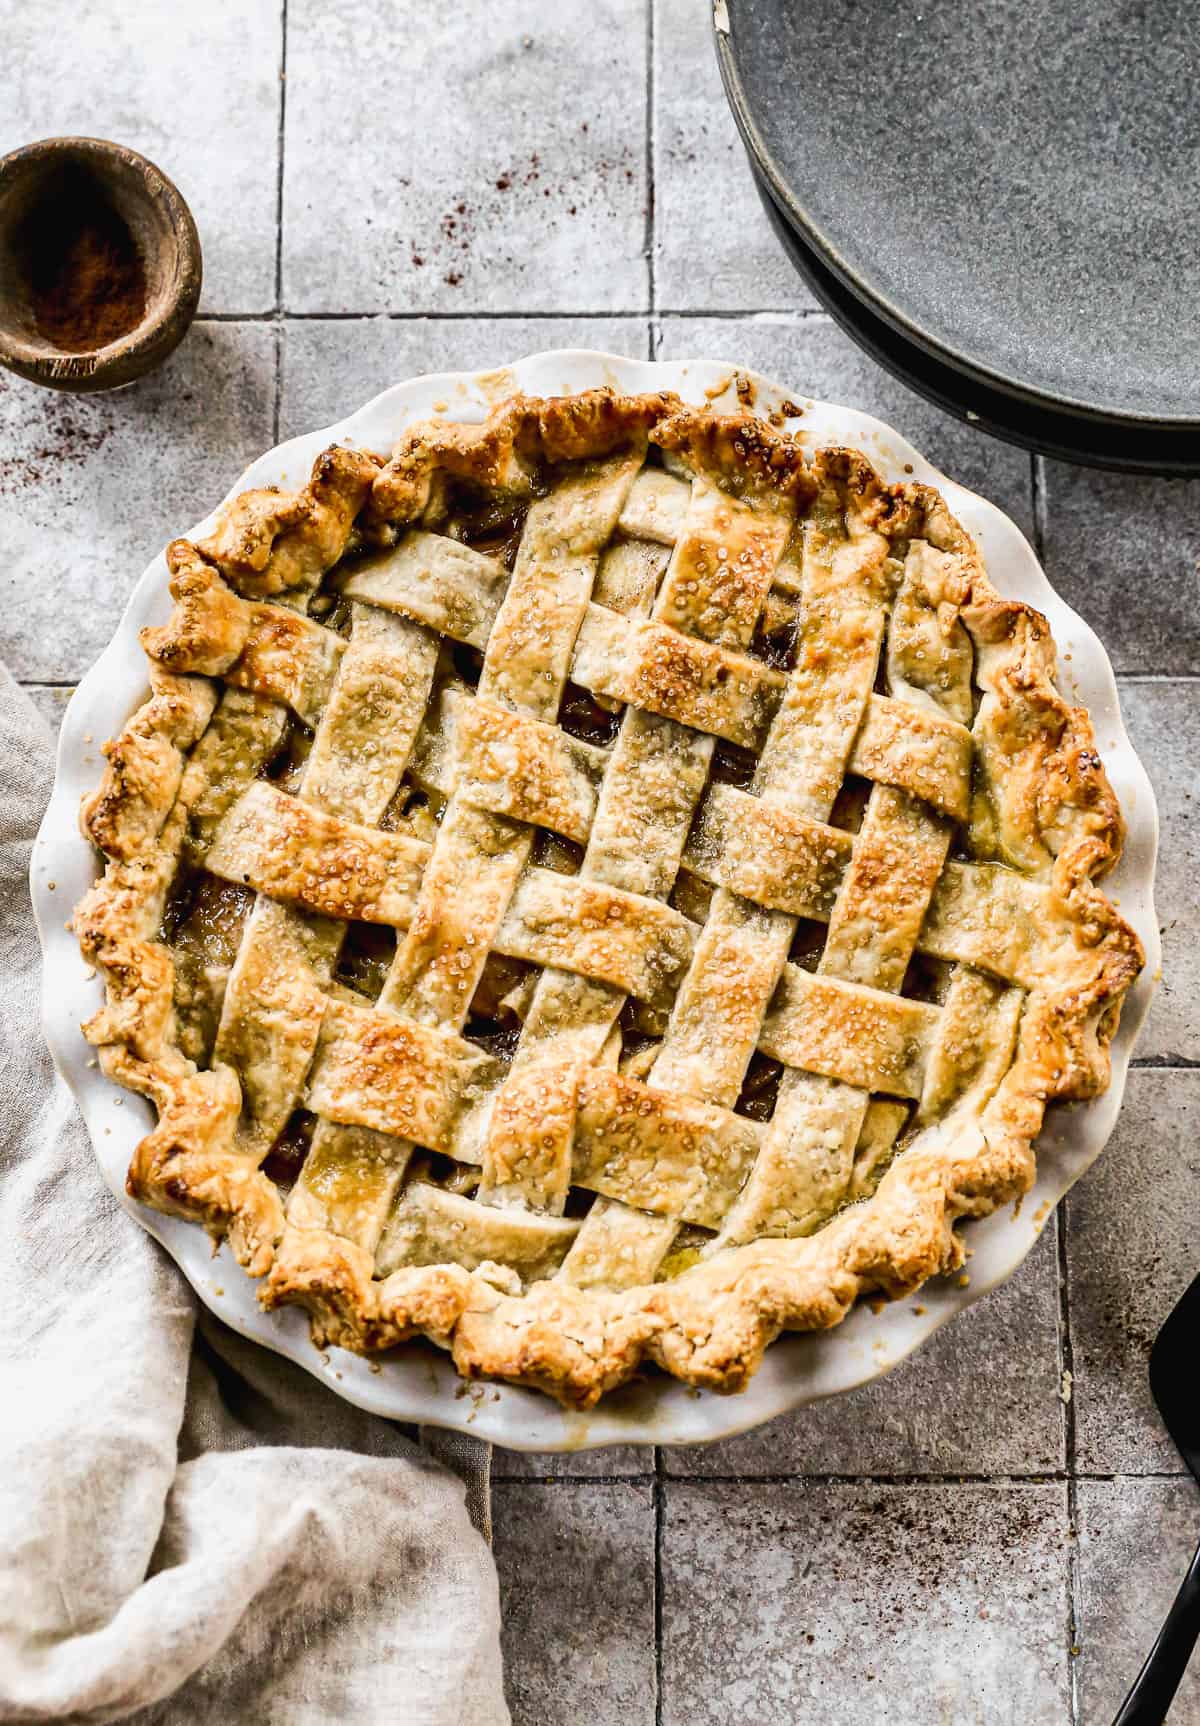
Prepare Apples: Peel, core, and cut apple slices. (I use a johnny apple peeler to make this process extra easy as it does it all in one). Make sure your apple slices are cut relatively thinly. Combine Spices: Whisk together the cinnamon, cloves, nutmeg, salt and ¾ cup sugar, then set aside. Coat Apples: Melt butter in a large sauté pan/skillet over medium-high heat then add the apples to the skillet and stir them to coat them in butter. Immediately add the spice and sugar mixture, stirring to coat the apples. Cook Apples: Lower heat to medium then cook the apple mixture for 3-5 minutes. Sprinkle the flour and cornstarch over the apples and stir well to coat. Remove from heat and stir in lemon juice. Optional: Pour the mixture out onto a baking sheet to allow it to cool quicker, while you prepare your pie crust. Add to pie crust: Add cooled pie filling into a pie dish with a cold, unbaked pie crust in it. Add top crust: Cut the top crust into a few strips, to add a pretty lattice crust, or place the whole pie crust on top of the pie, and cut a few slits on top for seam to escape. Brush lightly with an egg wash and sprinkle with sugar. Bake at 425 degrees F for 20 minutes. Leave the pie in the oven and reduce temperature to 375 degrees F. Bake for 30 to 40 more minutes, until the filling is bubbling and the crust is golden. Cool: Remove the pie from the oven and allow it to cool completely, at least 2-3 hours. This allows the filling to set up so it wont fall apart when slicing. For best results, store baked apple pie on the counter for a day or in the refrigerator for 2-3 days.
Tips for a perfect Apple Pie Crust:
Use an unbaked crust – No need to blind bake this pie crust.Use two crusts– You’ll need two crusts, one for the bottom of the pie pan and one placed over the filling. I love my pie crust recipe to ensure I have enough crust to work with to make a lattice topping (you can also use a traditional pie crust on top if you’d like).Allow the hot apple filling to cool before adding it to the pie crust so that the fats in the pie crust stay cold, creating a flakey crust as it bakes.Two oven baking temperatures: We start with the pie at a high temperature to help set the crust. Then lower the temperature to continue cooking.
Make Ahead and Freezing Instructions:
To Make Ahead: The pie dough can be made several days in advance, or frozen for months ahead of time. The pie filling can be made a day ahead, stored in a covered container in the fridge. The entire pie can also be made a day ahead of time. Once cool, cover and refrigerate. To Freeze: The pie crust and apple pie filling can be frozen, separately, for up to 3 months. Thaw completely in the fridge and then assemble. Baked apple pie can also be frozen once it has cooled completely. Cover it well with plastic wrap and then aluminum foil and freeze for up to 3 months. Thaw for about 1.5 days in the refrigerator before serving.
More recipes using Apples:
Apple CrispApple CobblerApple CakeHow to Make Caramel ApplesWaldorf SaladApplesauceBaked ApplesBroccoli Apple SaladApple Bundt CakeApple Coffee CakeThe BEST Apple PancakesApple Pecan Salad
I originally shared this recipe September 2019. Updated November 2022.
This post contains affiliate links.